


Tessa’s Recipe Rundown
Taste: Nutty and wonderful. Texture: Homemade pitas are so soft and tender, nothing like the hard and stale pitas at the grocery store. Ease: Not difficult at all, just time consuming. It will be almost impossible to go back to store-bought pitas after you make these though! Appearance: It’s actually kind of fun to watch the pitas balloon up in the oven. I would imagine it would be a fun activity to do with kids. Pros: Healthy and super soft and chewy like a pita should be. Cons: None. Would I make this again? Yes.This post may contain affiliate links. Read our disclosure policy.
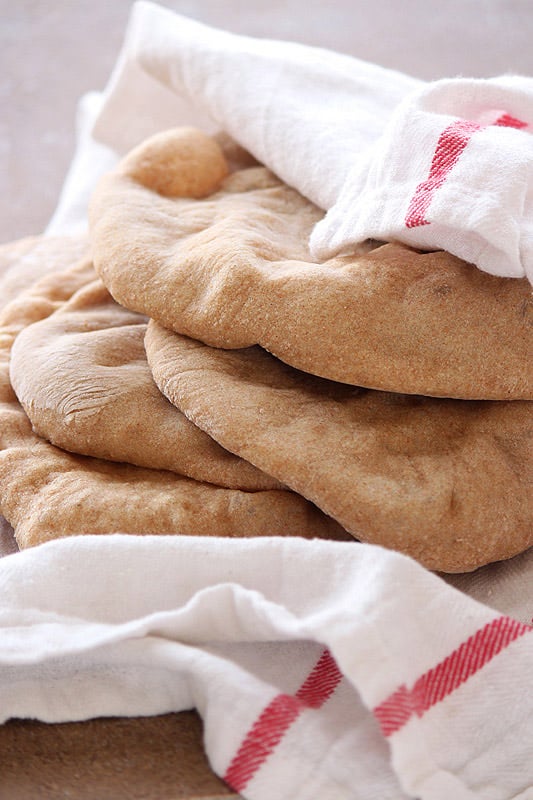
I have acquired a slight obsession with making homemade bread lately. There’s something so satisfying in starting with a cast of unassuming characters (flour, yeast, liquid) and turning it into something that smells as magical as it tastes. Pita bread dates back to antiquity and it’s crazy to think about all the advances that have been made in bread baking since then. Yet, pita bread (or similar variations) is still well loved in so many areas of the world. It is the ultimate oldie but goodie. Homemade pitas make the store-bought variety taste like stale cardboard. Plus, there’s so many things you can do with pita bread. My favorites are of course to stuff the pocket with chicken or roasted vegetables with cheese, dip the pita in hummus, or top it with pesto and cheese and bake it off for a pita pizza. The options are limitless!

Whole Wheat Pita
Ingredients
- 1 3/4 cups (7 ounces) whole-wheat flour
- 1 1/2 cups (6 3/8 ounces) bread flour
- 1 1/2 teaspoons salt
- 1 1/2 teaspoons instant yeast
- 1 1/4 cups (10 ounces) warm water
- 2 tablespoons (7/8 ounce) olive oil
Instructions
- Combine all the ingredients in the bowl of a stand mixer fitted with the dough hook attachment. You can also knead by hand. Mix until all the ingredients are combined then knead until a soft, supple dough comes together, about 5 minutes (8 minutes if kneading by hand). Whole grain dough takes longer to absorb liquid as it develops so the dough will be sticky initially. If it seems impossibly sticky, add a little bit more flour. The dough should be soft and tacky. Cover the bowl tightly with plastic wrap and let the dough rise until doubled in size, about 1 1/2 hours.
- Position an oven rack on the bottom of the oven and place a baking stone on the rack. Preheat the oven to 450°F.
- Turn the risen dough out onto a floured work surface and cut the dough in half. Cut one half into 4 equal portions and form each into a rough ball. Repeat with the remaining dough half.
- Using a rolling pin, roll out each ball to a circle about 6-inches in diameter and less than a 1/4-inch thick. If the dough springs back let it sit, covered, for 10 minutes to rest until the dough rolls more easily. Keep the remaining balls of dough covered as you roll.
- Use a floured pizza peel to slide the circles of dough onto the hot baking stone or place the circles of dough on your palm and carefully flip onto baking stone. Bake as many pieces of dough as will fit at a time and bake for 3 to 4 minutes, or until the pitas balloon.
- Remove the pitas from the oven and repeat with the remaining pieces of dough. Stack the warm pitas together in a kitchen towel to keep them from crisping as they cool. Store pitas in an airtight container at room temperature for up to 3 days.


I was really pleased with how these turned out! The pitas where light and puffed up beautifully.
I mixed and kneaded the dough in my food processor. I put all of the dry ingredients in and then poured the olive oil and water in while the food processor ran. You’ll want to start with cold water, rather than warm, because the food processor heats everything up quite a bit while it runs. I’d say it took between 5 and 8 minutes of “kneading” in the food processor.
I don’t have a pizza stone, but an upside down sheet pan worked perfectly.