Welcome to Handle the Heat — Sweet Treats with a Sprinkle of Science


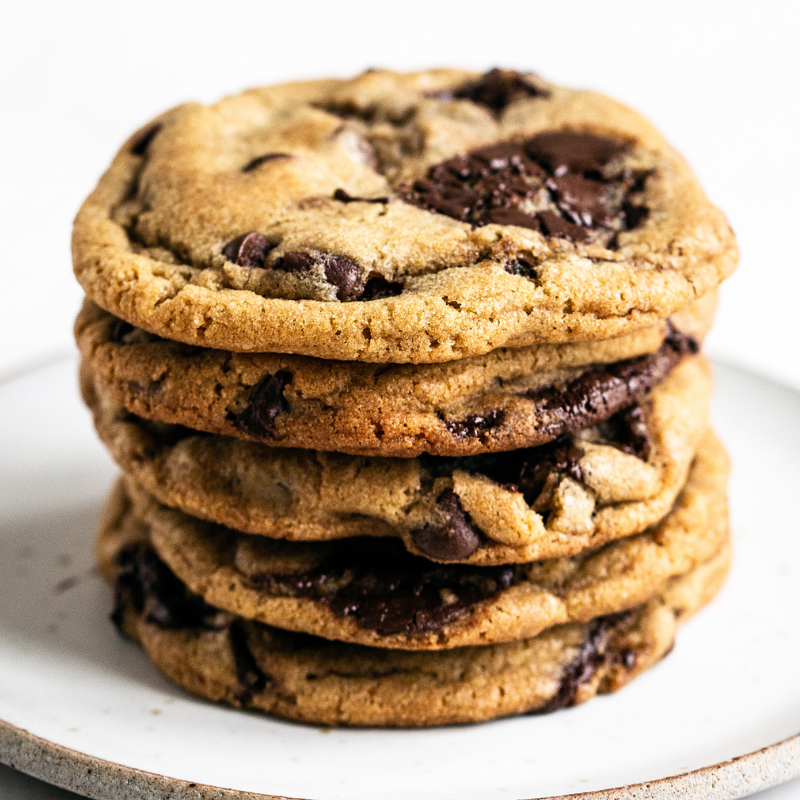
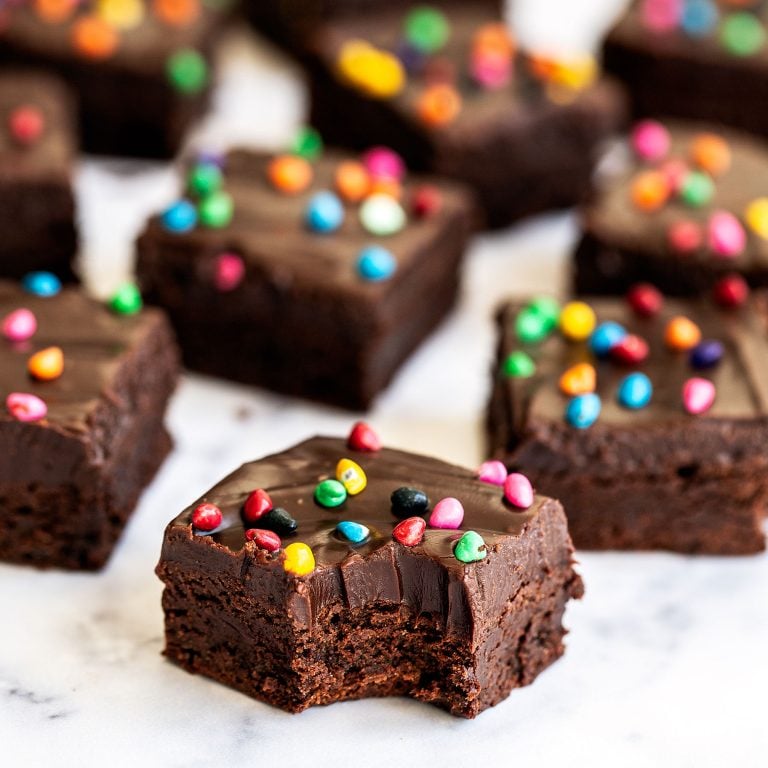
Chocolate Chip Cookie Recipes
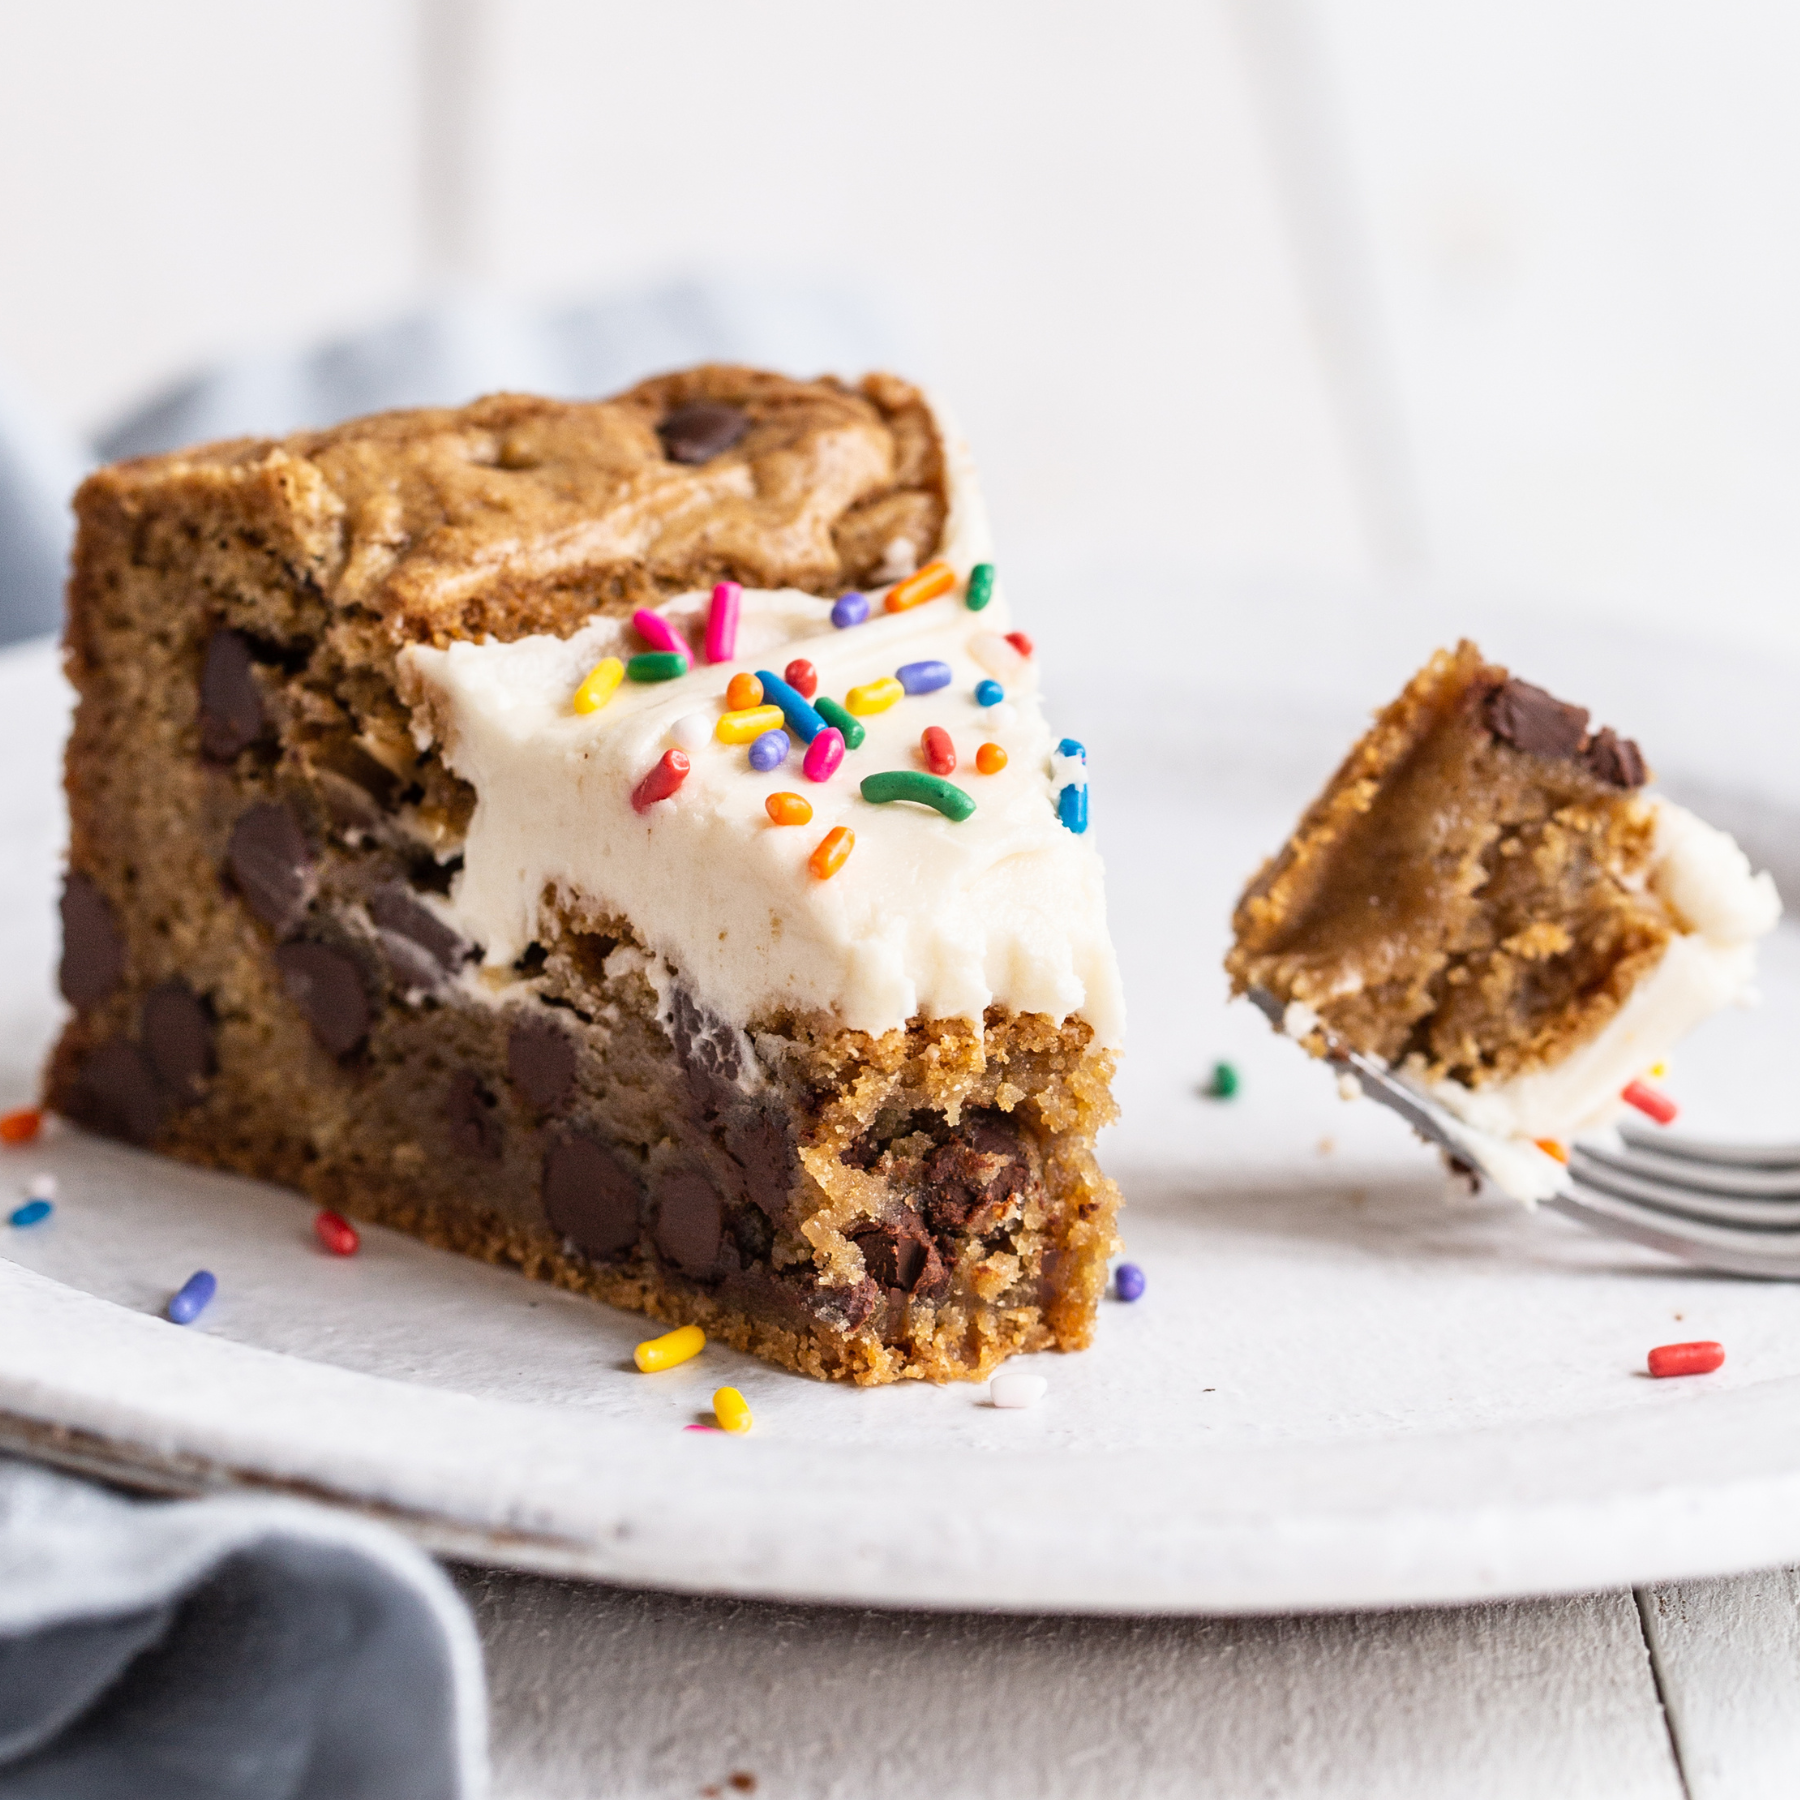
-
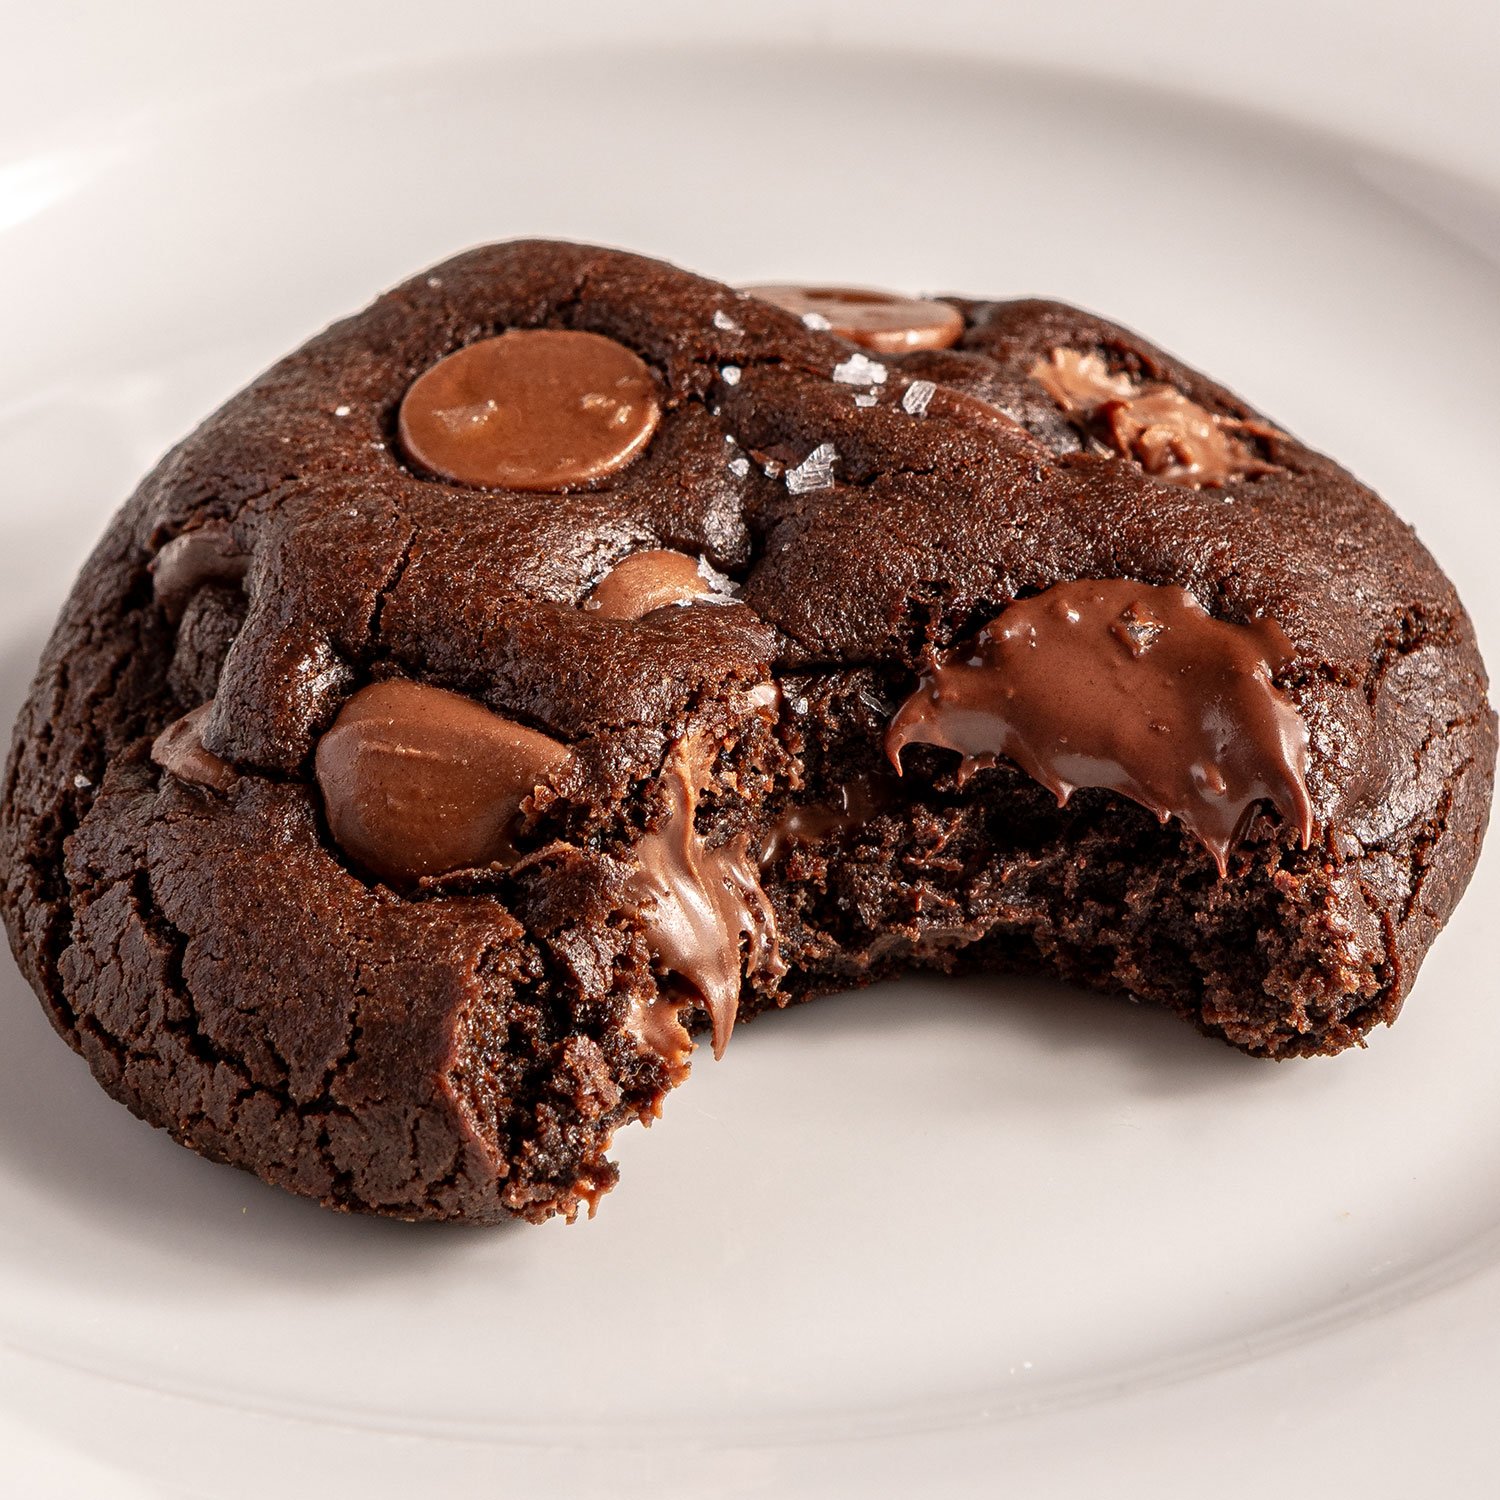
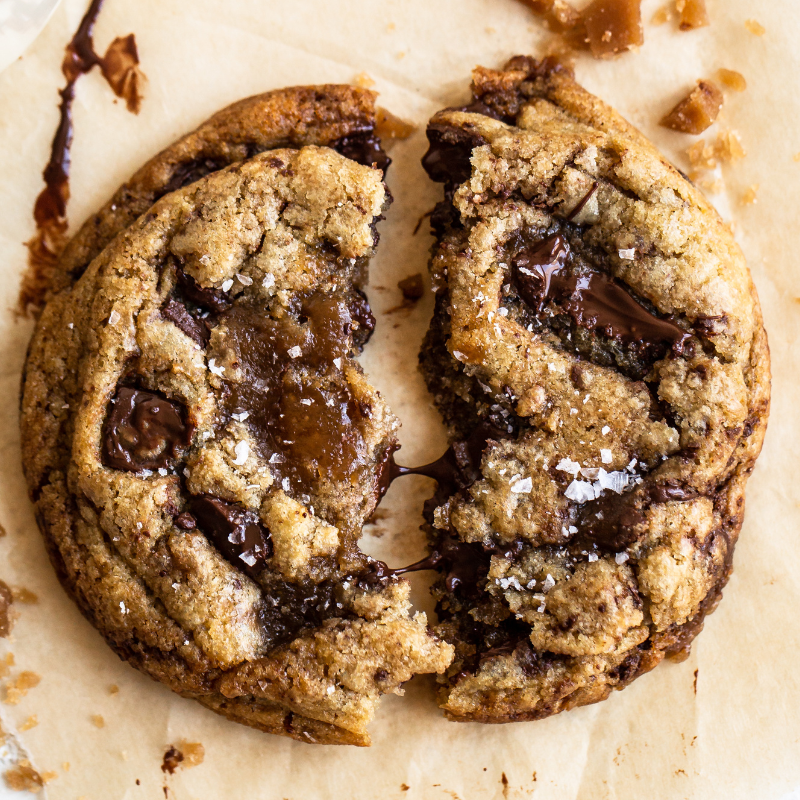
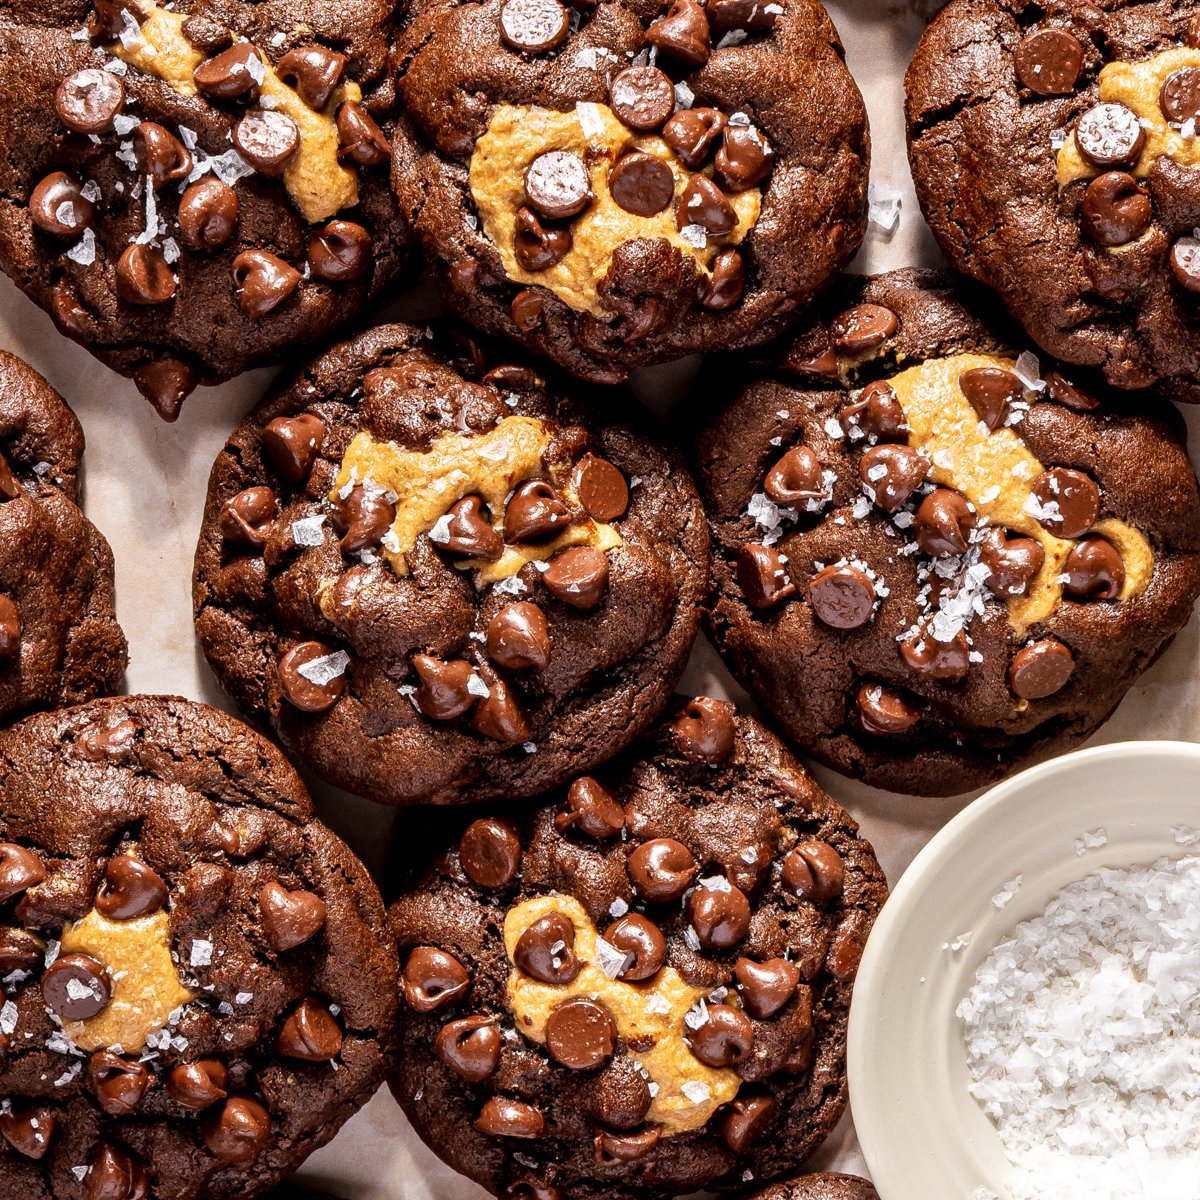
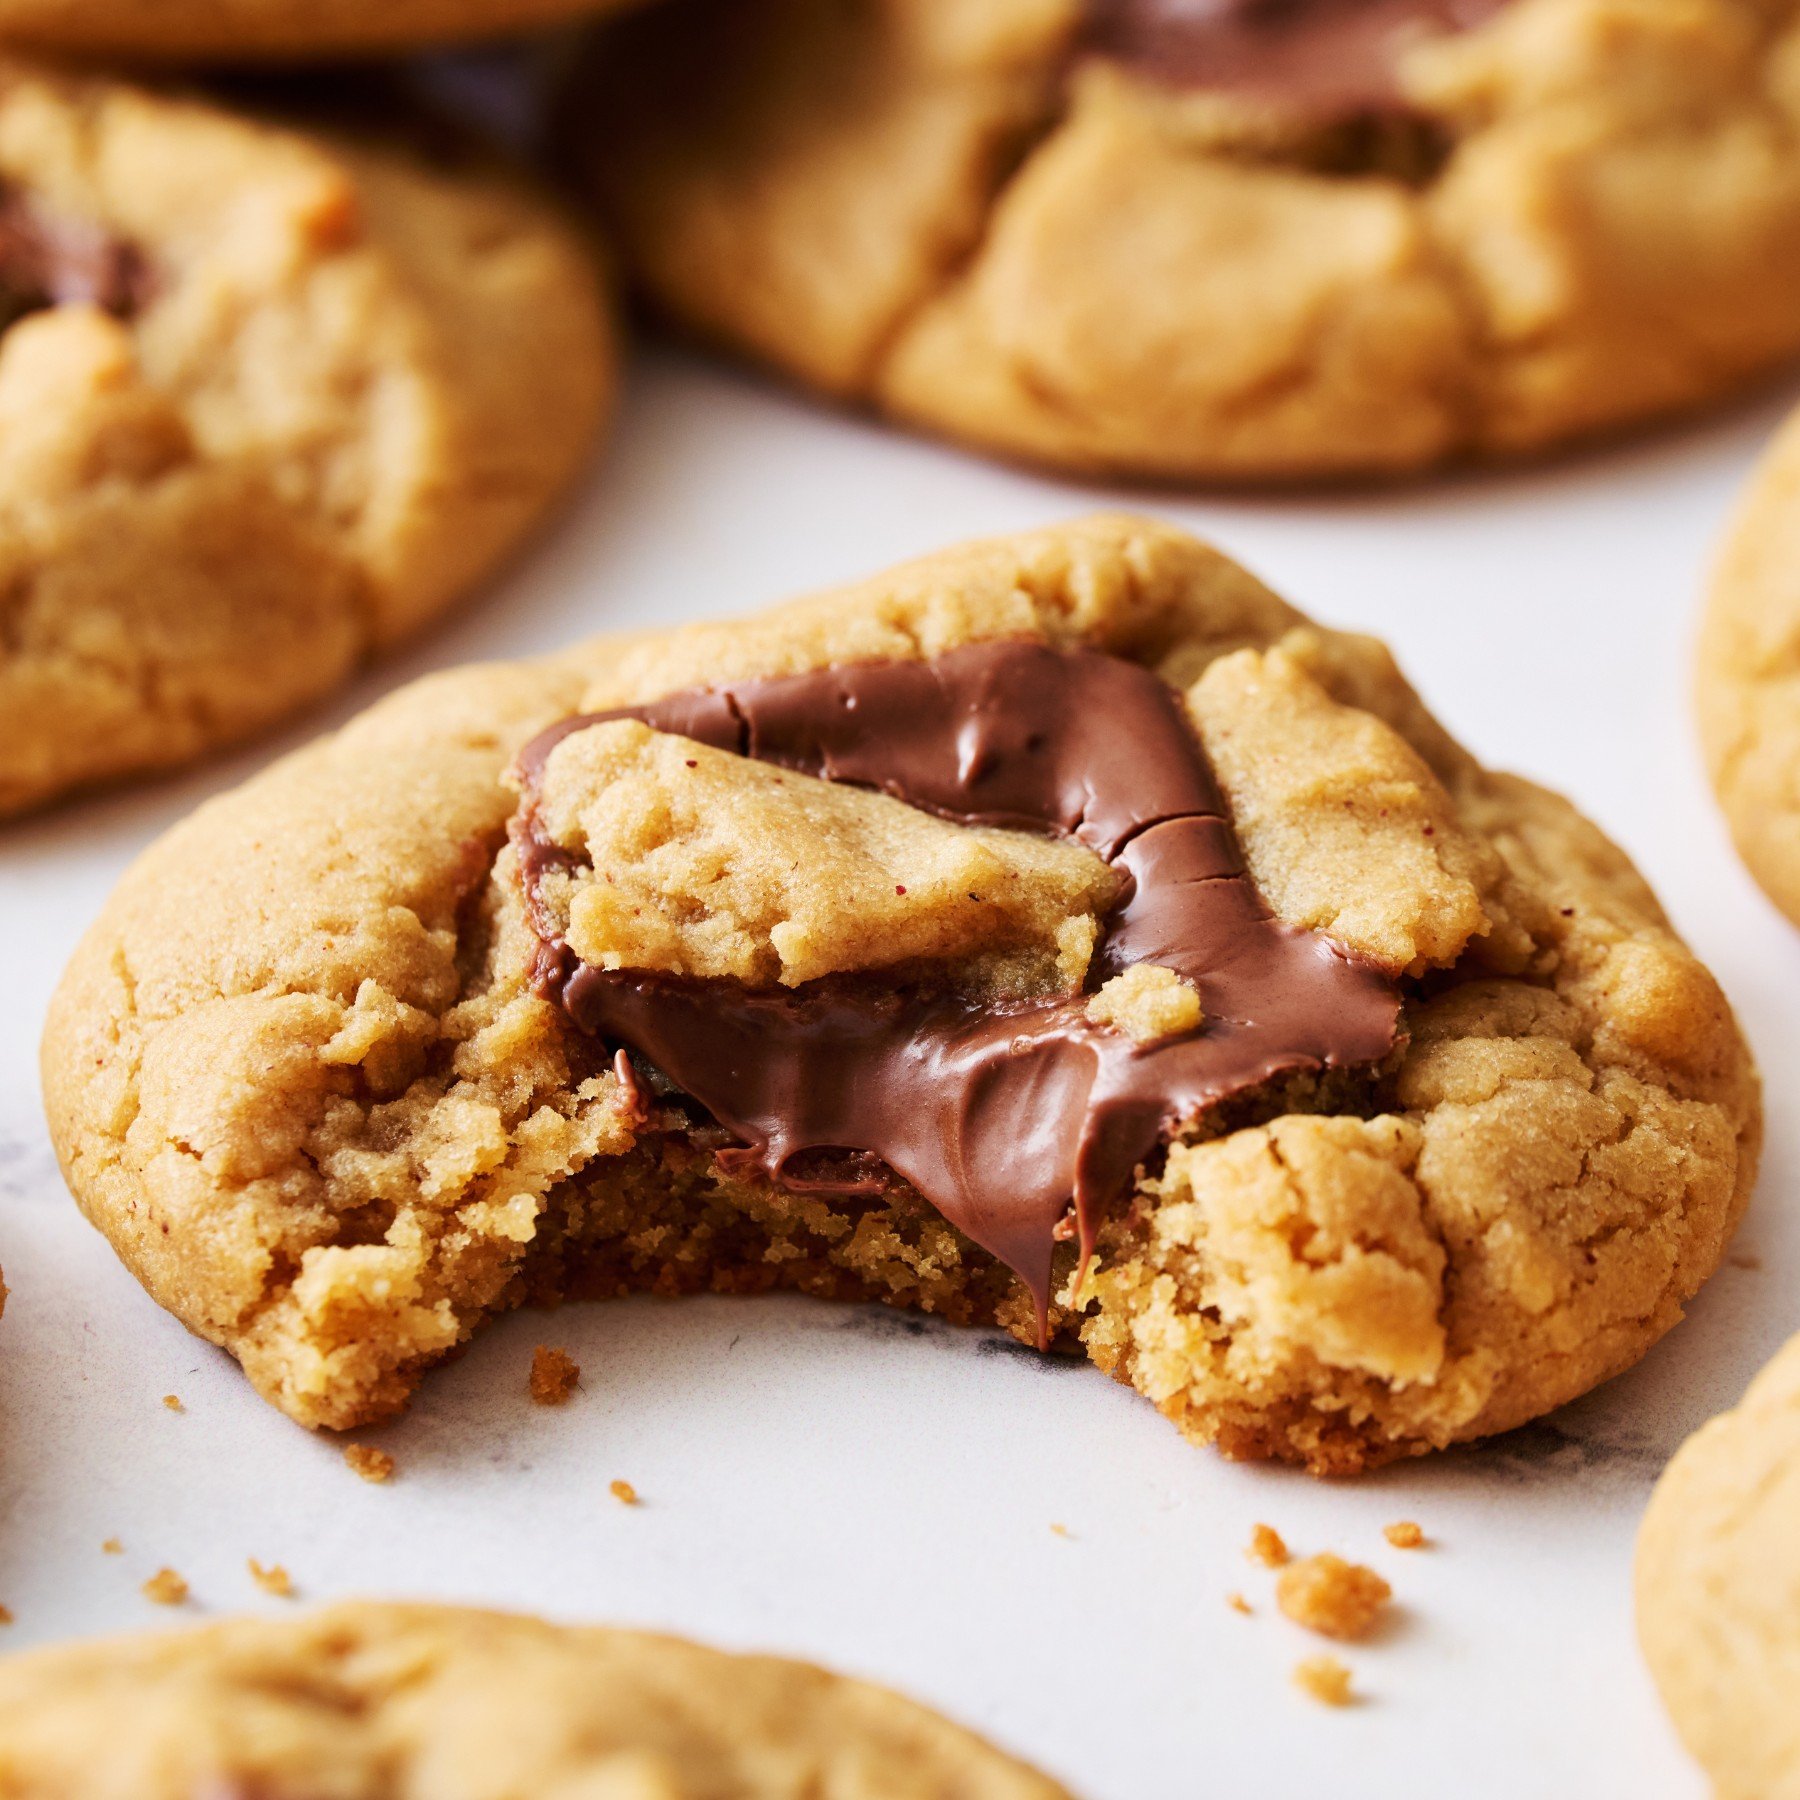
Peanut Butter Stuffed Chocolate Cookies
My Peanut Butter Stuffed Chocolate Cookie recipe is like a peanut butter cup turned into a soft, thick, and slightly chewy cookie. Outrageously good!
The Handle the Heat Baking Lab
Popular Recipes
-
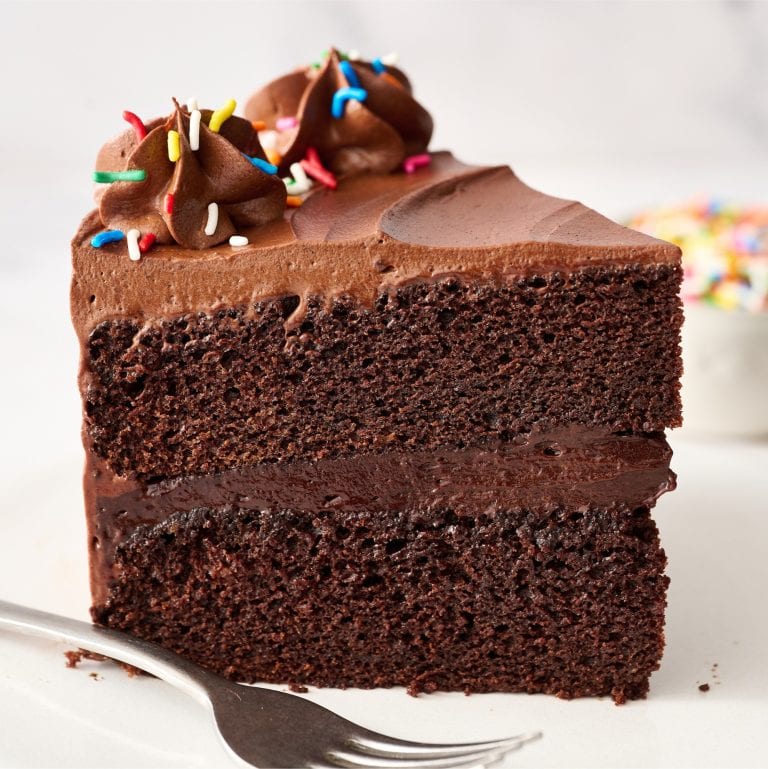
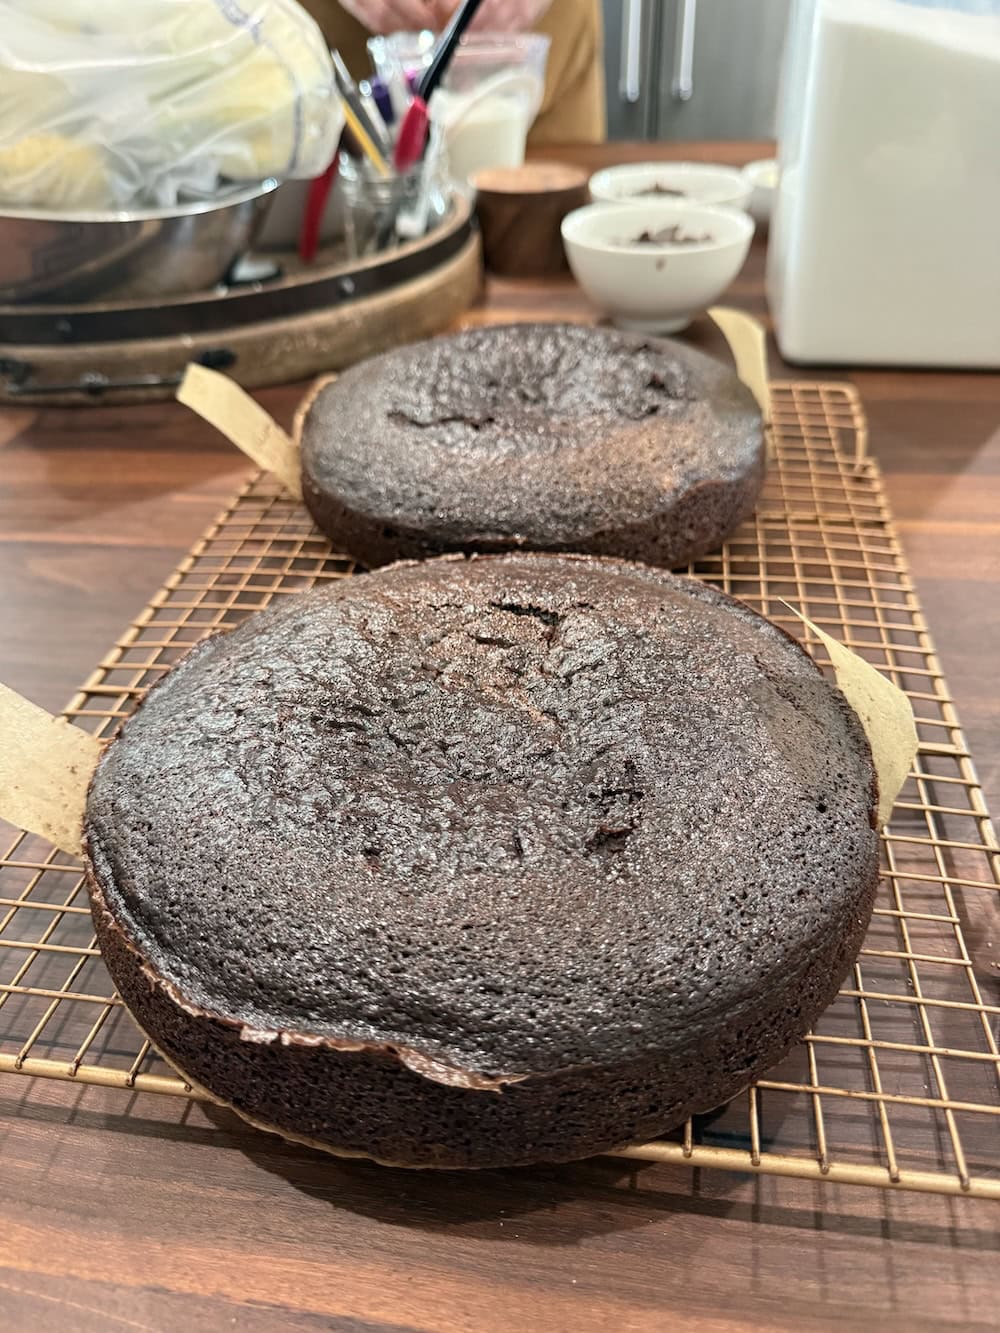
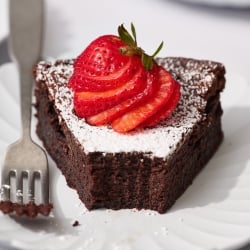
Best Chocolate Cake
This is the BEST Chocolate Cake recipe—deeply chocolatey, ultra-moist, and easy to decorate, slice, and serve. -
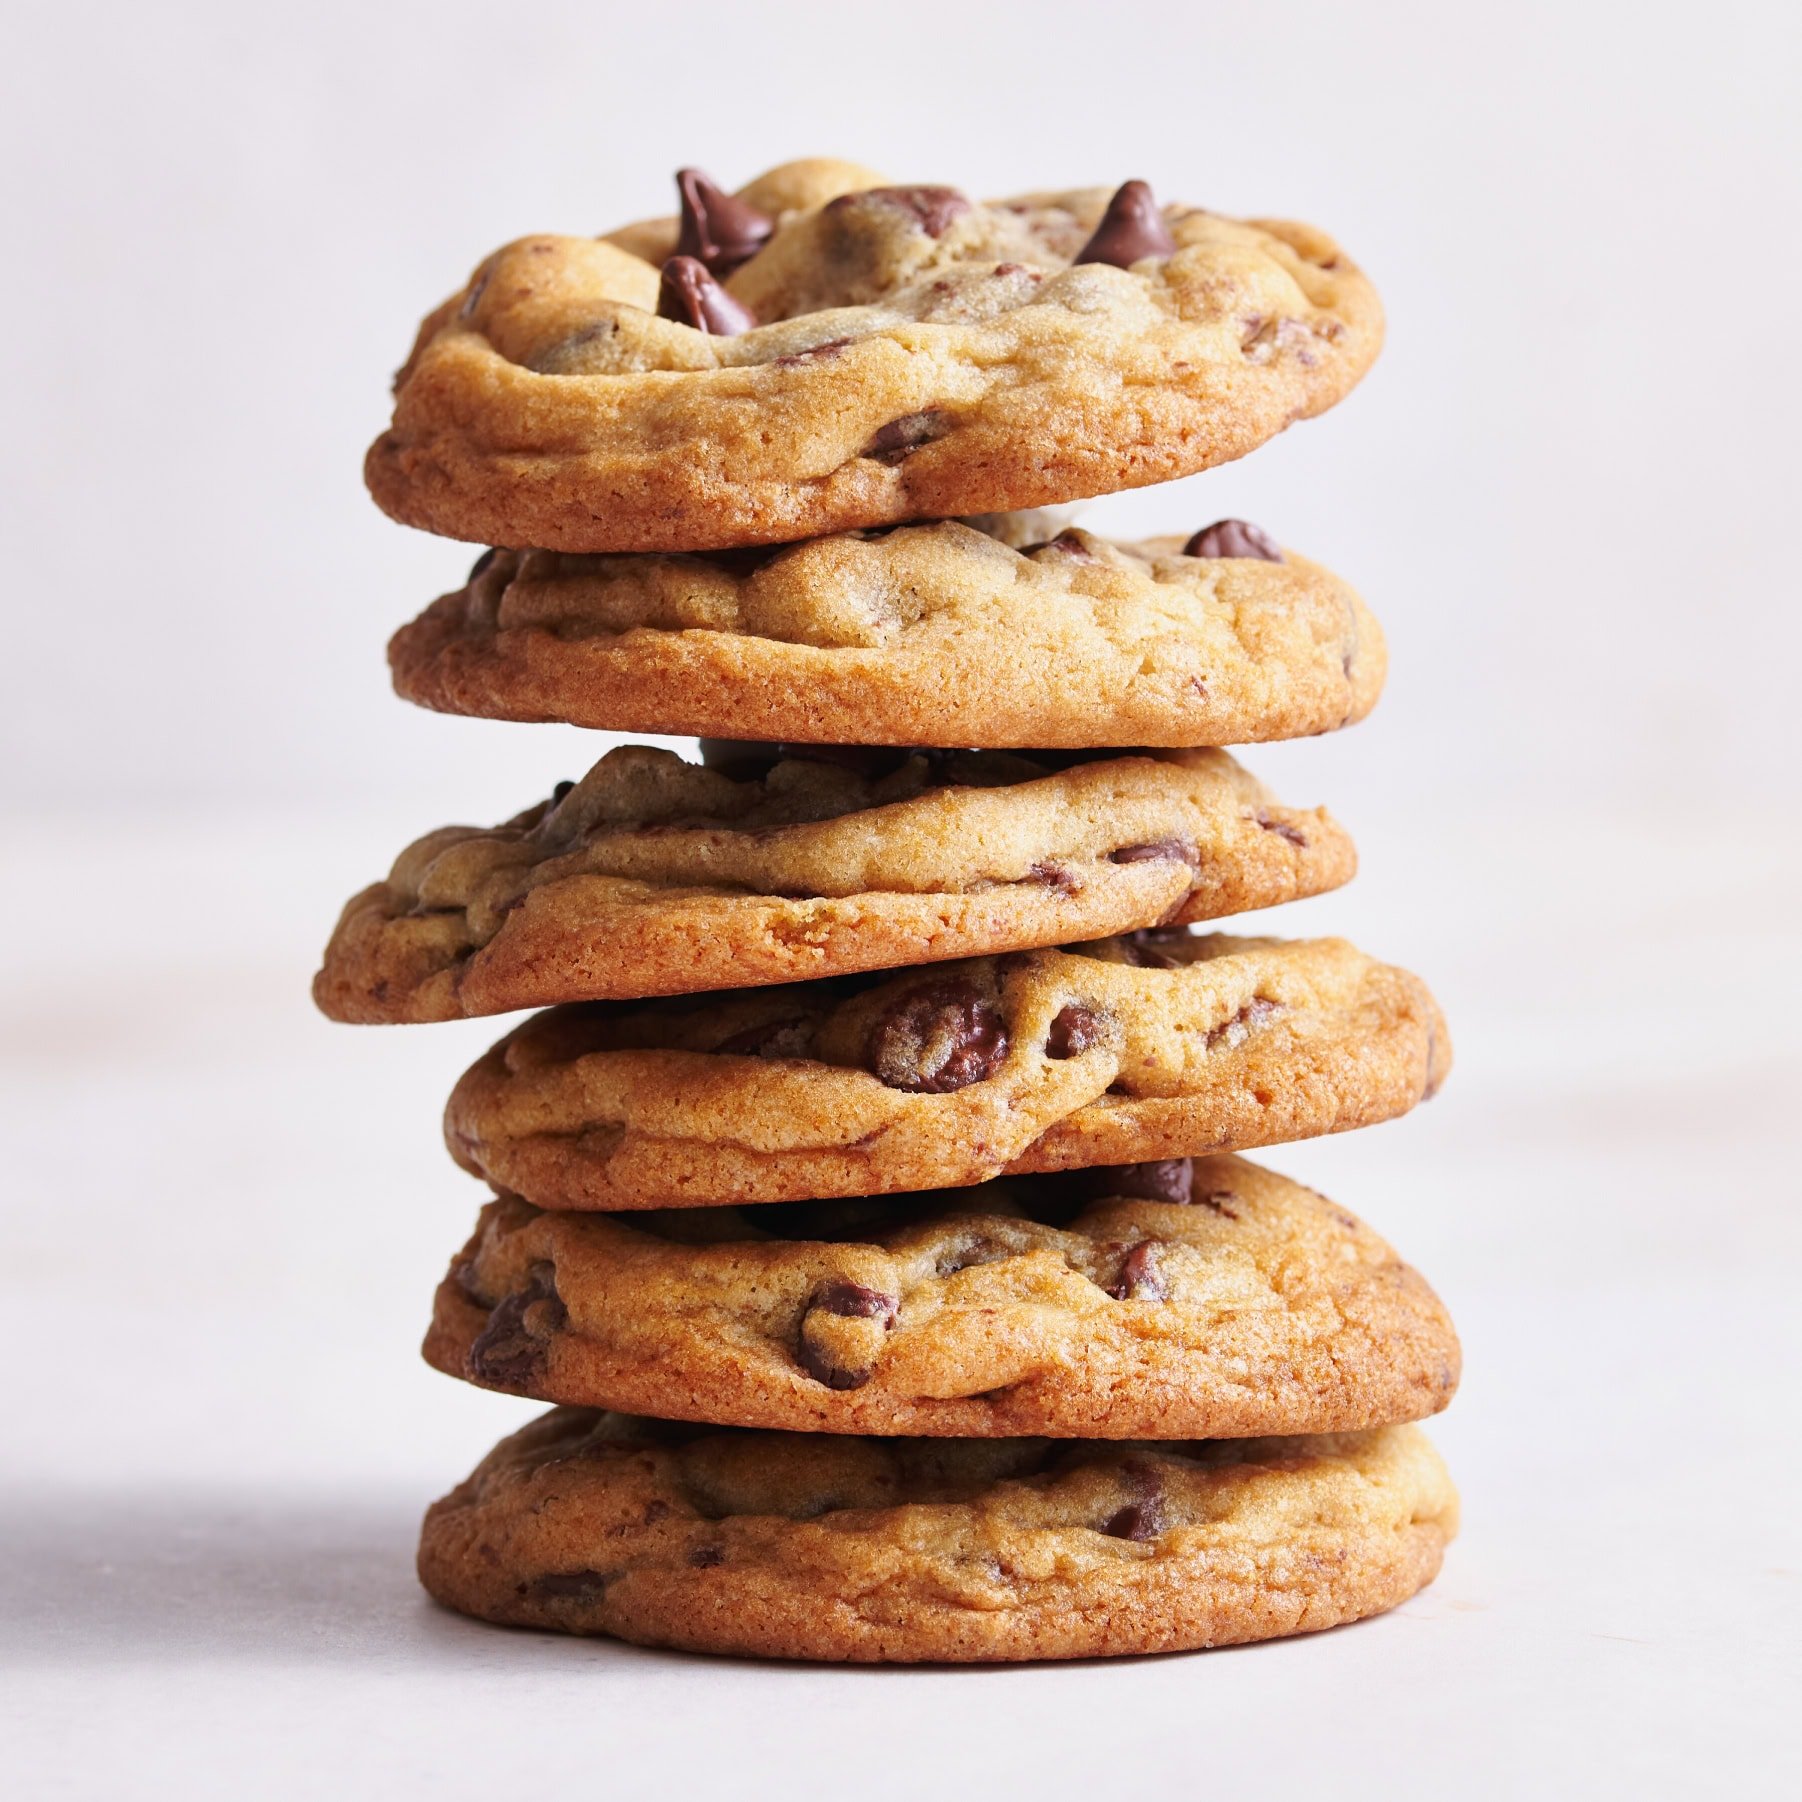
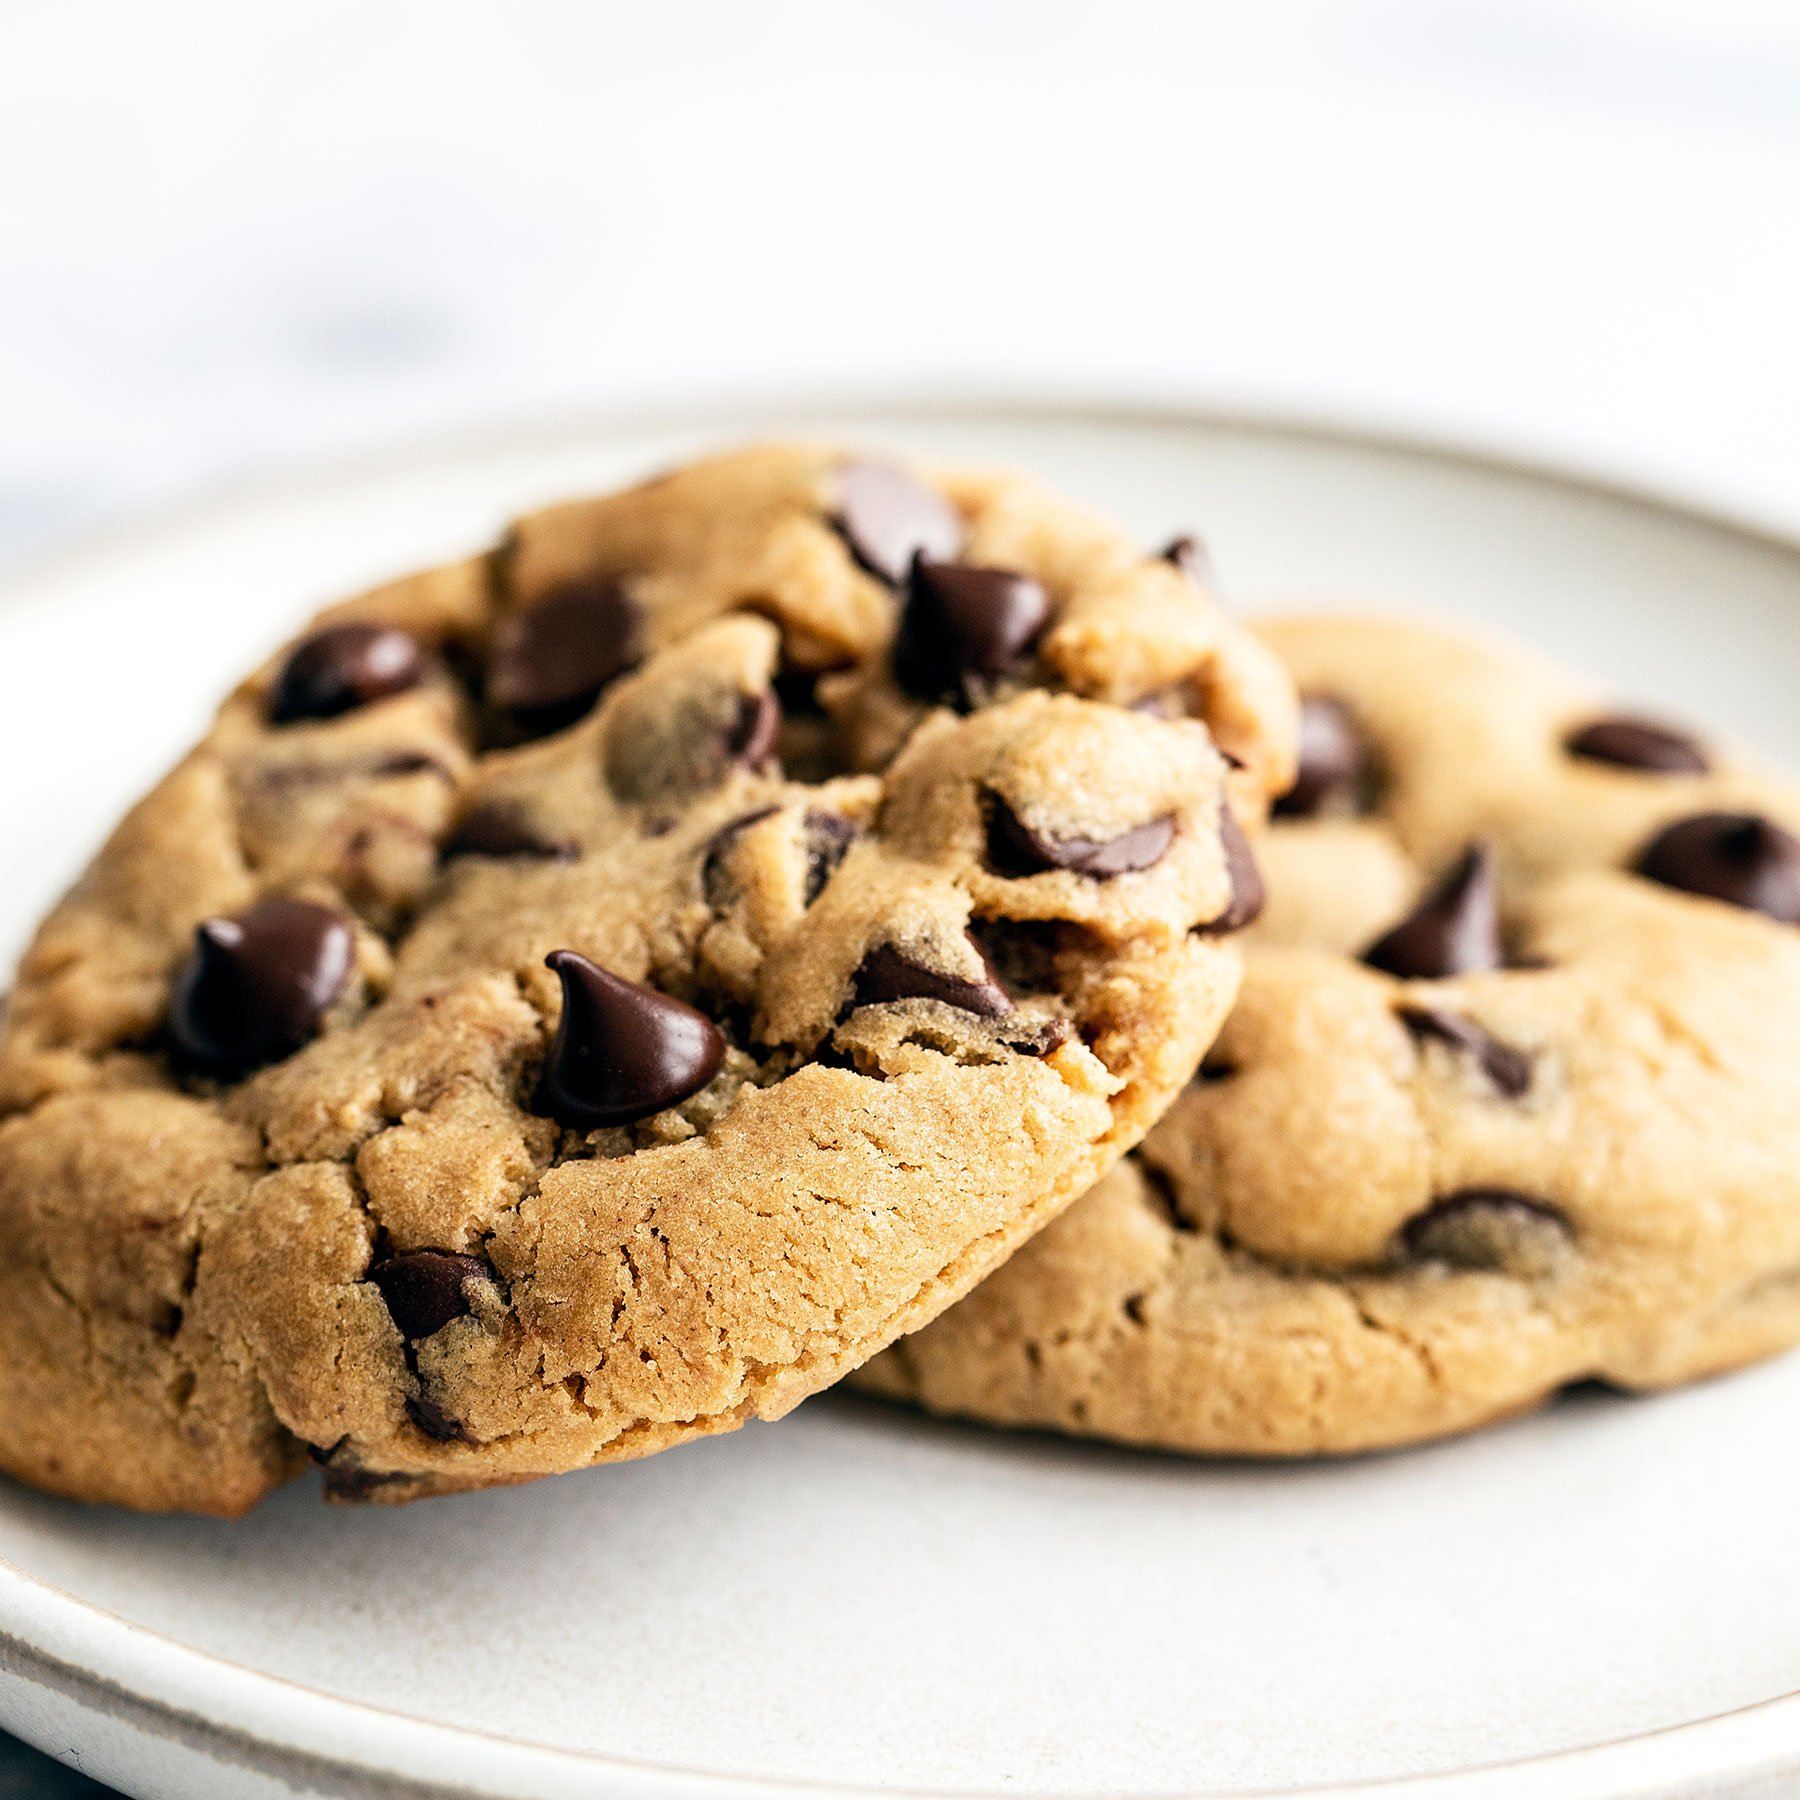
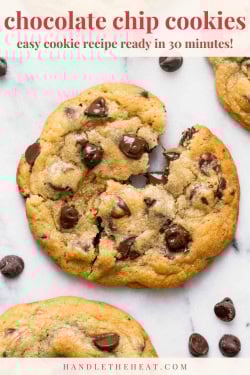
Bakery Style Chocolate Chip Cookies
Finally, the perfect Bakery Style Chocolate Chip Cookies, with a thick chewy texture, soft center, and golden brown edges. This kitchen-tested, easy recipe can be made in 30 minutes. Now with gluten-free and egg-free options! -
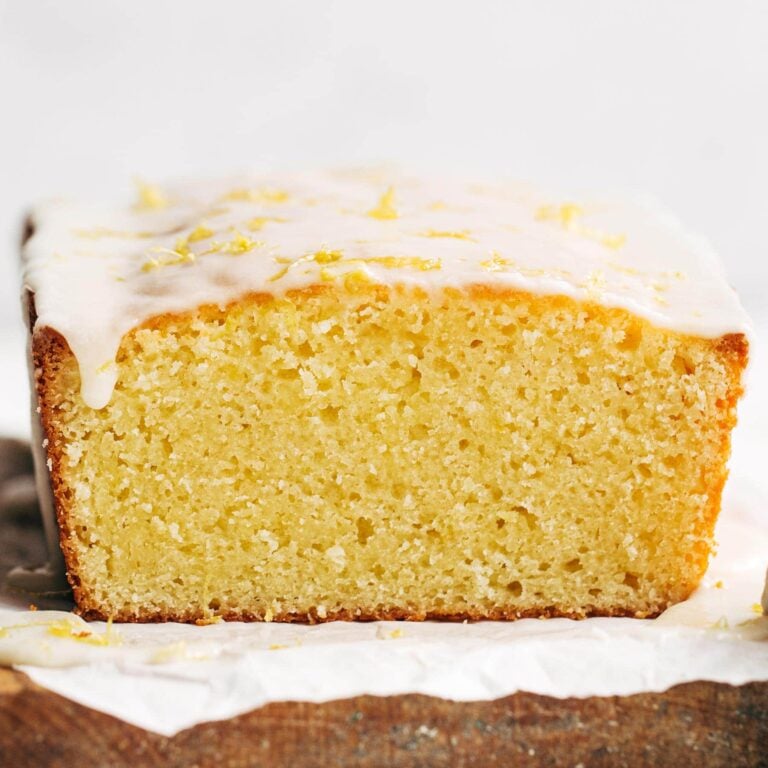
Lemon Pound Cake Loaf
This ultra-buttery lemon loaf is bursting with fresh citrus flavor and topped with a thick glaze. Even better than Starbucks and easy to make!

The Science of Baking
Baking Troubleshooter
Results
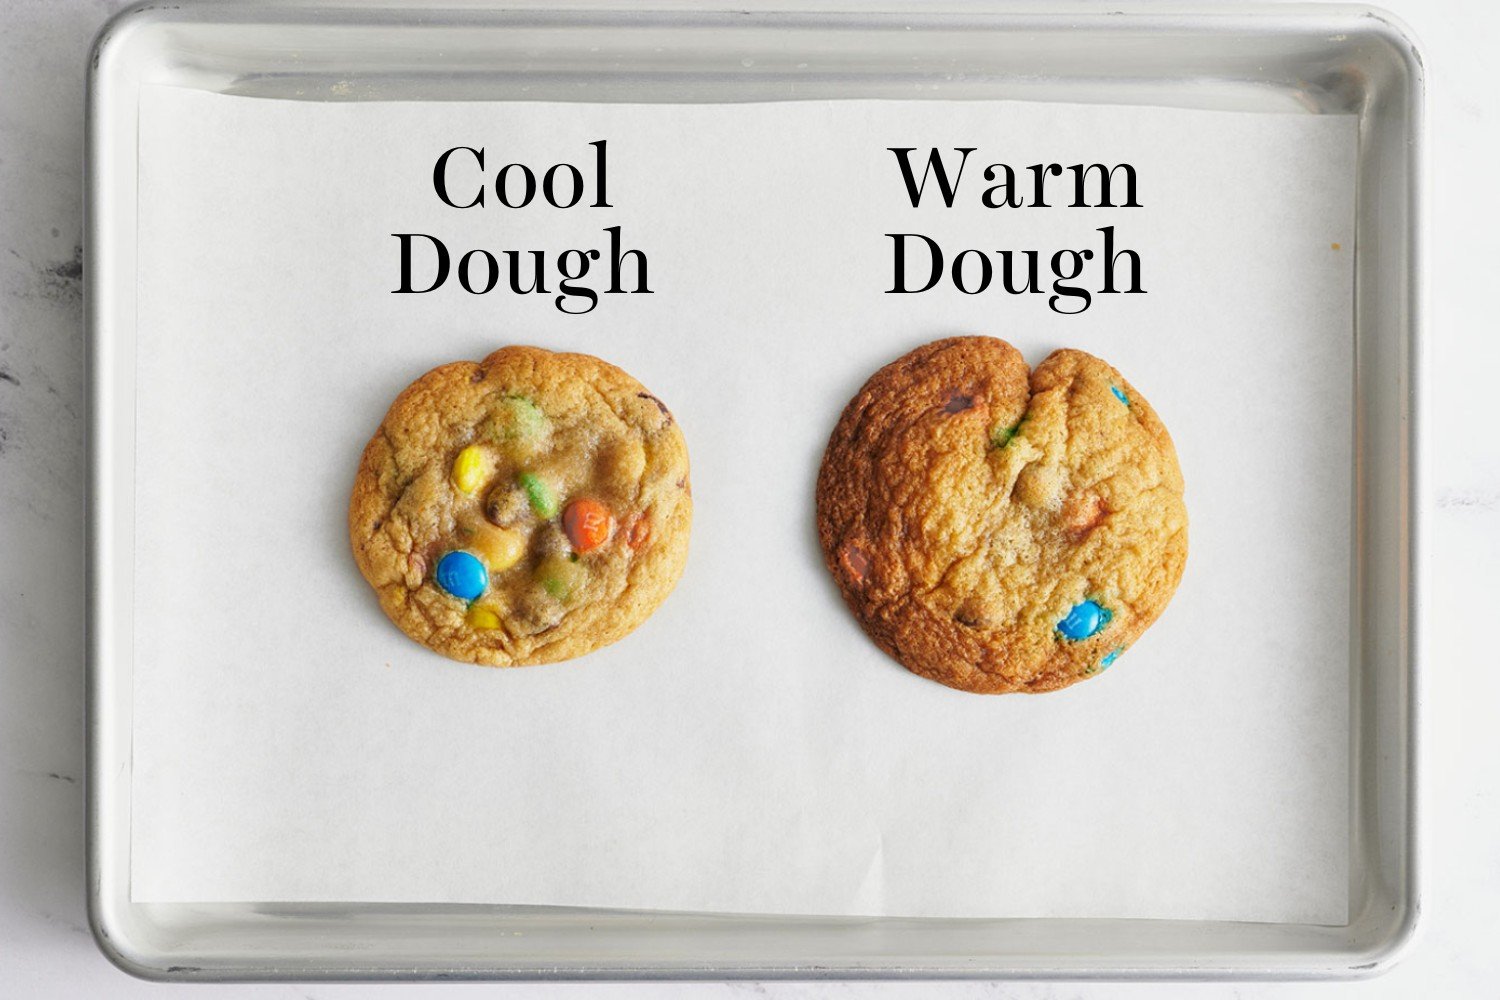
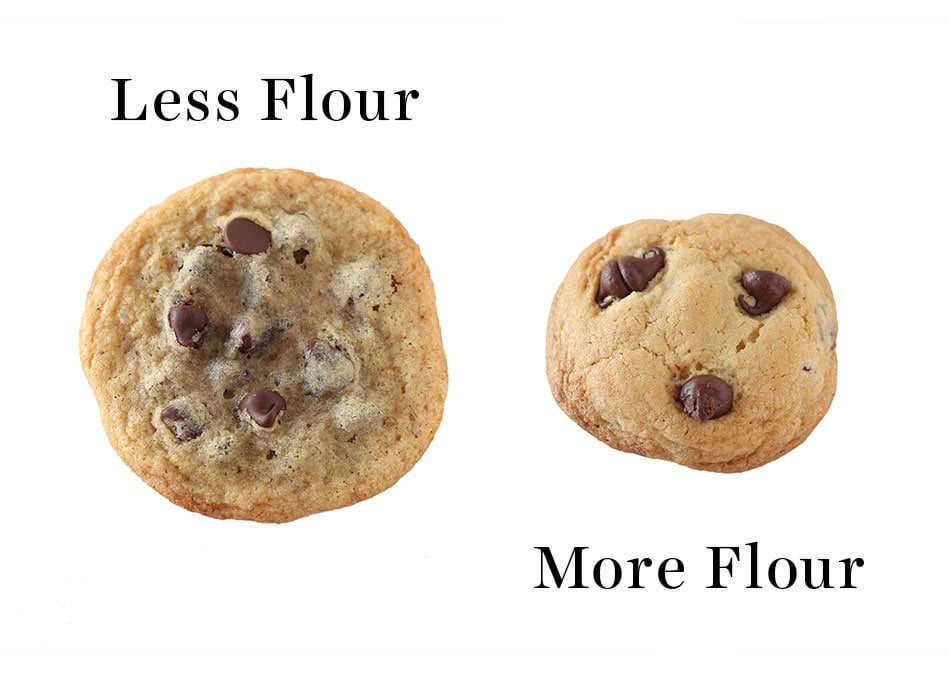
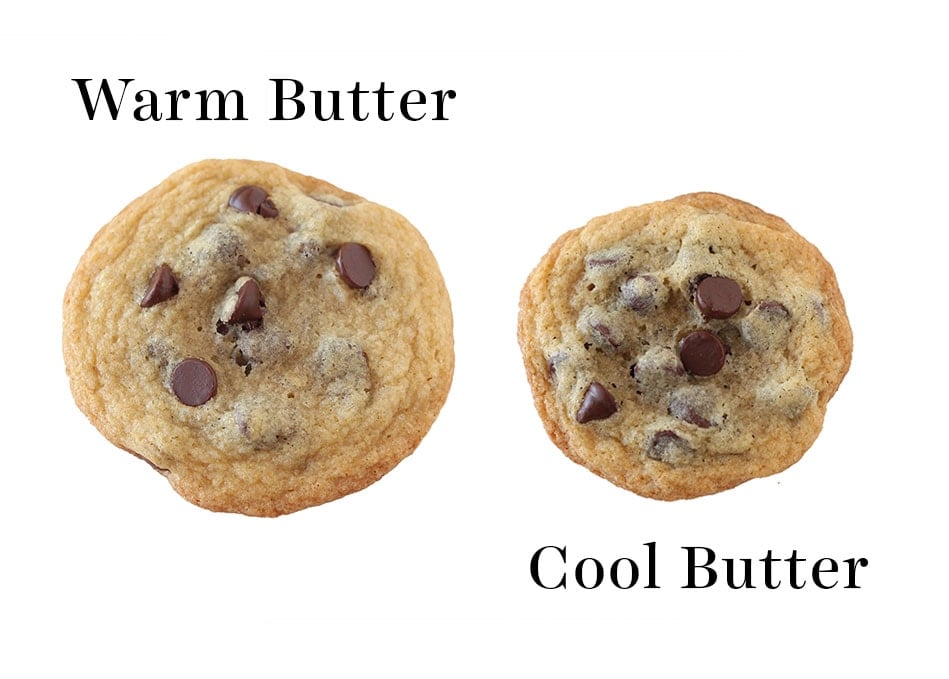
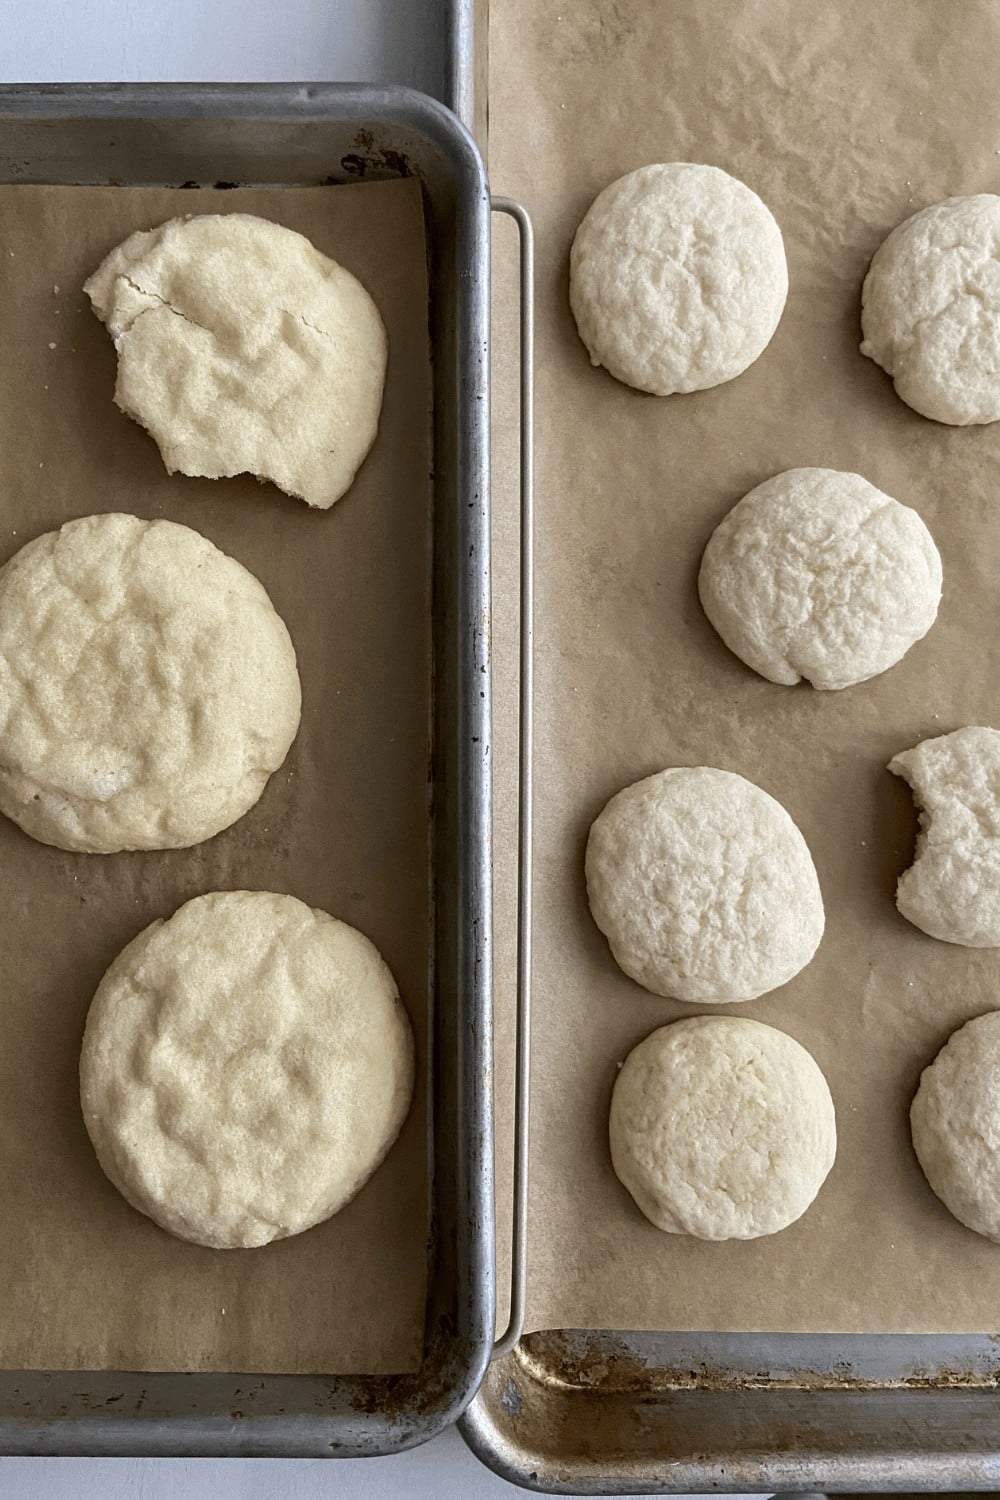
My cookie spread into flat puddles
My cake or cupcakes sunk in the center
My buttercream is gritty
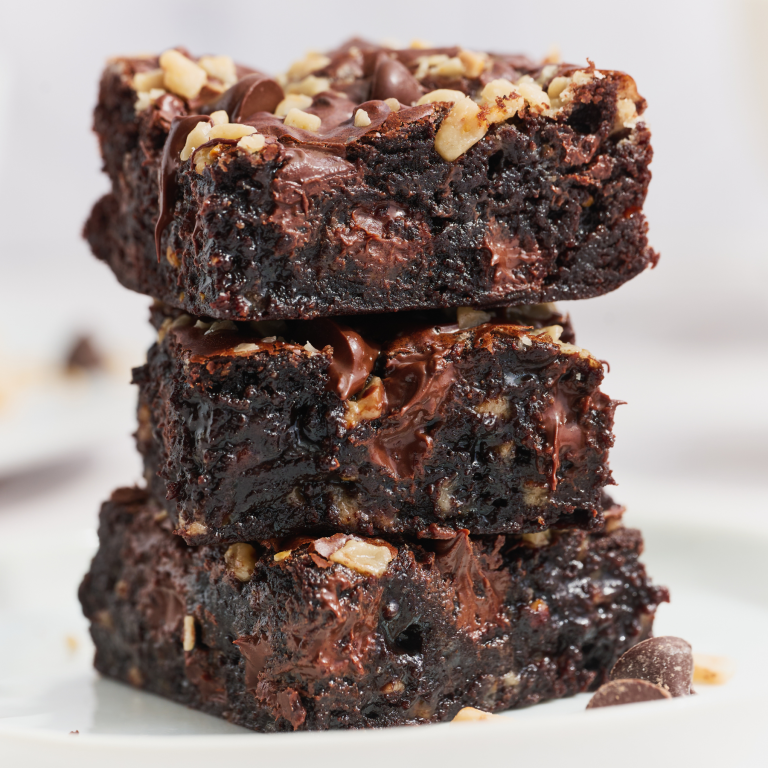
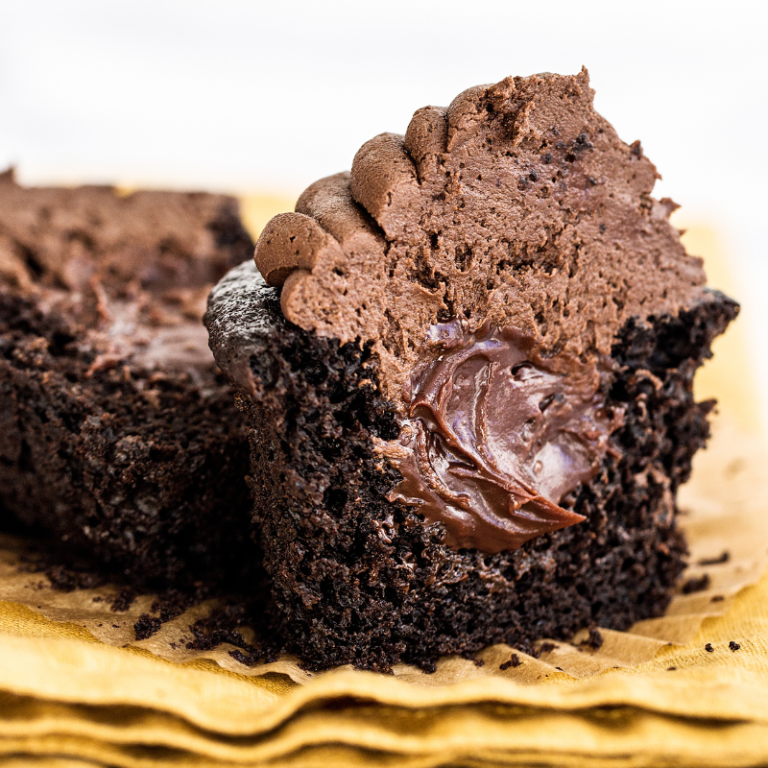
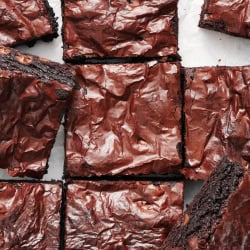
My brownies are gummy or too gooey in the center
Common Causes
- Was the butter or dough too warm?
- The dough may have been too "wet."
- The oven temperature may have been too cold.
- Did you use nonstick cooking spray?
- Was the pan still hot from a previous batch?
How to Fix It
- To cream butter and sugar, the butter should be at a cool room temperature, about 67°F. Keep the butter and dough at this temperature until you bake the cookies to avoid spreading.
- Make sure to measure your flour correctly (ideally, by weighing it). If you're using unbleached flour (which is less absorbent) or live in a humid environment, you may need to add 1-3 tablespoons extra flour.
- If your oven is too cold, the cookie dough won't be able to set at the edges before it spreads too much. Thoroughly preheat your oven for at least 10 minutes before baking. Better yet, check your oven's accuracy with an oven thermometer.
- Never use nonstick spray for baking cookies, it causes excess spreading. I prefer to bake on parchment paper.
- Only bake on room temperature pans.
Common Causes
- Your cake or cupcakes were underbaked.
- Your leaveners are expired.
- The oven door was opened & closed too many times, or even slammed.
- You're baking at high altitude.
- Your batter was overbeaten.
How to Fix It
- Be sure to bake for long enough. For most recipes, you want a toothpick inserted into the center to return a small amount of moist crumbs or none at all. If it comes out with wetness or raw batter still clinging on, it’s not baked through and will likely sink. Cakes are done when they reach an internal temperature of 205 to 210°F.
- Be sure your baking powder and/or baking soda are fresh to be effective.
- For some ovens, opening and closing the door too frequently will reduce the temperature inside to the point your cake won't cook through fully. Slamming the oven door can also collapse a delicate cake.
- If you’re baking at a higher altitude, you’ll need less leavening to achieve the same result as sea level. Without proper altitude adjustments, your products may sink.
- The key to proper creaming of butter & sugar is incorporating just the right amount of air to achieve a light and fluffy texture. Too little air and your cake won’t rise properly; too much and it may collapse from being overly aerated. Avoid creaming at too high of speed.
Common Causes
- Didn't sift the powdered sugar.
- Used the wrong kind of powdered sugar.
- Didn't mix for long enough.
How to Fix It
- Always sift your powdered sugar with a sifter or fine mesh sieve before adding to the buttercream mixture.
- Be sure to use powdered sugar that's been ground to 10x fineness (5x may result in a gritty texture). Even better, use organic powdered sugar that contains tapioca starch instead of cornstarch for an even smoother consistency.
- Beat your buttercream with the paddle attachment for at least 5 minutes total to ensure a smooth texture.
Common Causes
- A glass or ceramic baking pan was used.
- The brownies weren't baked for long enough.
- The brownies weren't cooled before serving.
How to Fix It
- A metal pan is far more effective at baking brownies through the center than glass or ceramic. If that's all you have, you'll likely need to increase the baking time by 5-15 minutes because glass and ceramic take longer to cook.
- Brownies can be difficult to tell when done baking if they contain chocolate chips or chunks. Generally, a toothpick inserted into the center should come out with moist crumbs, but not raw batter. Bake for longer next time. Chill the underdone brownies to solidify if you still plan to serve them.
- If brownies are too hot when sliced and served, they won't have had the time to set fully.


HTH Recipe Development
Thousands of home bakers trust our recipes because they go through a rigorous recipe development and testing process to ensure they will turn out in every home kitchen.
1. Ideation and round 1 testing
Tessa conceptualizes and drafts the recipe, then tests it in the kitchen over and over until the desired taste, texture, and appearance are achieved.
2. Testing and reporting with team HTH
Tessa passes the recipe to Emily on the HTH team to test in her home kitchen in Michigan. She fills out our Recipe Testing Report to confirm whether or not the recipe was a success.
3. Testing for finer details
After retesting, we also test alternative pan sizes, brands of ingredients, or substitutions for harder-to-find ingredients during this process to accurately answer community questions.
4. Finalize, final bake, and photoshoot
Once the recipe is finalized, only then do we take it to our photographer’s studio and make it once again for its final glamour shots!
Browse Recipes
-
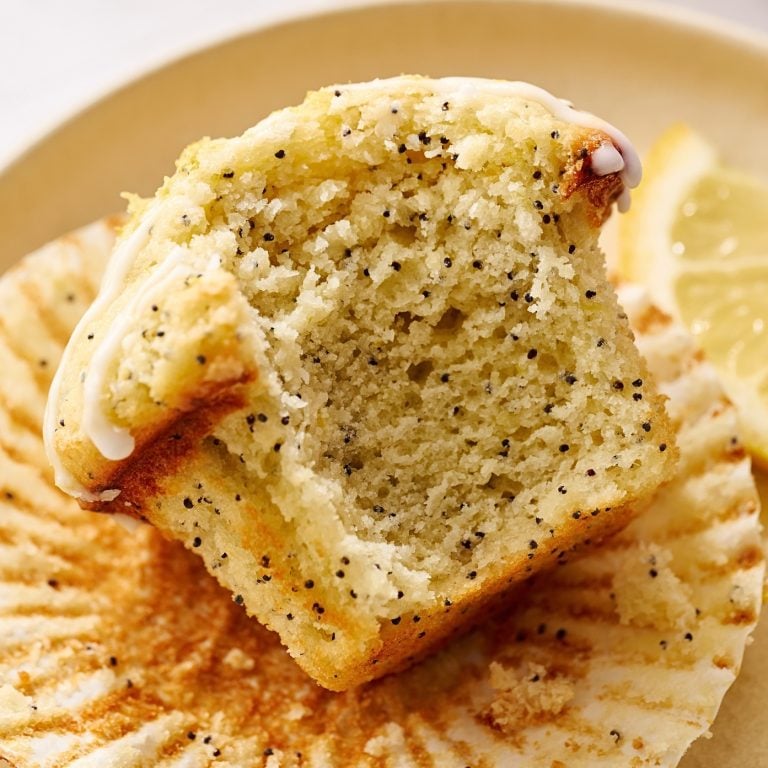
Lemon Poppy Seed Muffins
These Lemon Poppy Seed Muffins bake up tall, soft, and tender with bright lemon flavor. Includes the key tricks for bakery-style muffin tops. -
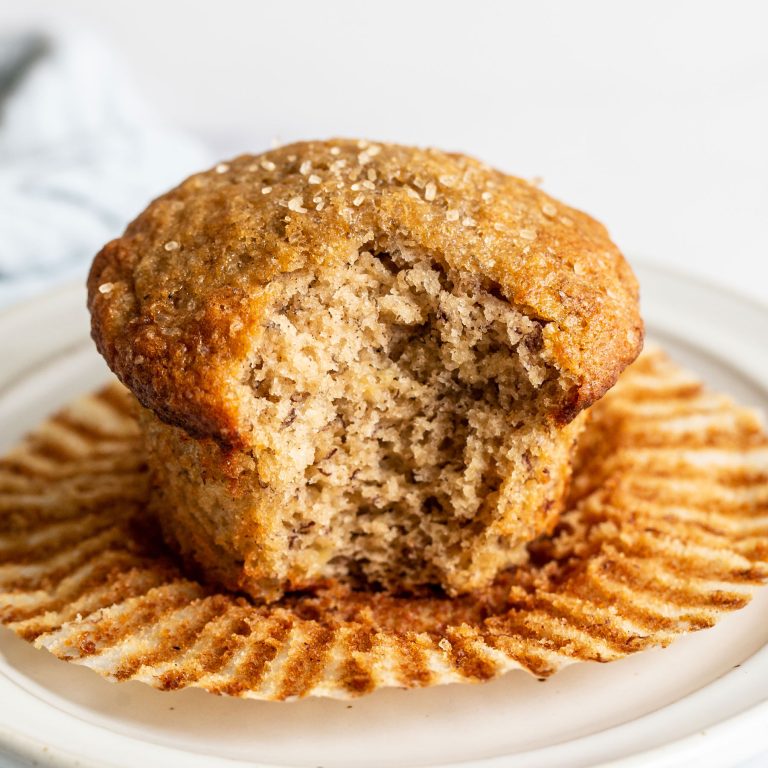
Bakery Style Banana Muffins
Learn how to make tall, moist Bakery Style Banana Muffins with bakery-perfect domes. Tested tips for fluffy texture, bold banana flavor, and no gumminess. -
Double Chocolate Banana Muffins
Double Chocolate Banana Muffins are MOIST, tender, and so easy to make! These bakery-quality muffins are ready in just 30 minutes! -
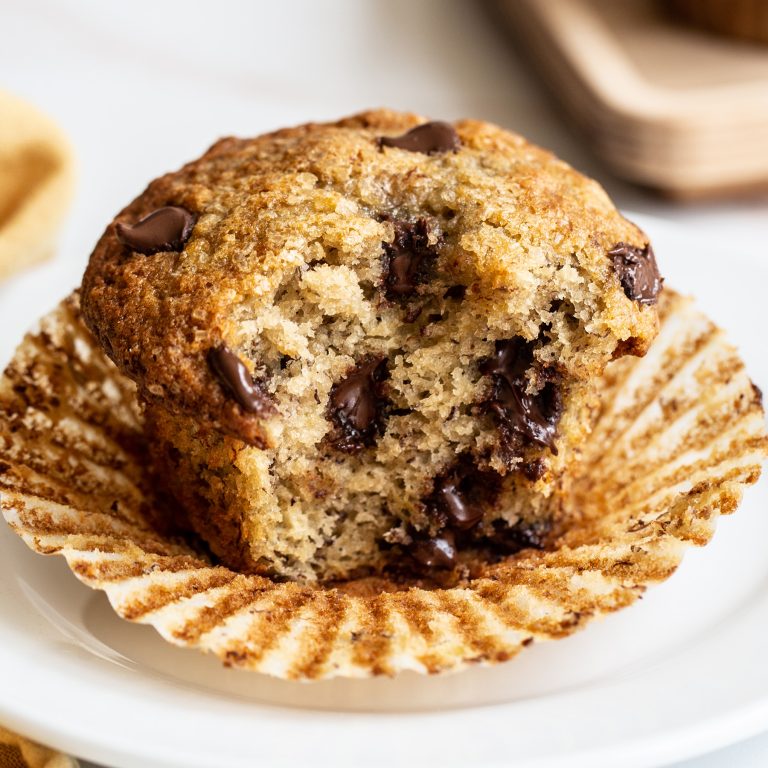
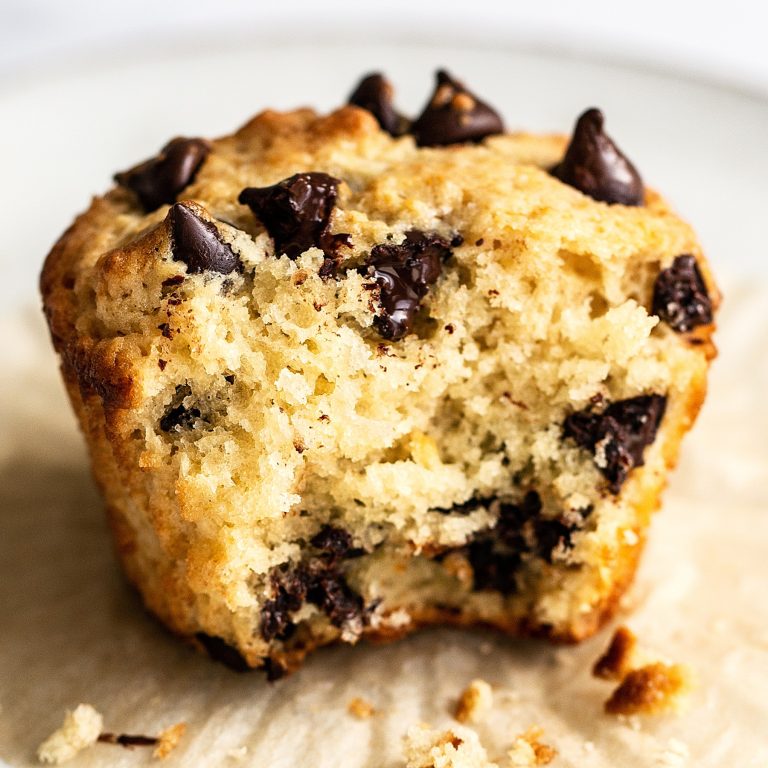
Banana Chocolate Chip Muffins
These banana chocolate chip muffins bake up better than the bakery! Carefully tested, easy recipe with baking-science tips for perfect muffins. -
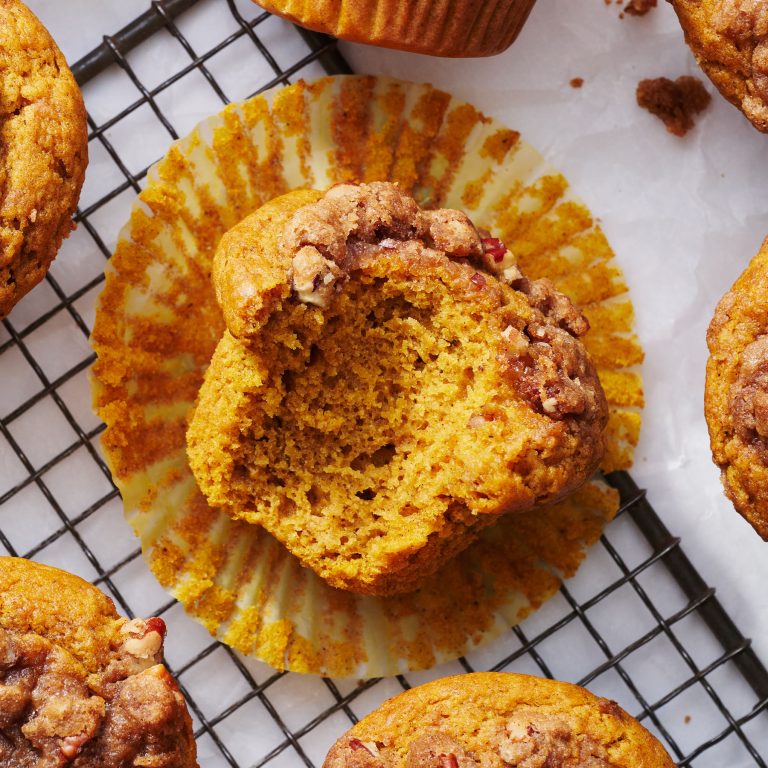
Pumpkin Muffins
Pumpkin Muffins are loaded with spices and topped with a brown sugar pecan streusel. So dreamy, EASY, and ready in under 1 hour!
-
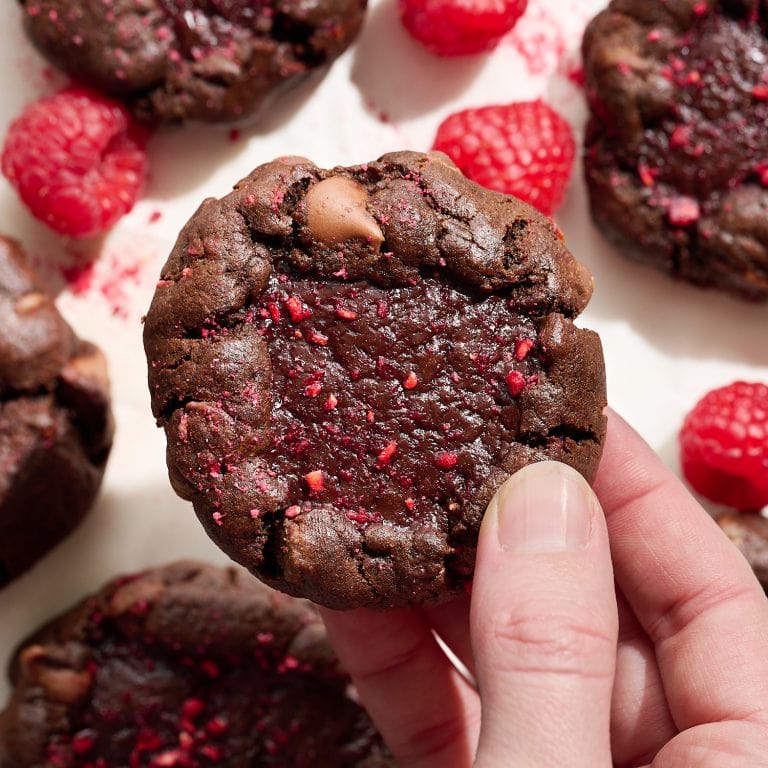
Chocolate Raspberry Truffle Cookies
These Chocolate Raspberry Truffle Cookies are thick, fudgy, and stuffed with raspberry ganache for an impressive and pretty cookie with rich flavor. -
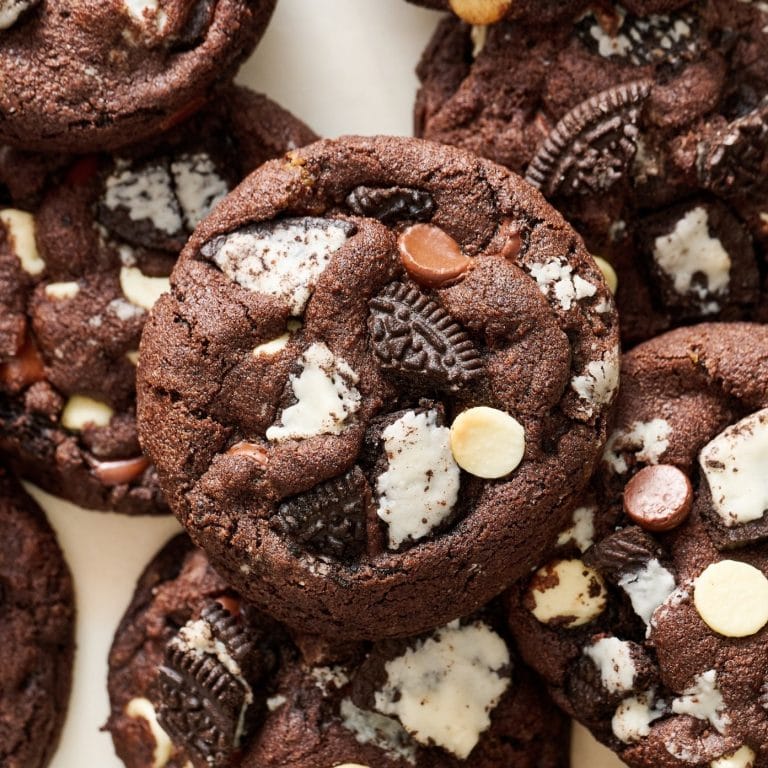
Chocolate Cookies & Cream Cookies
Thick, fudgy cookies and cream cookies with a chocolate base and crushed Oreos baked right in. No stand mixer or softening butter required. Tested results every time! -
Brookies
These brookies combine fudgy brownies and chewy chocolate chip cookies into one luscious bite. Kitchen-tested with tons of baking tips! -
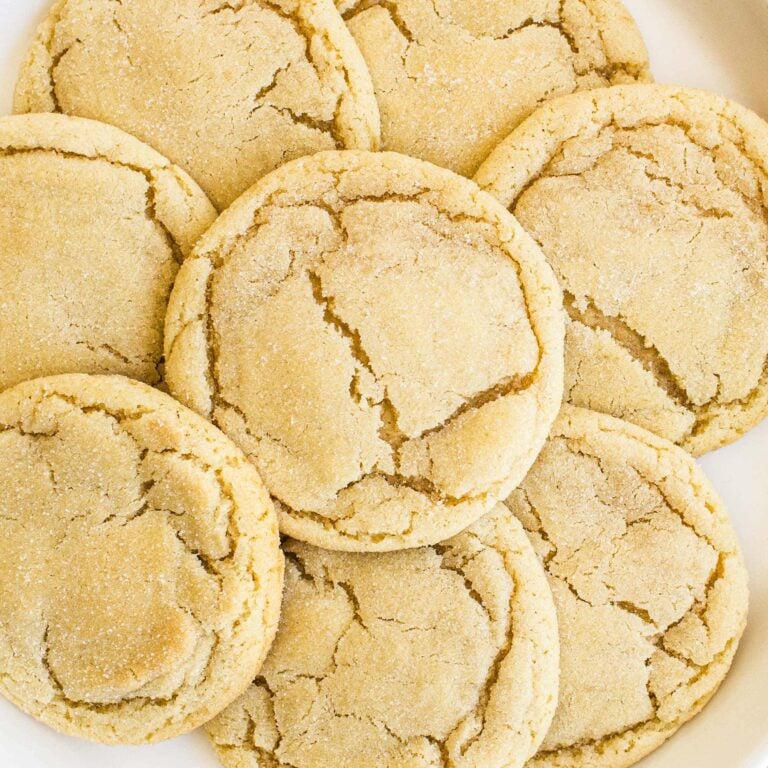
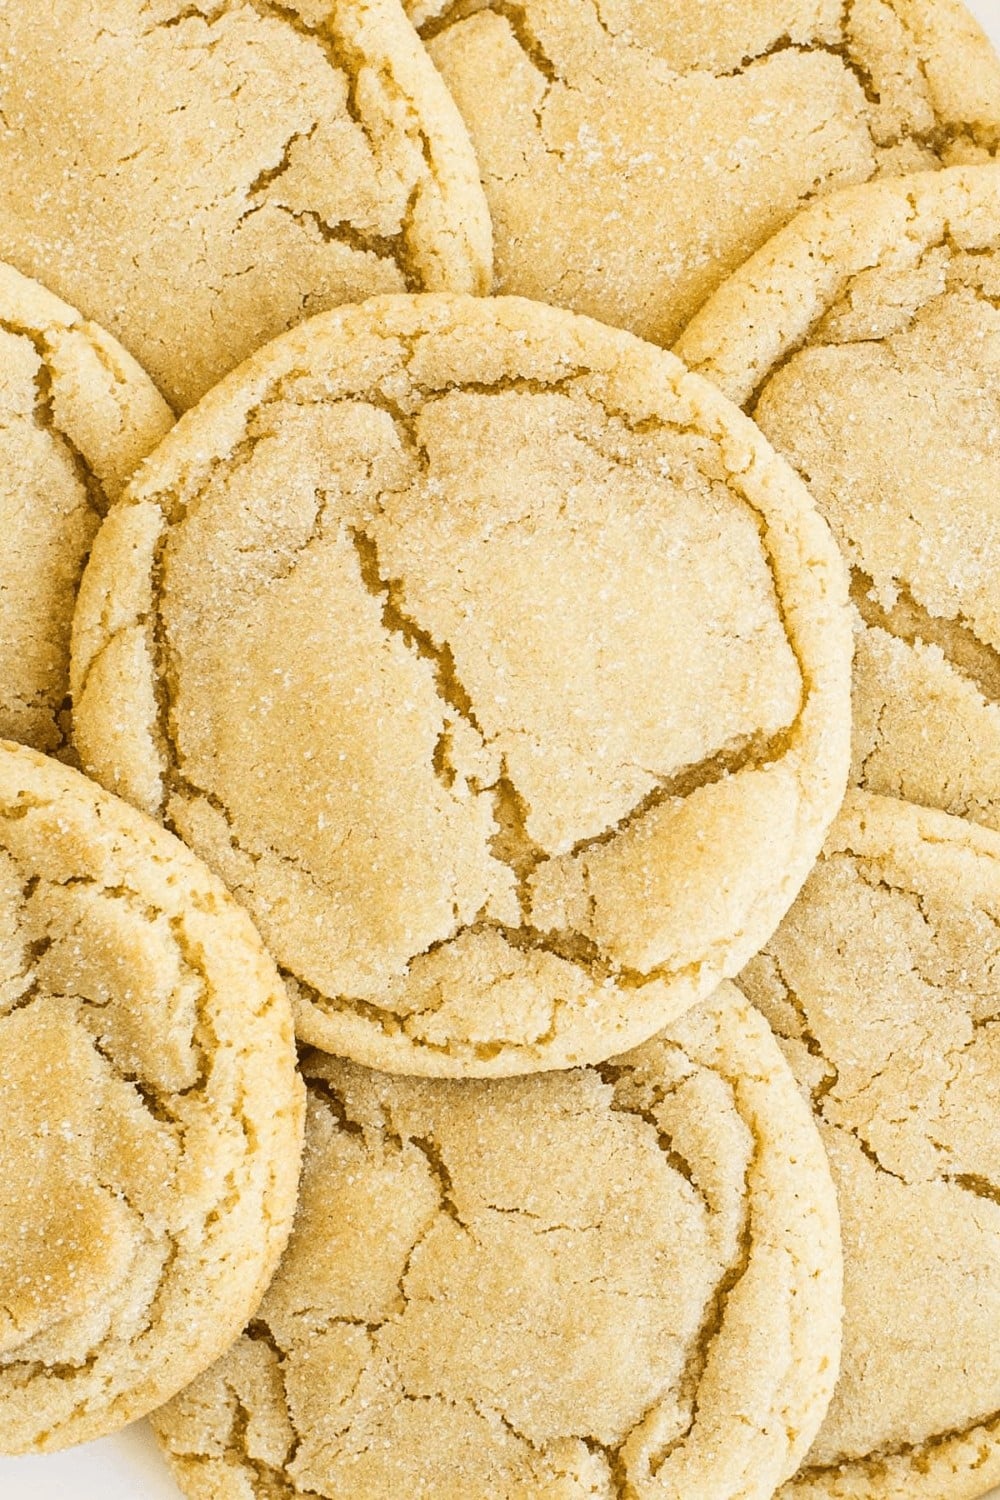
Soft and Chewy Sugar Cookies
My go-to recipe, these Soft and Chewy Sugar Cookies are perfectly tender and soft with just the right amount of chewiness. They take just minutes to make with ingredients you may already have in your kitchen! -
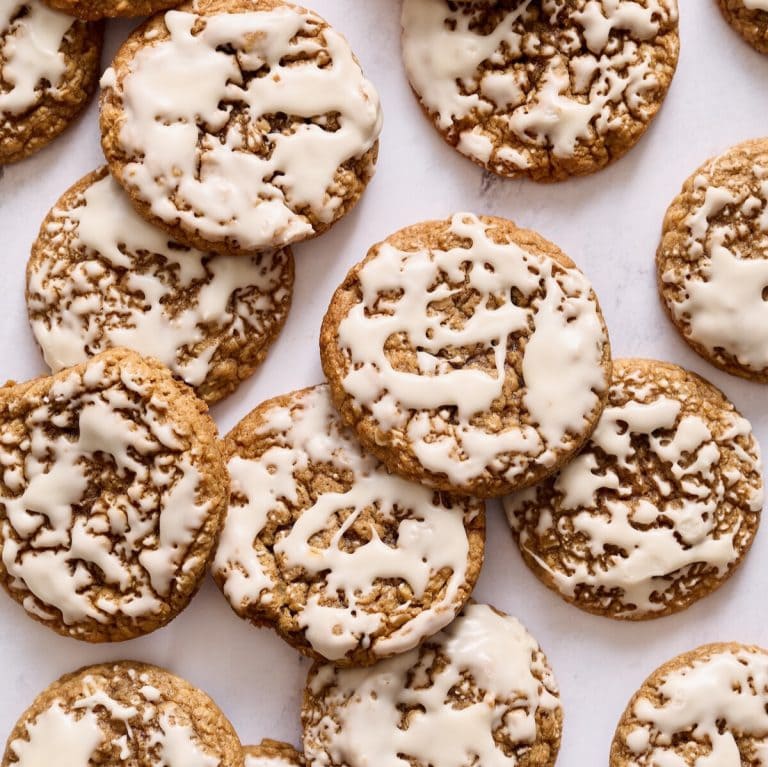
Iced Oatmeal Cookies
Nostalgic, cozy, and chewy, these easy Iced Oatmeal Cookies have a hint of spice and a pretty vanilla glaze. Just like the ones grandma made, but even better! -
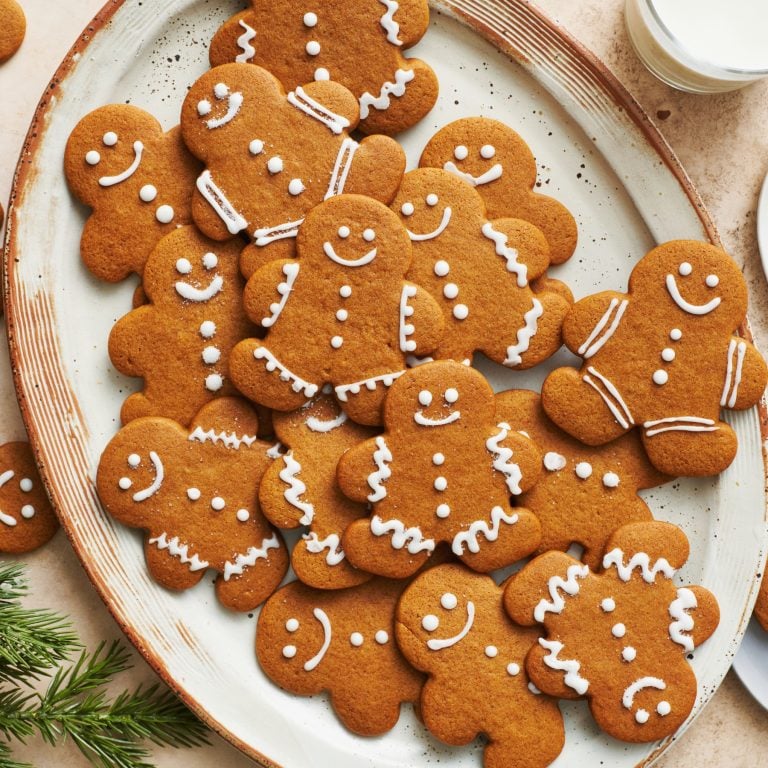
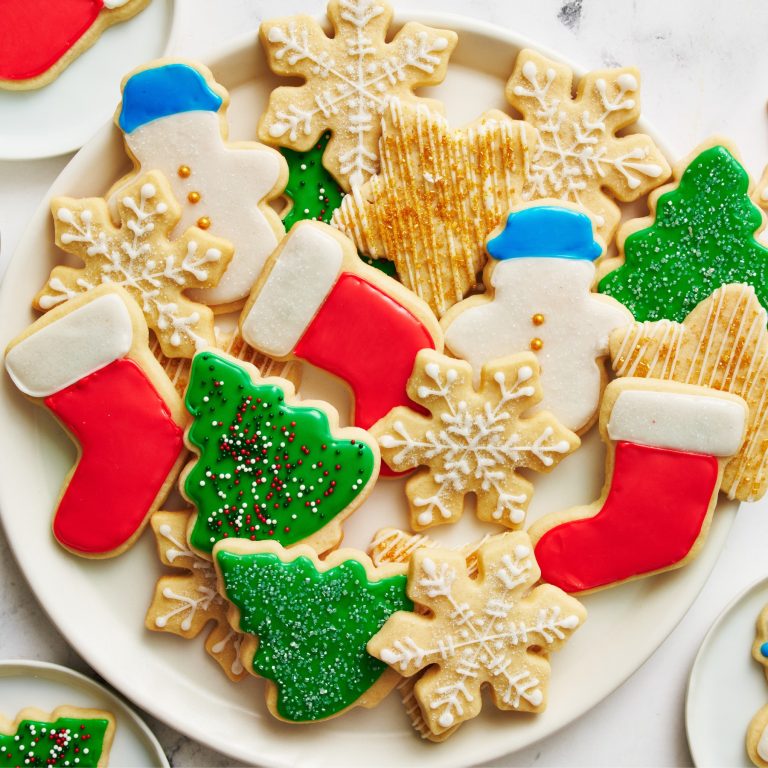
Gingerbread Cookies
These gingerbread cookies strike the perfect balance: soft yet sturdy, warmly spiced without being overpowering. They’re easy to bake, fun to decorate, and sure to become a holiday favorite.
-
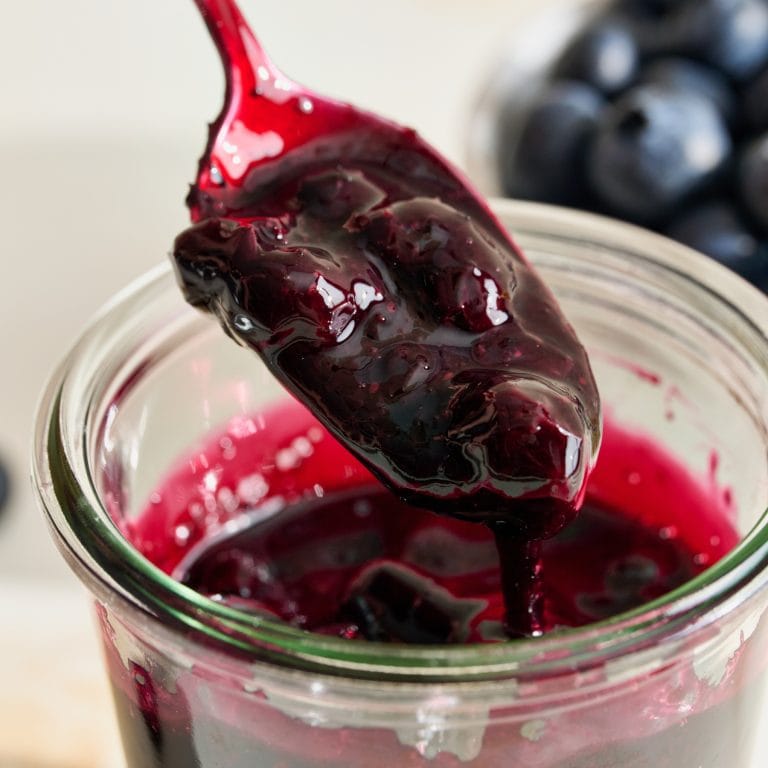
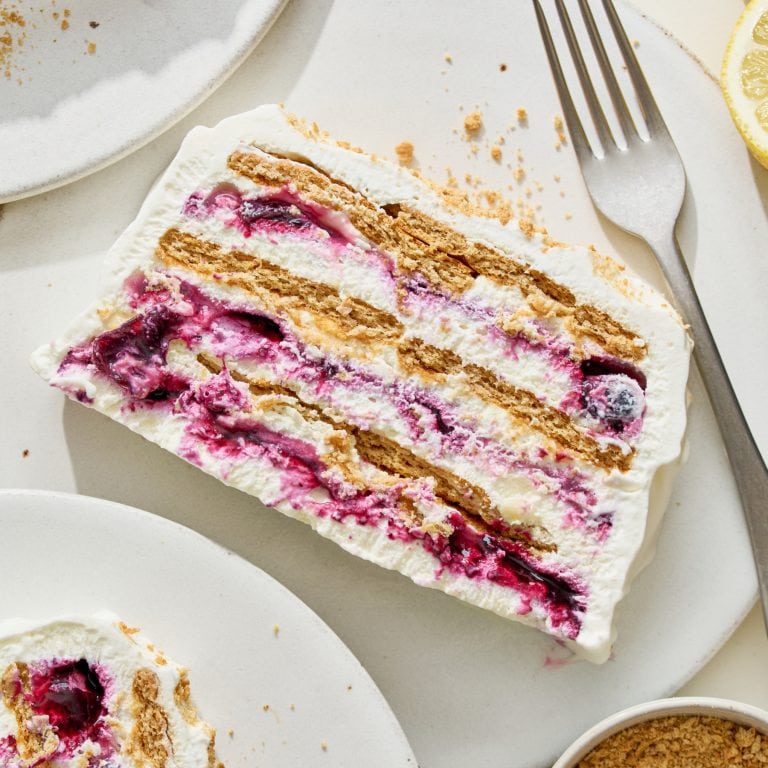
Blueberry Lemon Icebox Cake
This Blueberry Lemon Icebox Cake features layers of mascarpone whipped cream, lemon curd, and a homemade blueberry sauce in between graham crackers. No oven needed! -
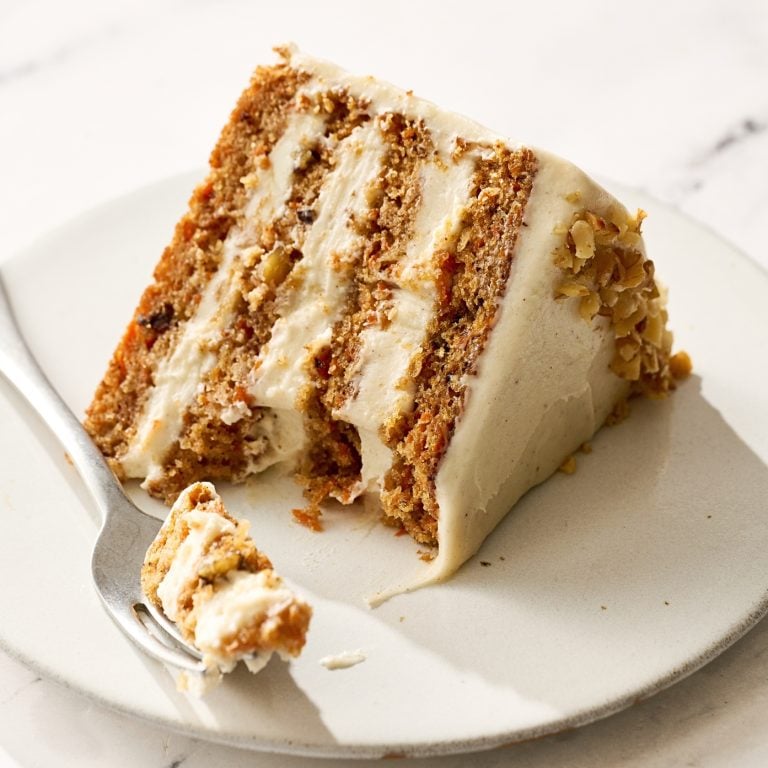
Brown Butter Carrot Cake
This brown butter carrot cake is ultra moist, warmly spiced, and topped with cinnamon cream cheese frosting. A tested, bakery-quality recipe! -
Best Chocolate Cake
This is the BEST Chocolate Cake recipe—deeply chocolatey, ultra-moist, and easy to decorate, slice, and serve. -
Lemon Pound Cake Loaf
This ultra-buttery lemon loaf is bursting with fresh citrus flavor and topped with a thick glaze. Even better than Starbucks and easy to make! -
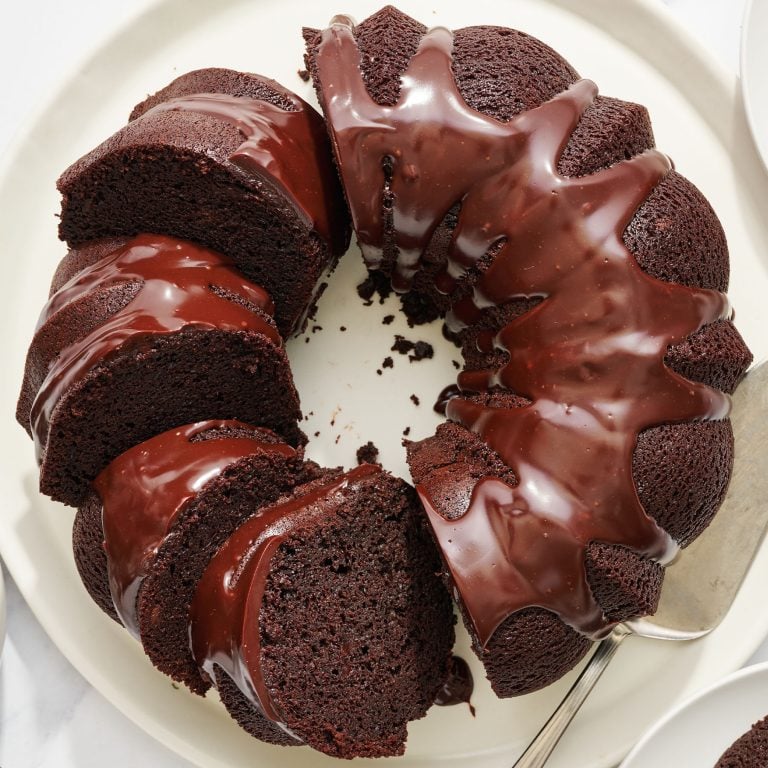
Chocolate Bundt Cake
Fudgy, rich, and moist, this Chocolate Bundt Cake is a surefire hit with any chocolate-loving crowd. It’s also super easy, with no stand mixer or decorating skills required. -
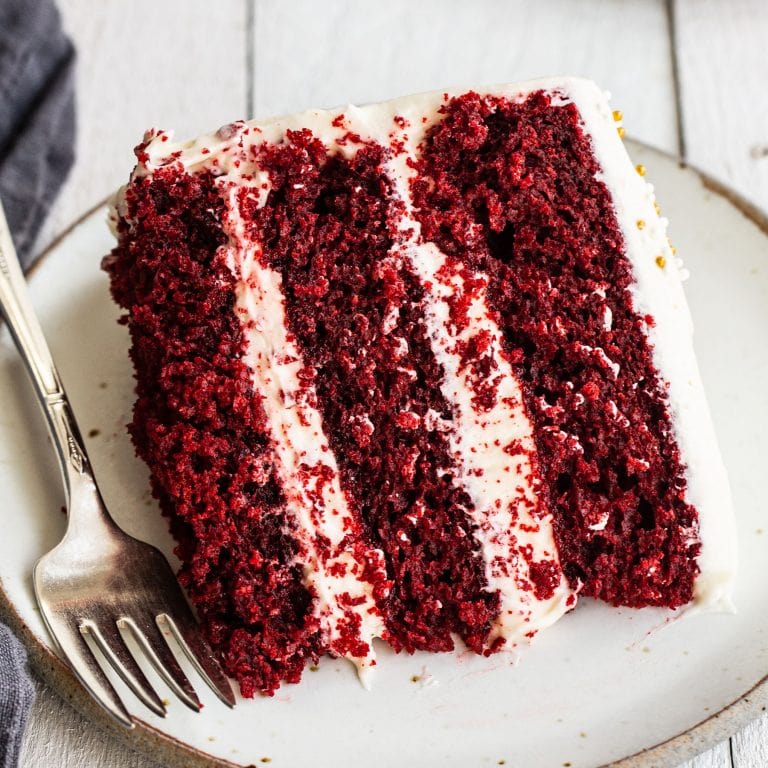
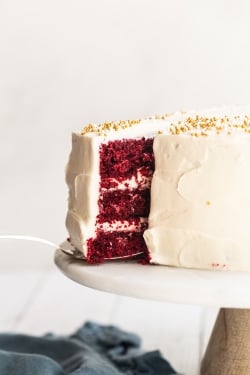
Red Velvet Cake
This red velvet cake is soft, moist, and buttery, topped with a creamy homemade frosting. The batter comes together easily and bakes up into tender, velvety layers.
-
Blueberry Lemon Icebox Cake
This Blueberry Lemon Icebox Cake features layers of mascarpone whipped cream, lemon curd, and a homemade blueberry sauce in between graham crackers. No oven needed! -
Brown Butter Carrot Cake
This brown butter carrot cake is ultra moist, warmly spiced, and topped with cinnamon cream cheese frosting. A tested, bakery-quality recipe! -
Best Chocolate Cake
This is the BEST Chocolate Cake recipe—deeply chocolatey, ultra-moist, and easy to decorate, slice, and serve. -
Lemon Pound Cake Loaf
This ultra-buttery lemon loaf is bursting with fresh citrus flavor and topped with a thick glaze. Even better than Starbucks and easy to make! -
Chocolate Bundt Cake
Fudgy, rich, and moist, this Chocolate Bundt Cake is a surefire hit with any chocolate-loving crowd. It’s also super easy, with no stand mixer or decorating skills required. -
Red Velvet Cake
This red velvet cake is soft, moist, and buttery, topped with a creamy homemade frosting. The batter comes together easily and bakes up into tender, velvety layers.
-
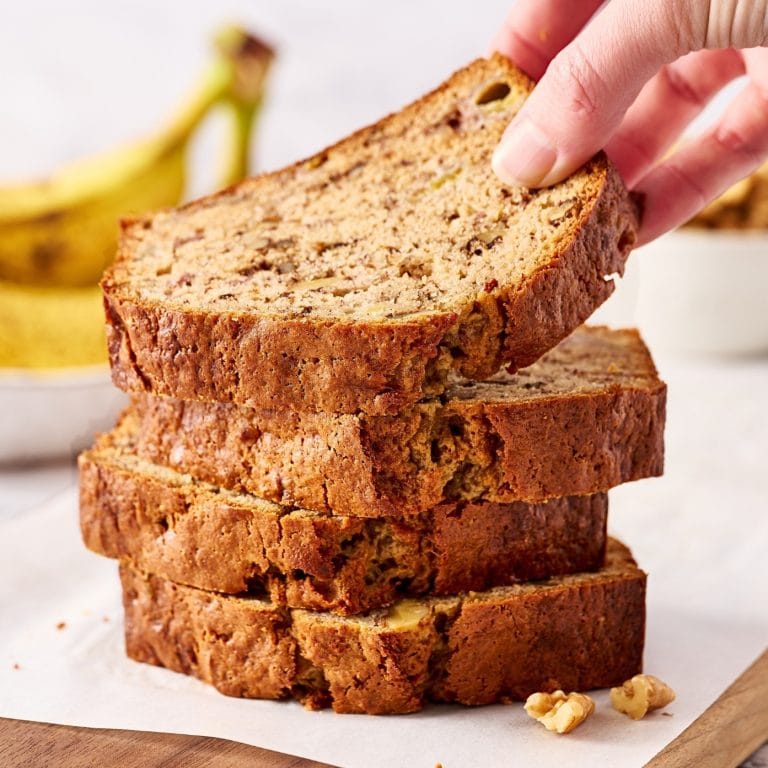
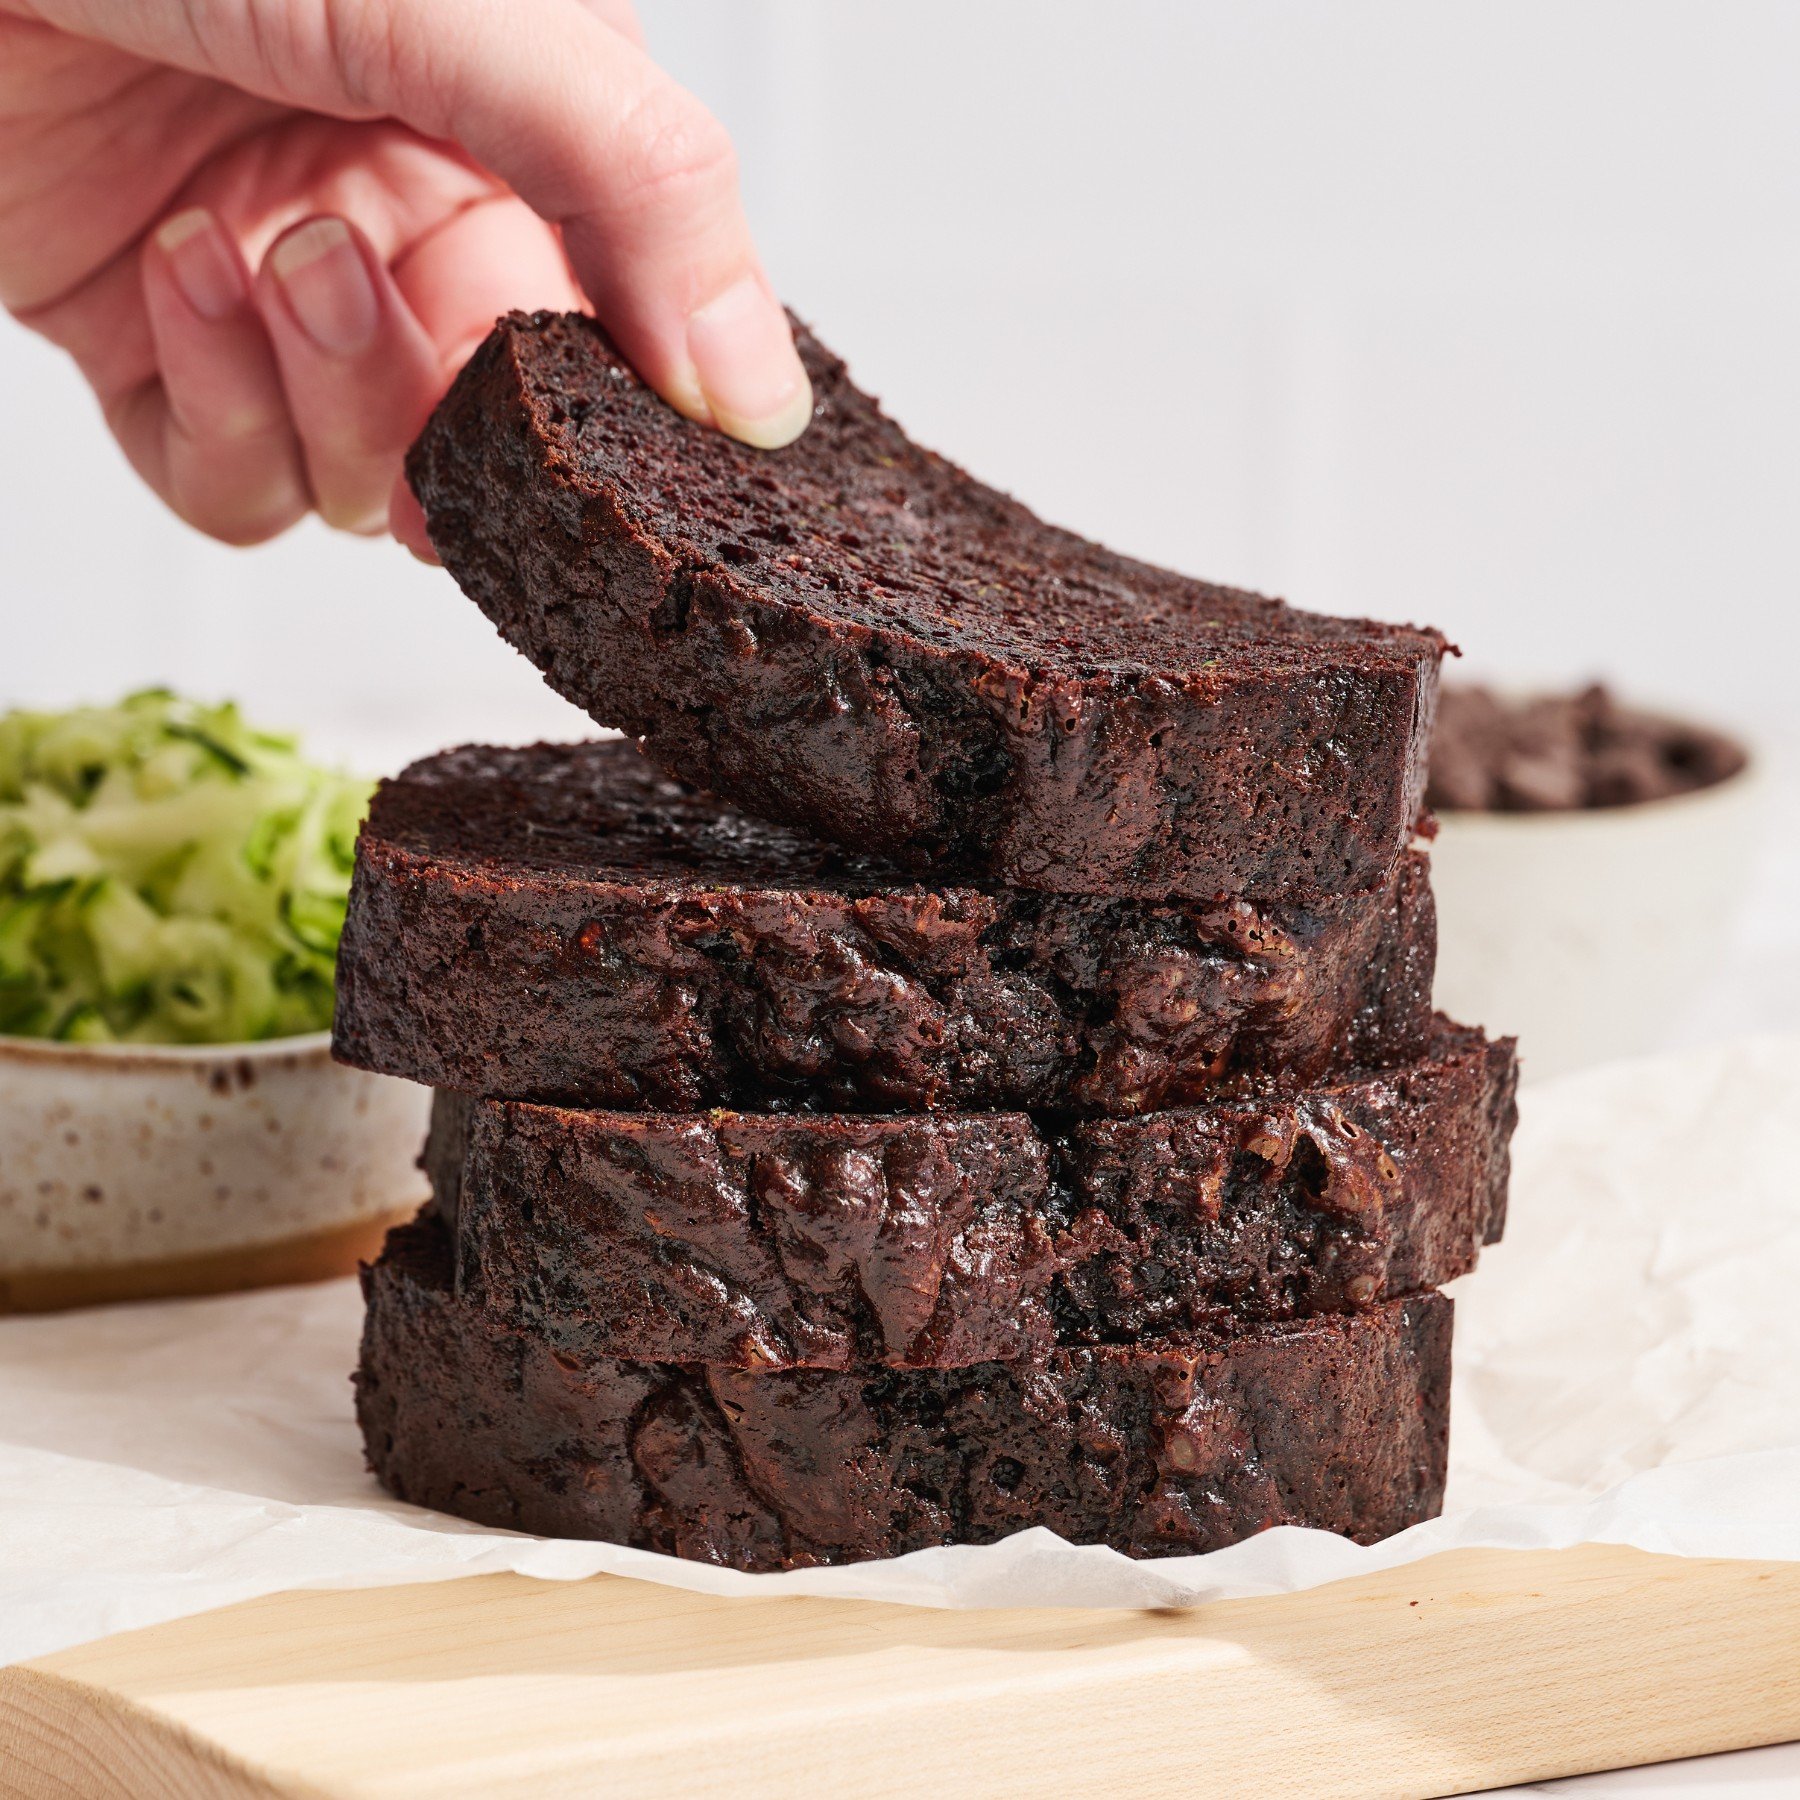
Banana Bread
After tons of testing, I've discovered the secret to perfectly moist banana bread (sour cream!). Quick and easy, no mixer required. -
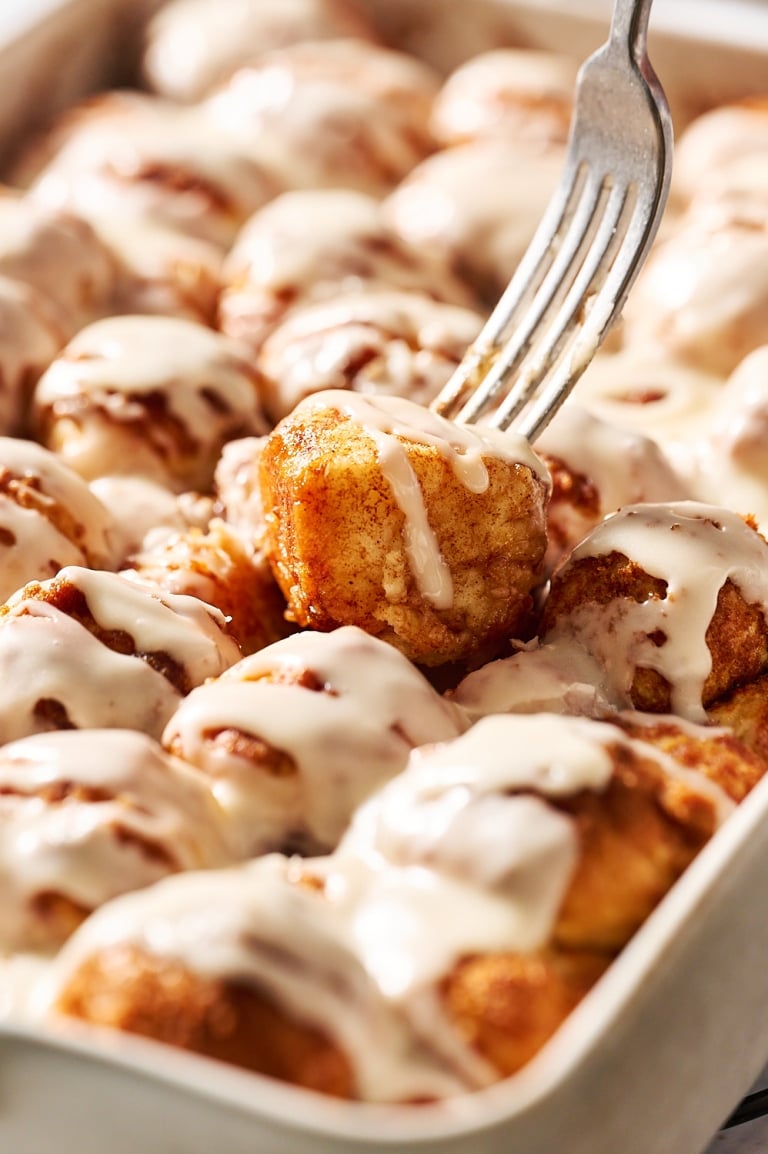
Cinnamon Bun Bites
These Cinnamon Bun Bites taste like the gooey middle of a cinnamon roll in every bite. No rolling required for this family-friendly recipe. -
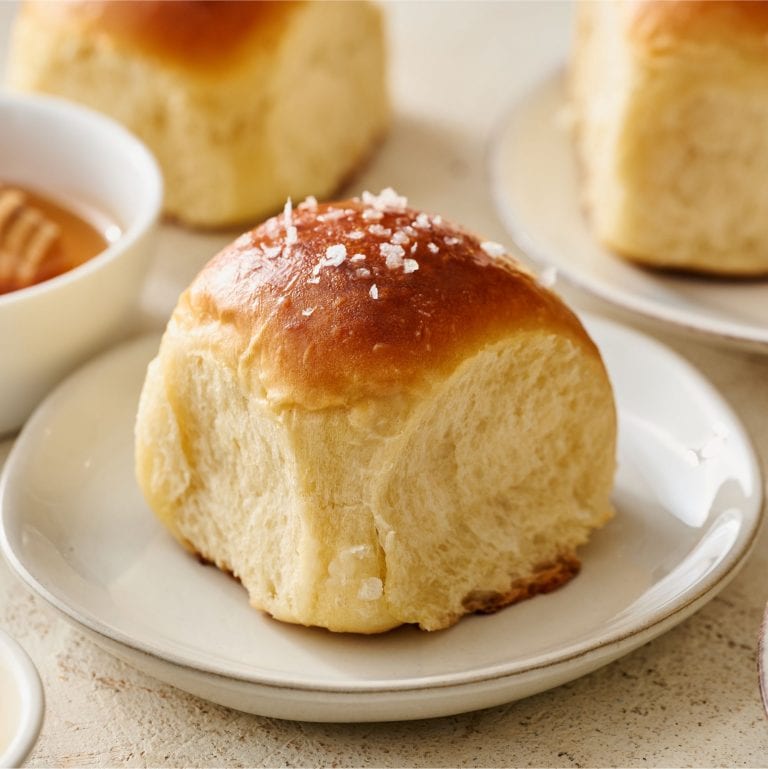
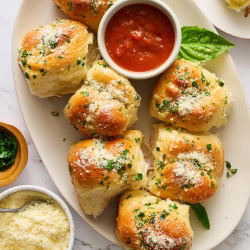
Salted Honey Butter Rolls
Incredibly soft and squishy with the perfect balance of sweet and salty, everyone will want seconds of these delightful Salted Honey Butter Rolls! -
Lemon Pound Cake Loaf
This ultra-buttery lemon loaf is bursting with fresh citrus flavor and topped with a thick glaze. Even better than Starbucks and easy to make! -
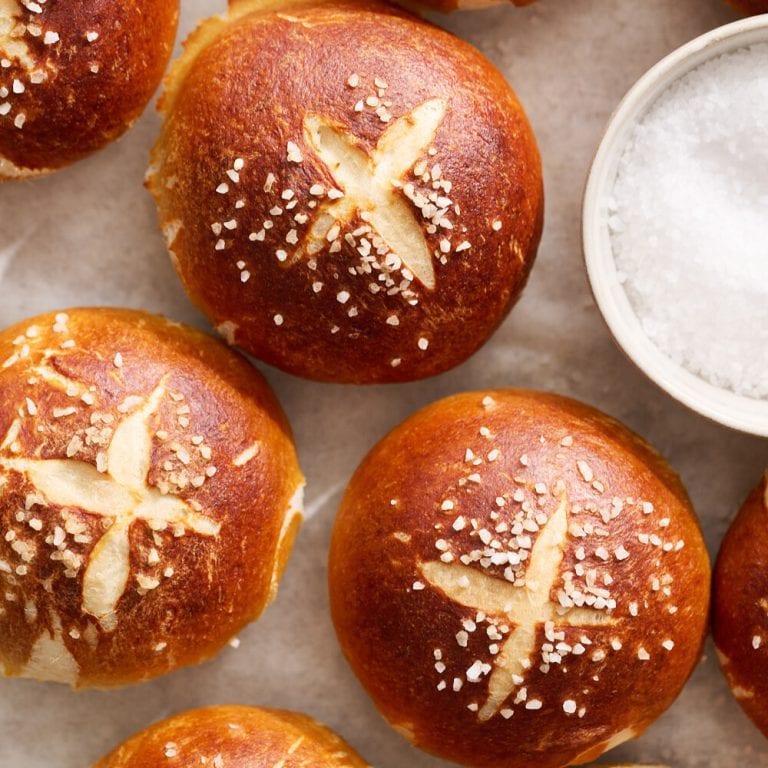
Pretzel Buns
Crisp and deeply golden on the outside and soft and fluffy inside, these homemade Pretzel Buns elevate any sandwich in just a couple of hours using simple pantry ingredients. -
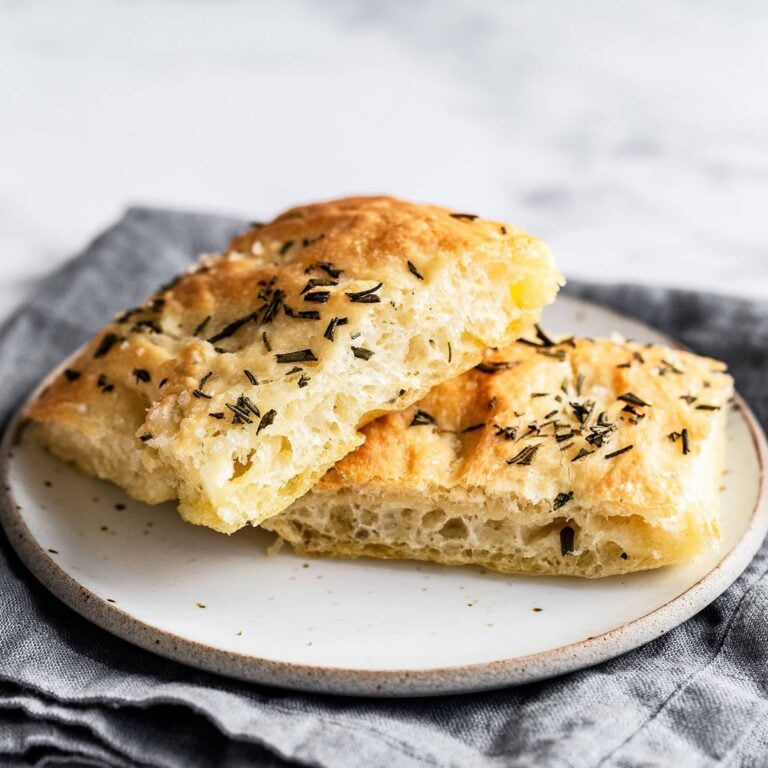
Focaccia Bread
This easy no-knead focaccia bread recipe makes ultra-crispy edges and a soft, chewy interior using olive oil, rosemary, and a simple overnight rise.
-
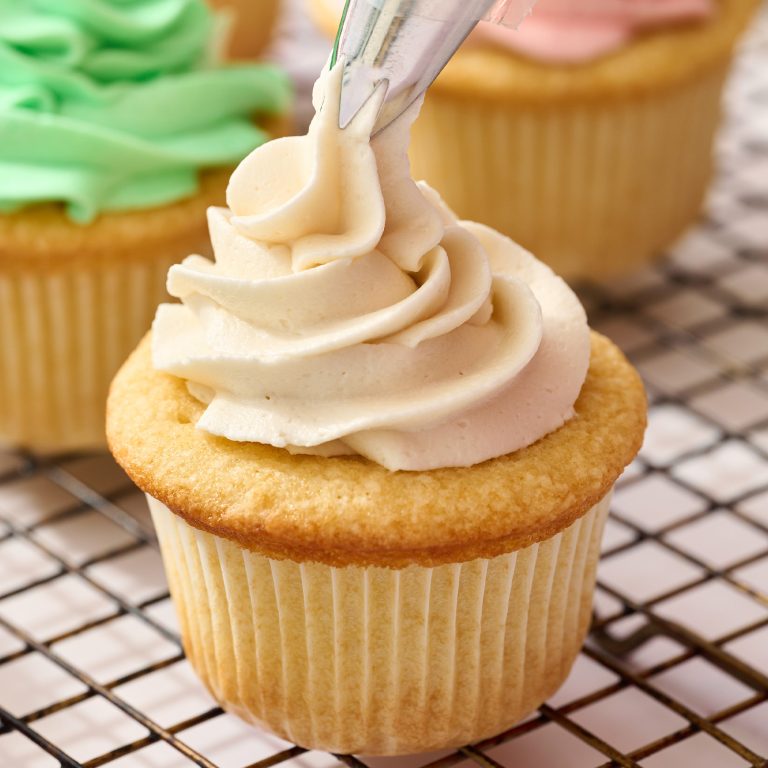
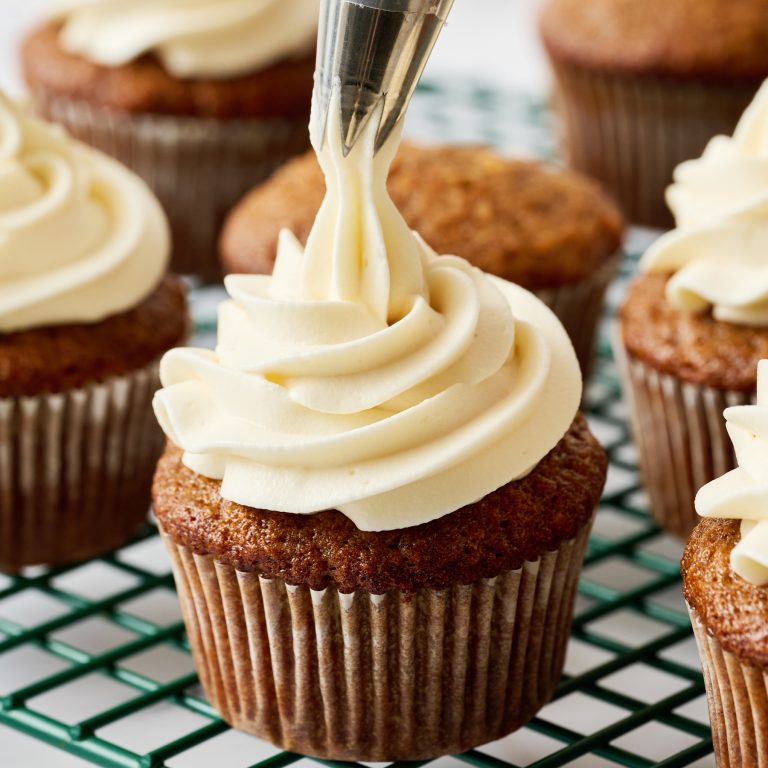
How to Make the Best Buttercream
This is the BEST Buttercream Frosting that's smooth, pipeable, and not too sweet. Learn to make American buttercream with my expert tips! -
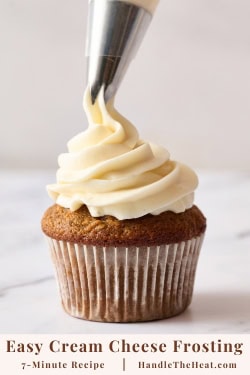
The BEST Cream Cheese Frosting
My cream cheese frosting recipe has undergone extensive testing to produce an ultra-creamy, silky-smooth, sturdy texture without being overly sweet. Here’s the step-by-step instructions on how to make cream cheese frosting in just 7 minutes! -
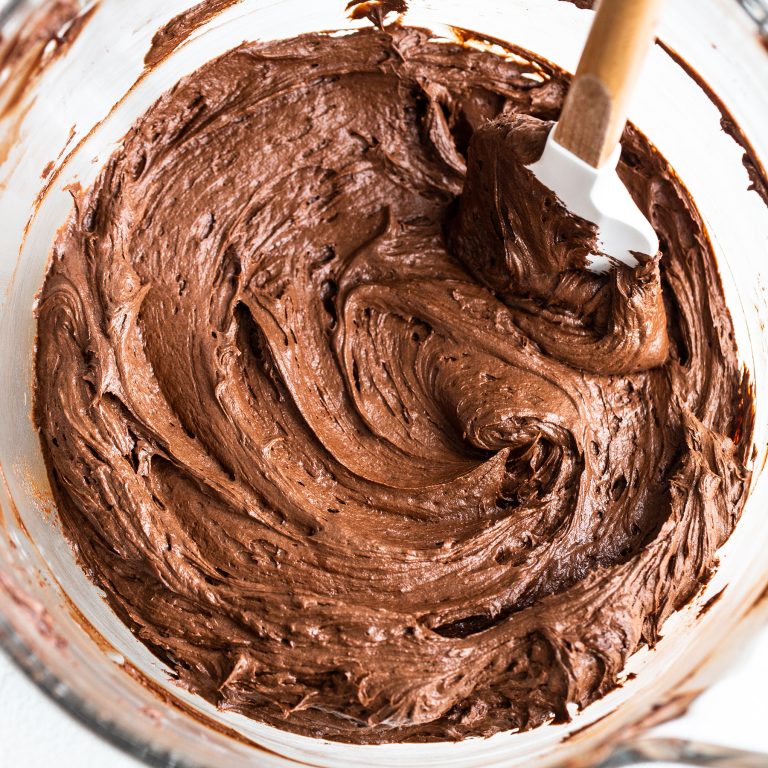
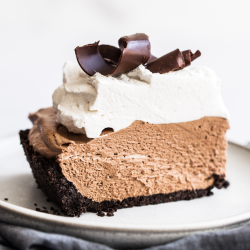
Best Ever Chocolate Buttercream Frosting
Best Ever Chocolate Buttercream Frosting is an easy American buttercream style recipe with two SECRET ingredients and one surprise technique to make the richest, creamiest, smoothest, and most chocolaty buttercream ever. -
How to Make Perfect Swiss Meringue Buttercream
How to Make Perfect Swiss Meringue Buttercream with a step-by-step video, with tips and tricks along the way. Can be made ahead of time. Includes a list of flavor customization ideas!

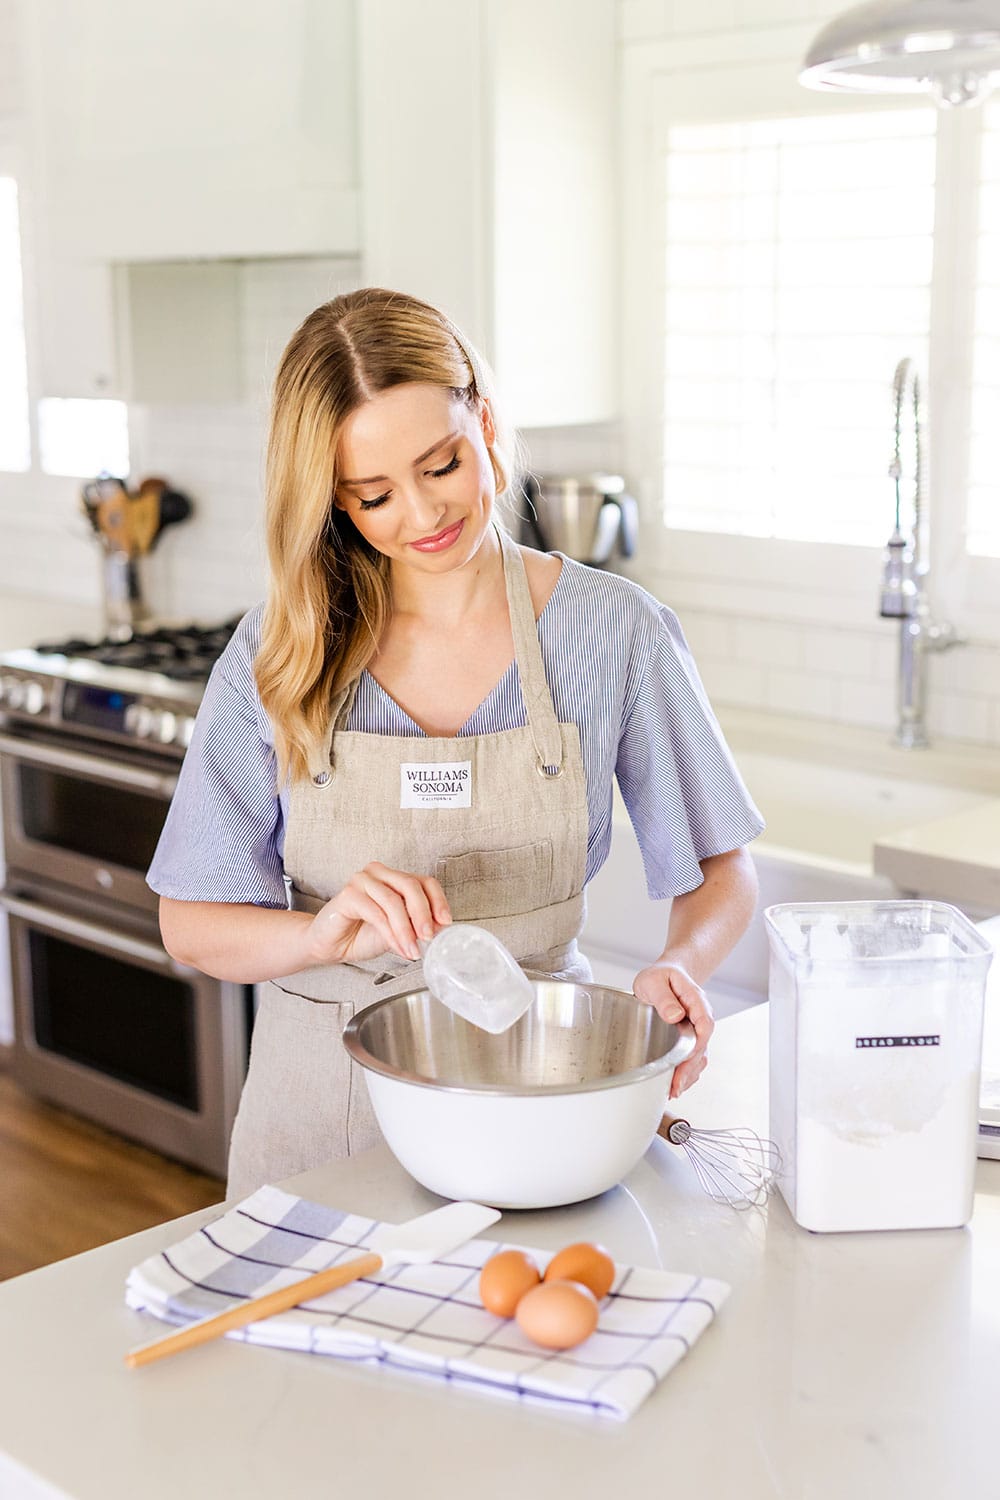
Meet the Founder
Baking brings people together.
In this modern, fast-paced world, I’m grateful I get to share recipes that sprinkle sweet, old-fashioned connection into our lives.
Bringing freshly baked cookies to a neighbor or baking a sweet birthday cake for your grandkid is the best, right?!
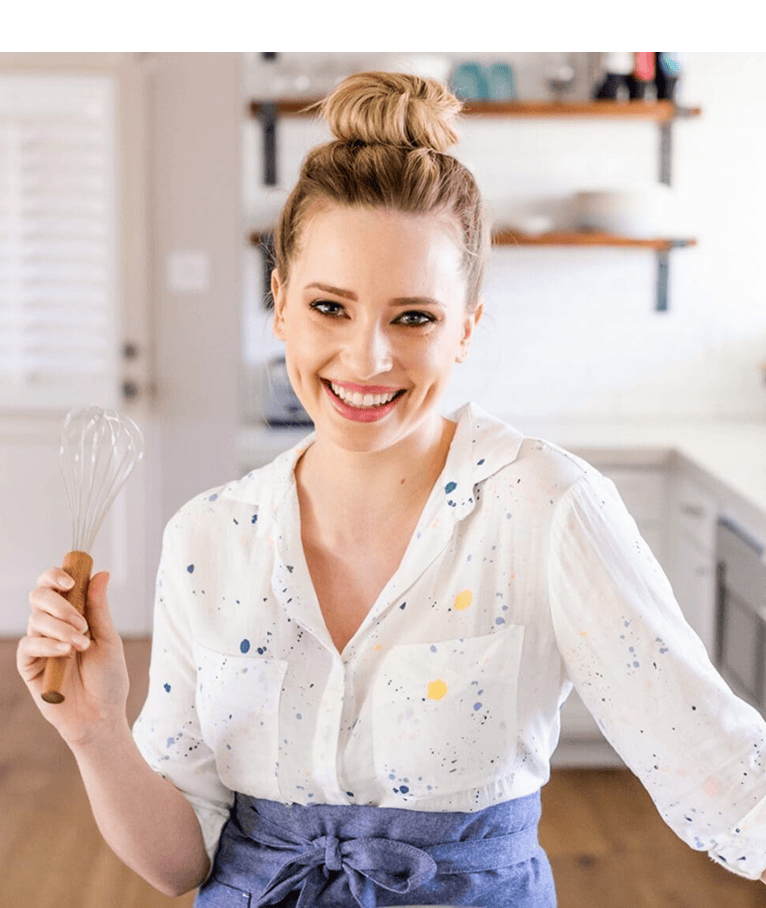
Hi! I'm Tessa,
a professionally trained chef, creator of Handle the Heat, and author of The Ultimate Cookie Handbook.
I’m borderline obsessive about testing our recipes multiple times because the worst feeling is when you spend hours and dollars only to end up with a failed dessert!
Understanding (and sharing!) the science behind baking is sorta my superpower, so if, like me, you want to know WHY an ingredient is needed in a recipe, we’ll get along beautifully!
Tessa's Favorites

Join Our Community
As Seen In