


This post may contain affiliate links. Read our disclosure policy.


Tessa’s Recipe Rundown
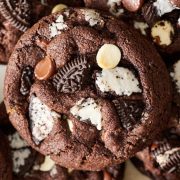
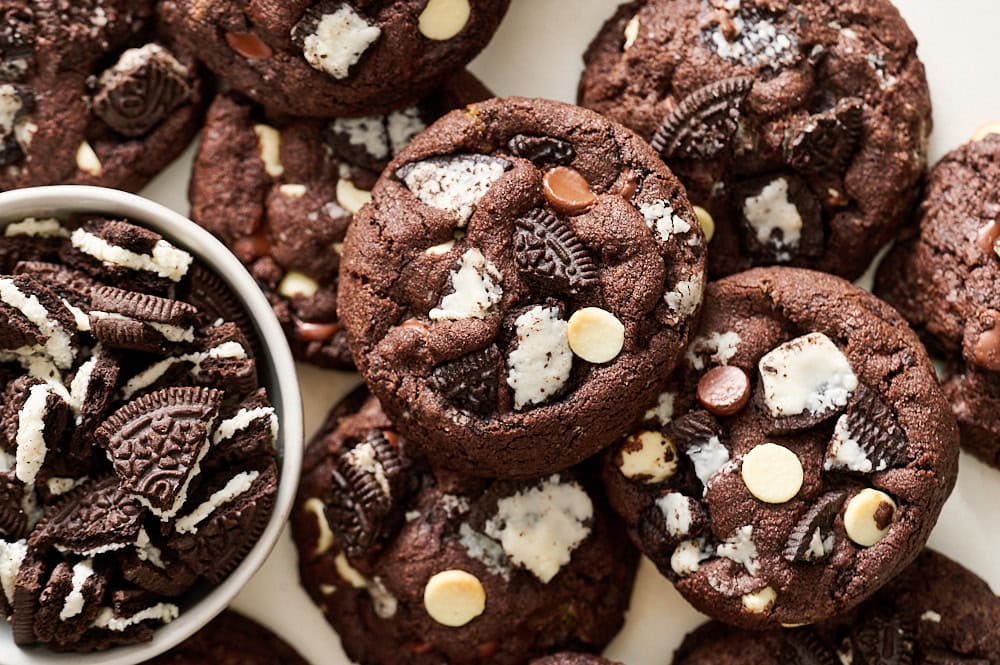
Taste: Just like an Oreo cookie, but BETTER!
Texture: Crisp edges with a thick, soft, fudgy center.
Ease: The dough takes just minutes to make and requires only a short chilling period.
Why you’ll love this recipe: One of my new favorites, and that’s coming from someone who’s written two cookie cookbooks!
My husband said this recipe is “top 10.” One of my recipe testers said, “YOU NAILED THIS ONE!“
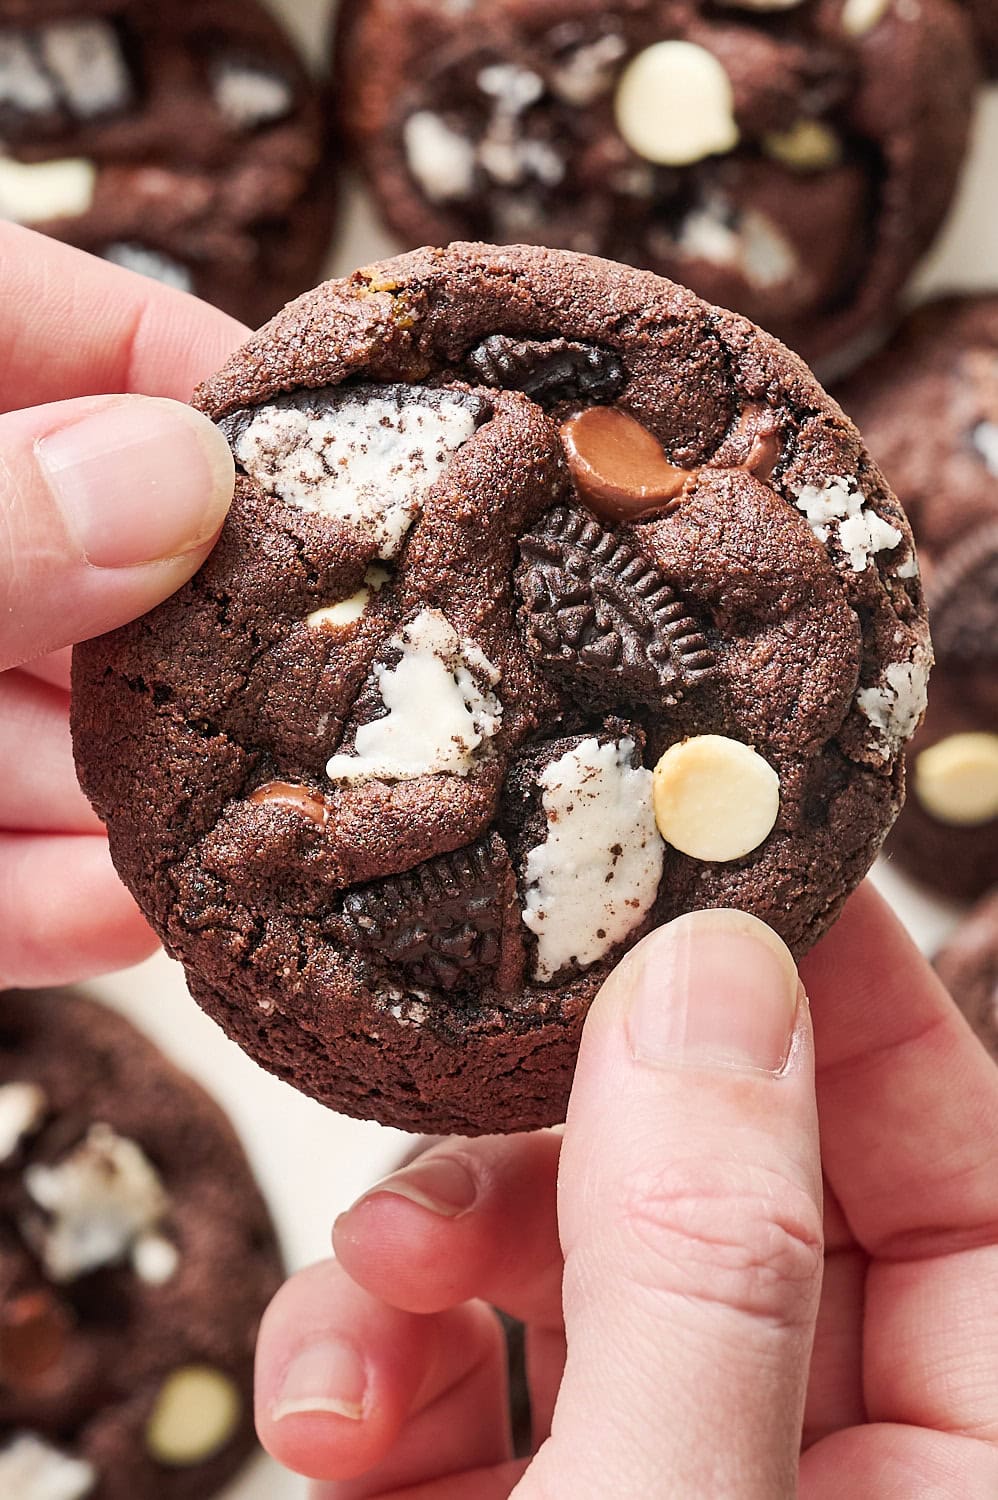
Needless to say, I’m a big fan of these chocolate-based cookies & cream cookies.

It took many variations to get the recipe just right, including a last-minute switch to using a chocolate base instead of a vanilla cookie base.
That one switch took this recipe from good to excellent.
Key Recipe Ingredients
Dutch-Process Cocoa Powder
I prefer its flavor and deeper color in this recipe. You can use natural cocoa powder if that’s all you have, just note the texture and taste will be slightly different. See my full guide: Dutch-Process vs. Natural Cocoa Powder.
Black Cocoa Powder
The secret to that distinct Oreo flavor! Just a touch is all you need. Find it online or at specialty baking stores. Can’t find it? Just use another tablespoon of Dutch-processed cocoa powder.

Unsalted Butter
Melted, not creamed. This is what makes the one-bowl method work, and it directly contributes to a denser, fudgier texture. Let it cool to just warm before adding eggs.
If using salted butter: cut the salt in the recipe to ¼ teaspoon.
Light Brown Sugar
All brown, no white. Brown sugar is hygroscopic so it holds moisture, which keeps the centers soft long after baking. It also activates the baking soda since we’re using Dutch cocoa, which is non-acidic.

Eggs
A large egg plus an egg yolk adds fat without much extra water, pushing the texture toward fudgy instead of cakey. Room temp eggs incorporate more smoothly into the dough.
Oreos
Coarsely chopped, not fine crumbs, so you get varied pieces. Keep the filling! Save some for pressing onto the cookie dough balls for a bakery-style appearance.
Chocolate Chips
Two kinds: white chocolate adds creamy sweetness that contrasts the dark dough. Semisweet provides pockets of melted chocolate.
Tessa’s Tips
Baking these cookies at 400°F for a short time encourages thick bakery-style cookies. If you chill the dough, you’ll need to add 1-3 minutes to the baking time.
Storage & Make ahead
Baked cookies: Airtight container at room temperature, up to 3 days.
Refrigerating dough: Scooped dough balls will keep (sealed) up to 48 hours. Longer chill = thicker cookies. Add 1–2 minutes to bake time if baking from the fridge.
Freezing raw dough: Freeze scooped balls on a sheet until solid, then bag for up to 2 months. Bake from frozen at 350°F, adding 3-4 minutes, or until the edges are set.
Full freezing details: How to Freeze Cookie Dough
Freezing baked cookies: Freeze in an airtight container or ziptop bag for up to 1 month. Let thaw at room temperature before serving.
Test Kitchen Notes
I tested two directions: a vanilla dough with Oreos mixed in, and this double-chocolate base. The base looked nice but tasted bland. The chocolate base tasted like an Oreo became a better cookie, so good!
Next I tested chilling intervals, finding that the quickest chilling period required was just 20 minutes. The longer the dough chilled, the more baking time it required.
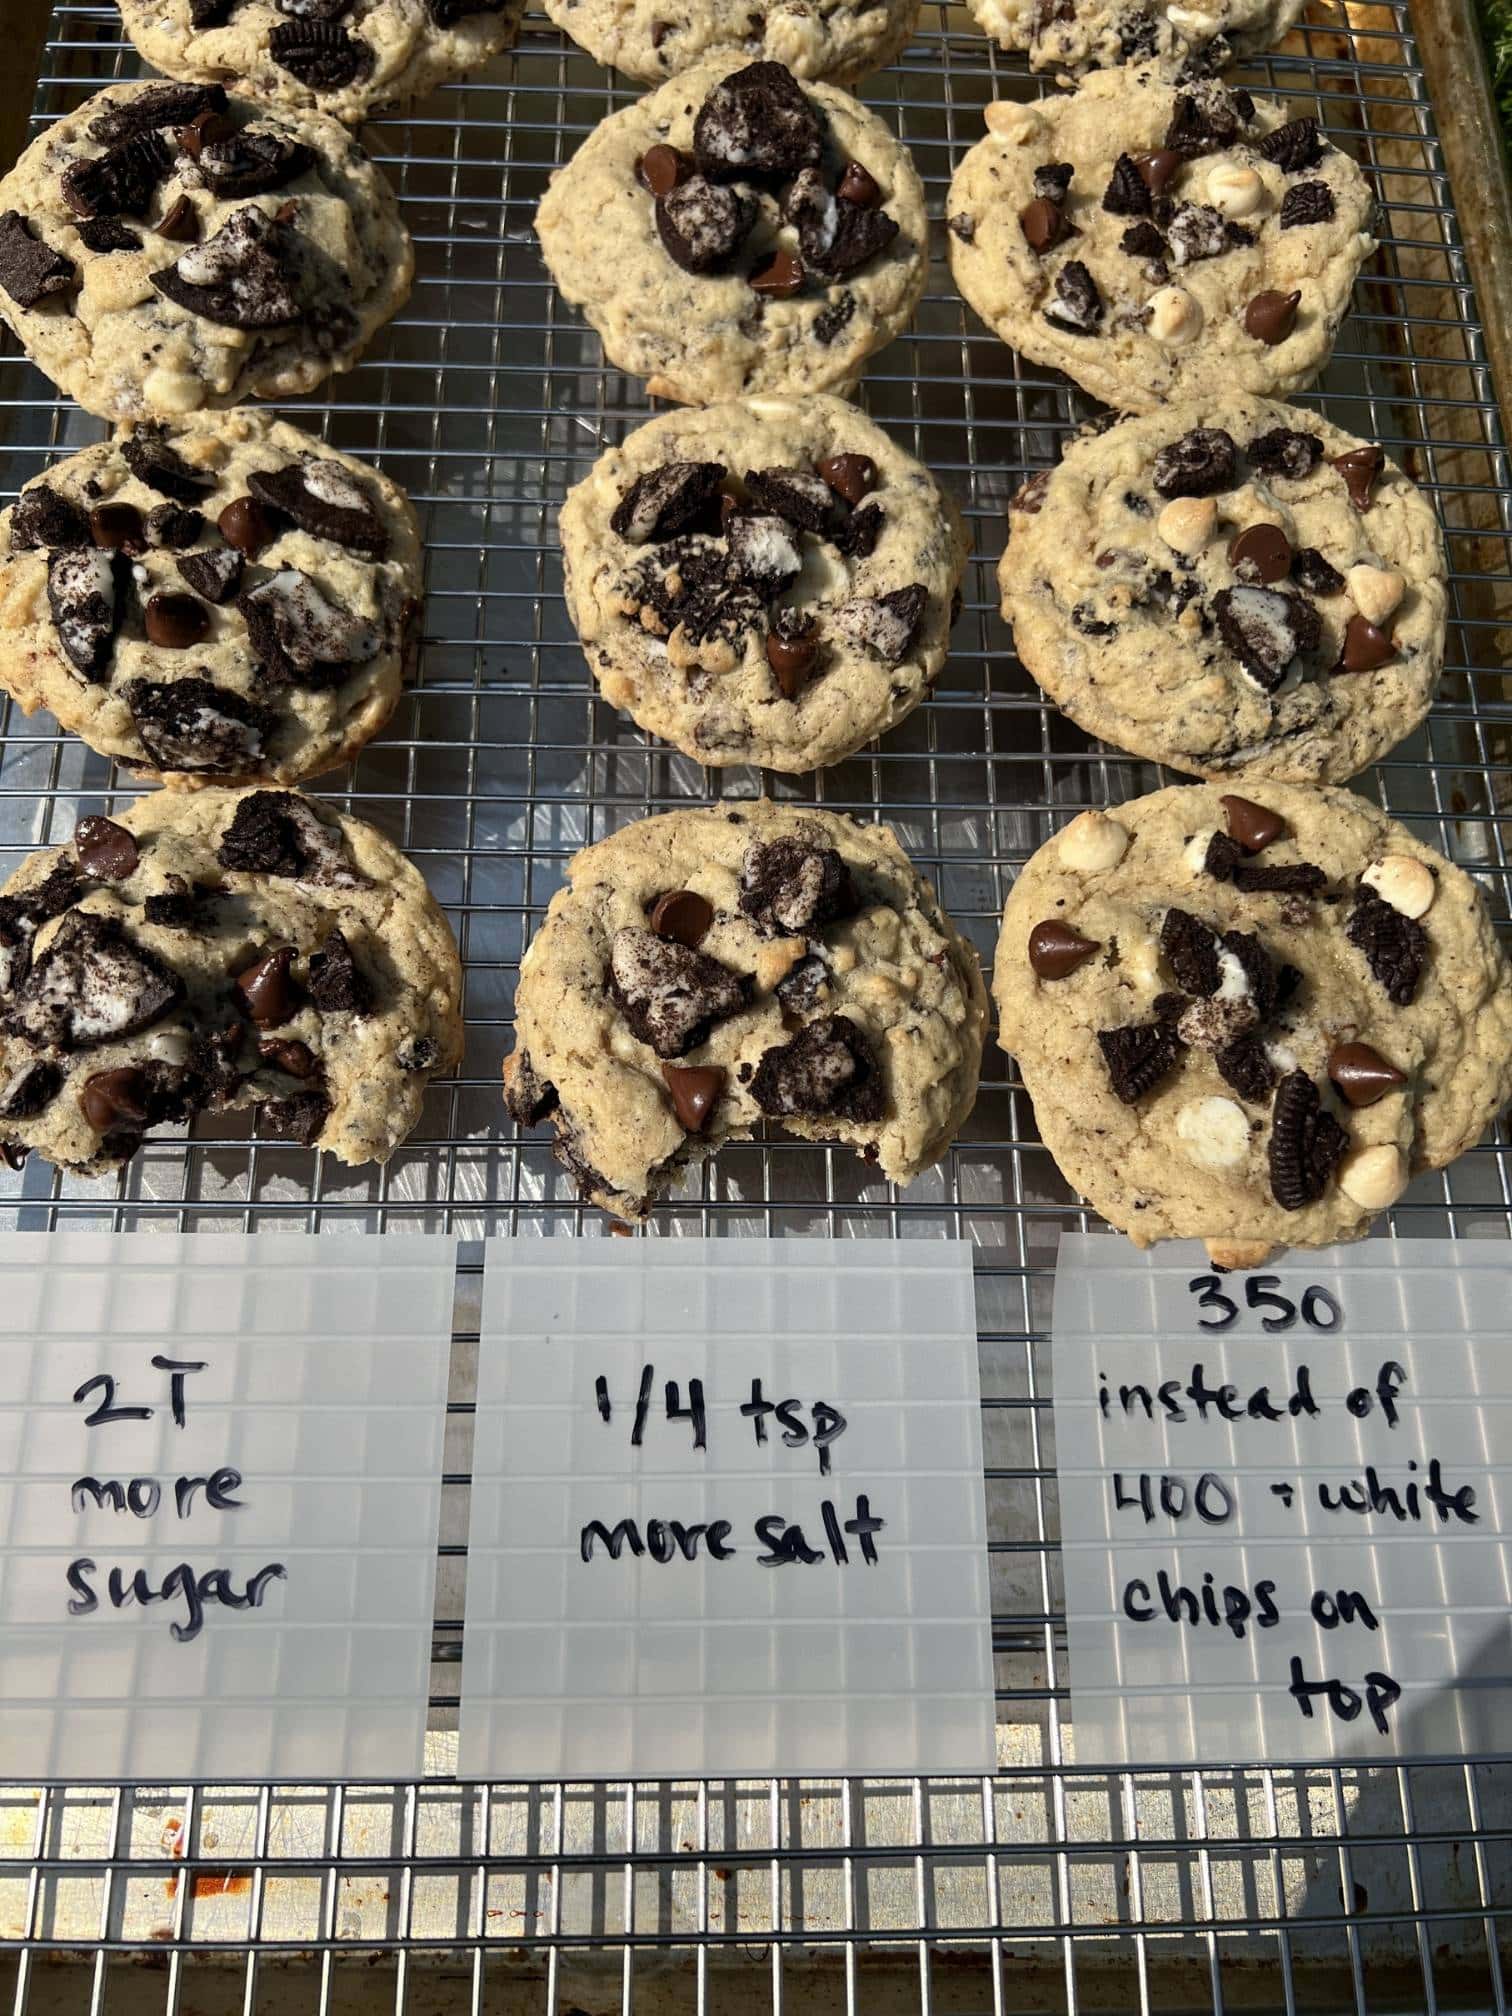
1. Vanilla-Batch
These fell flat every. single. time. Bland and boring! The chocolate base was the winner.
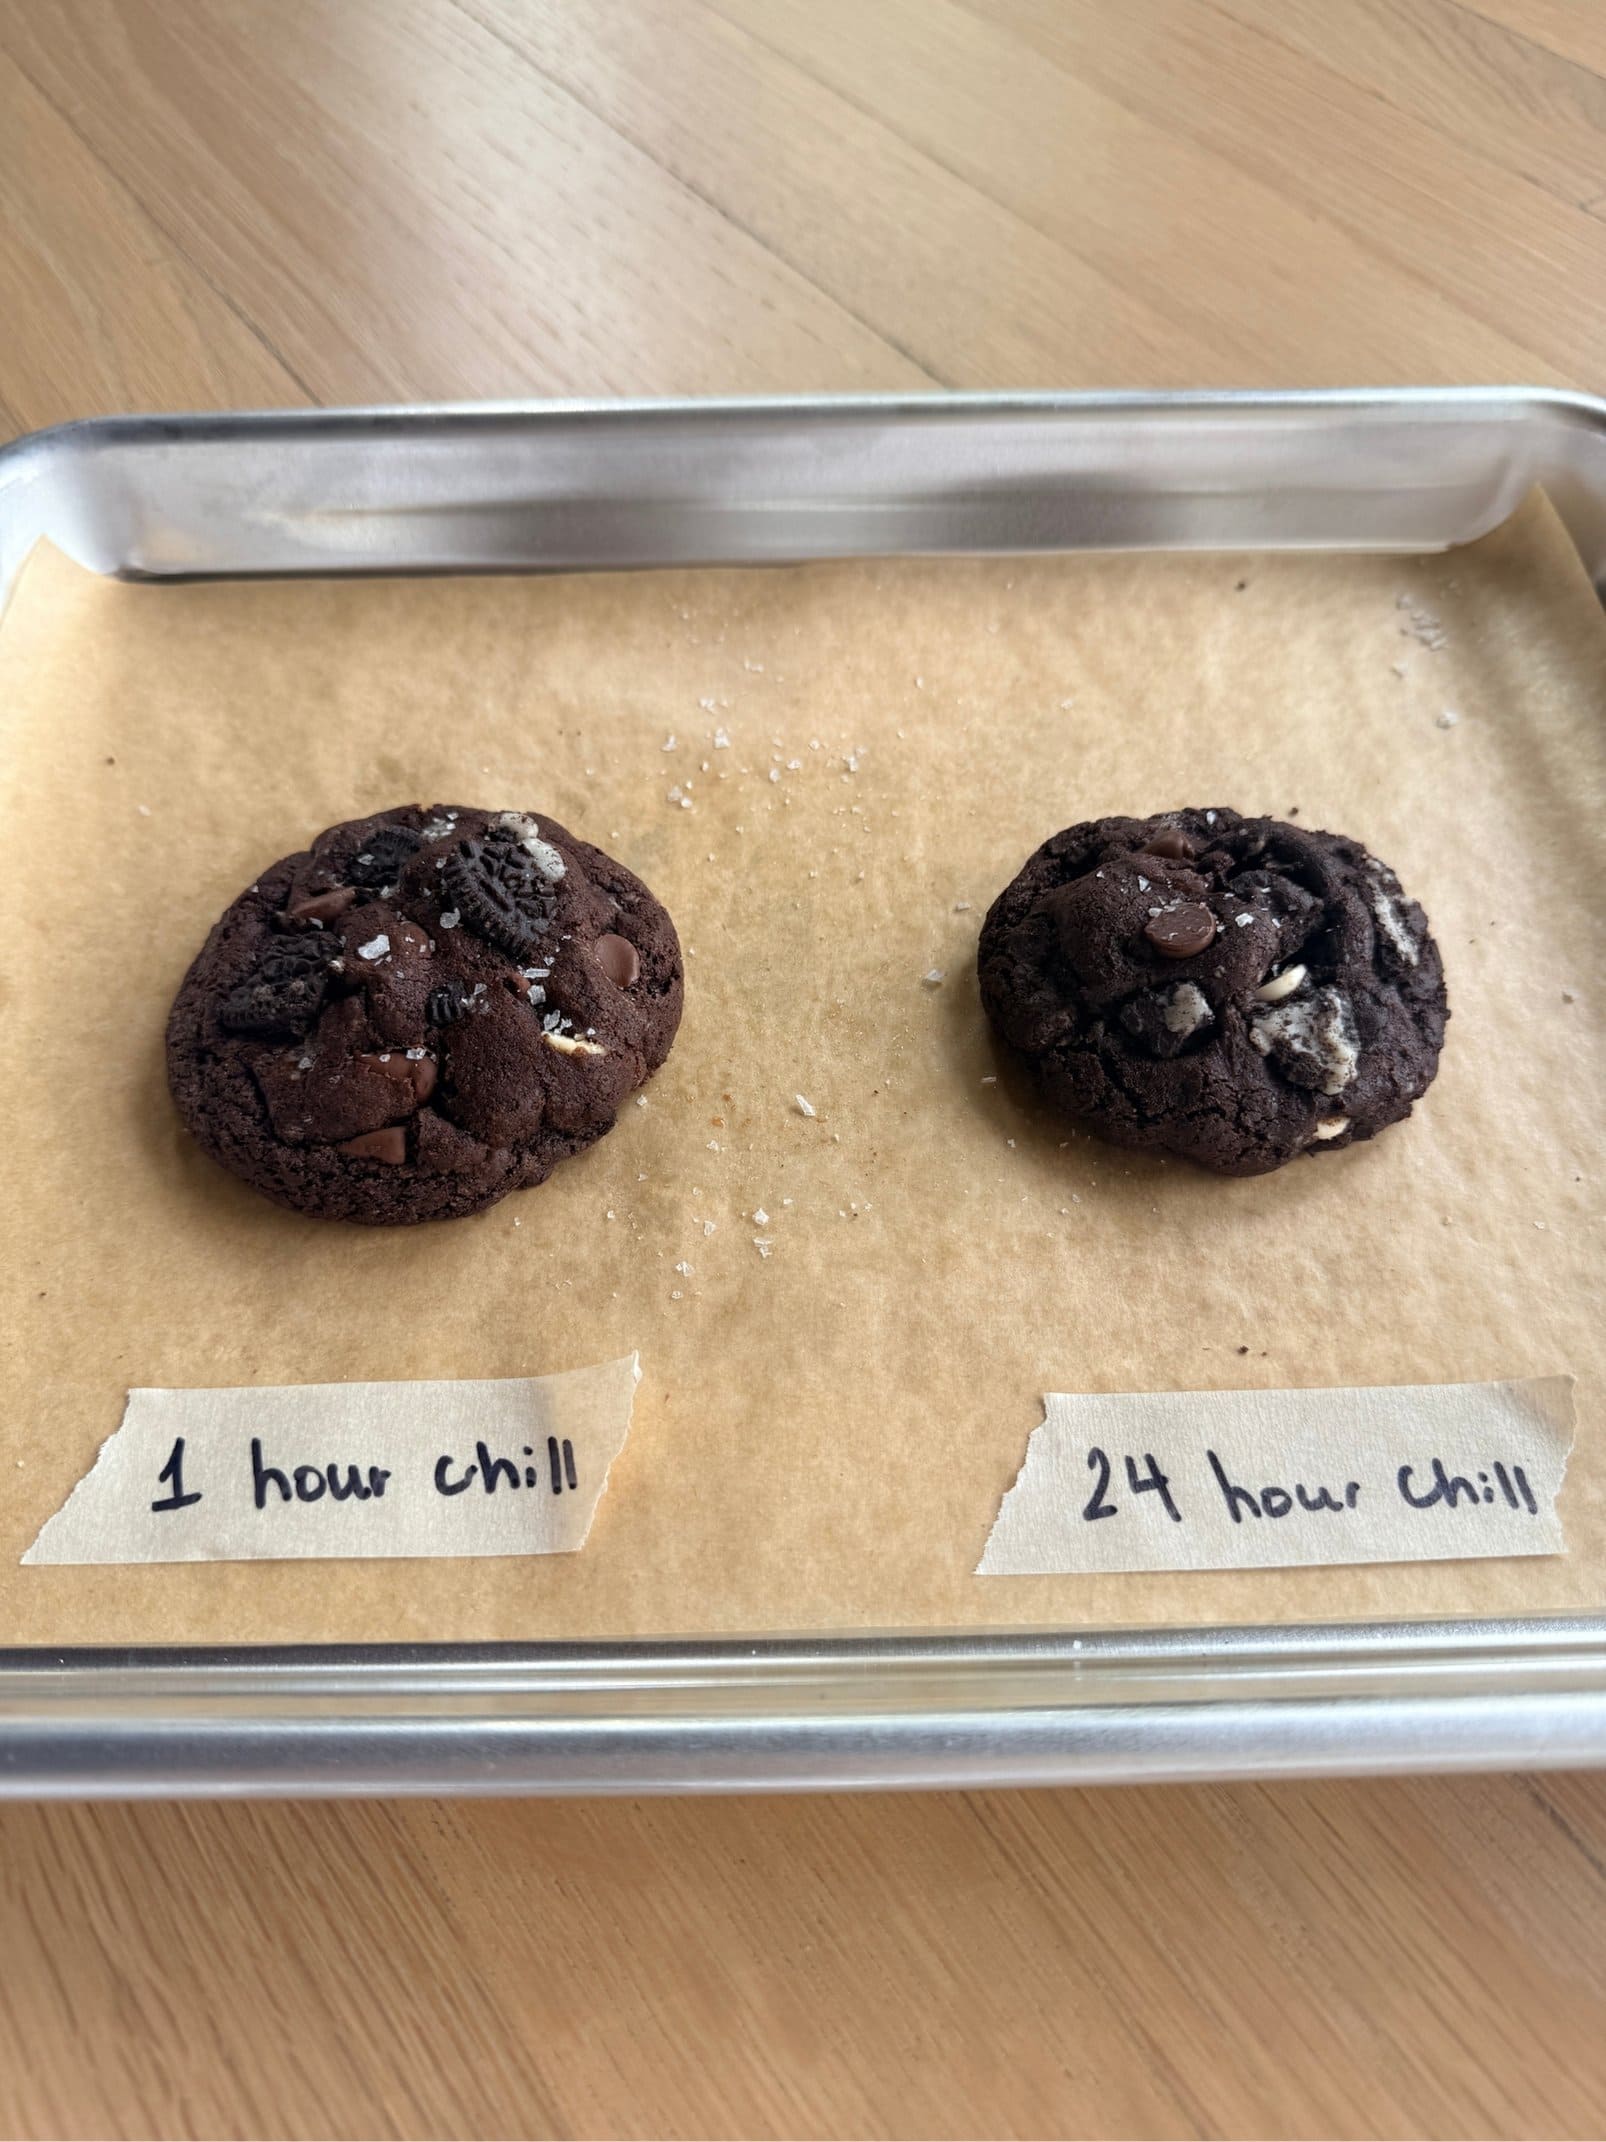
2. Chill Times
Discovery: longer chill times are not necessary! But they also don’t hurt the final result.
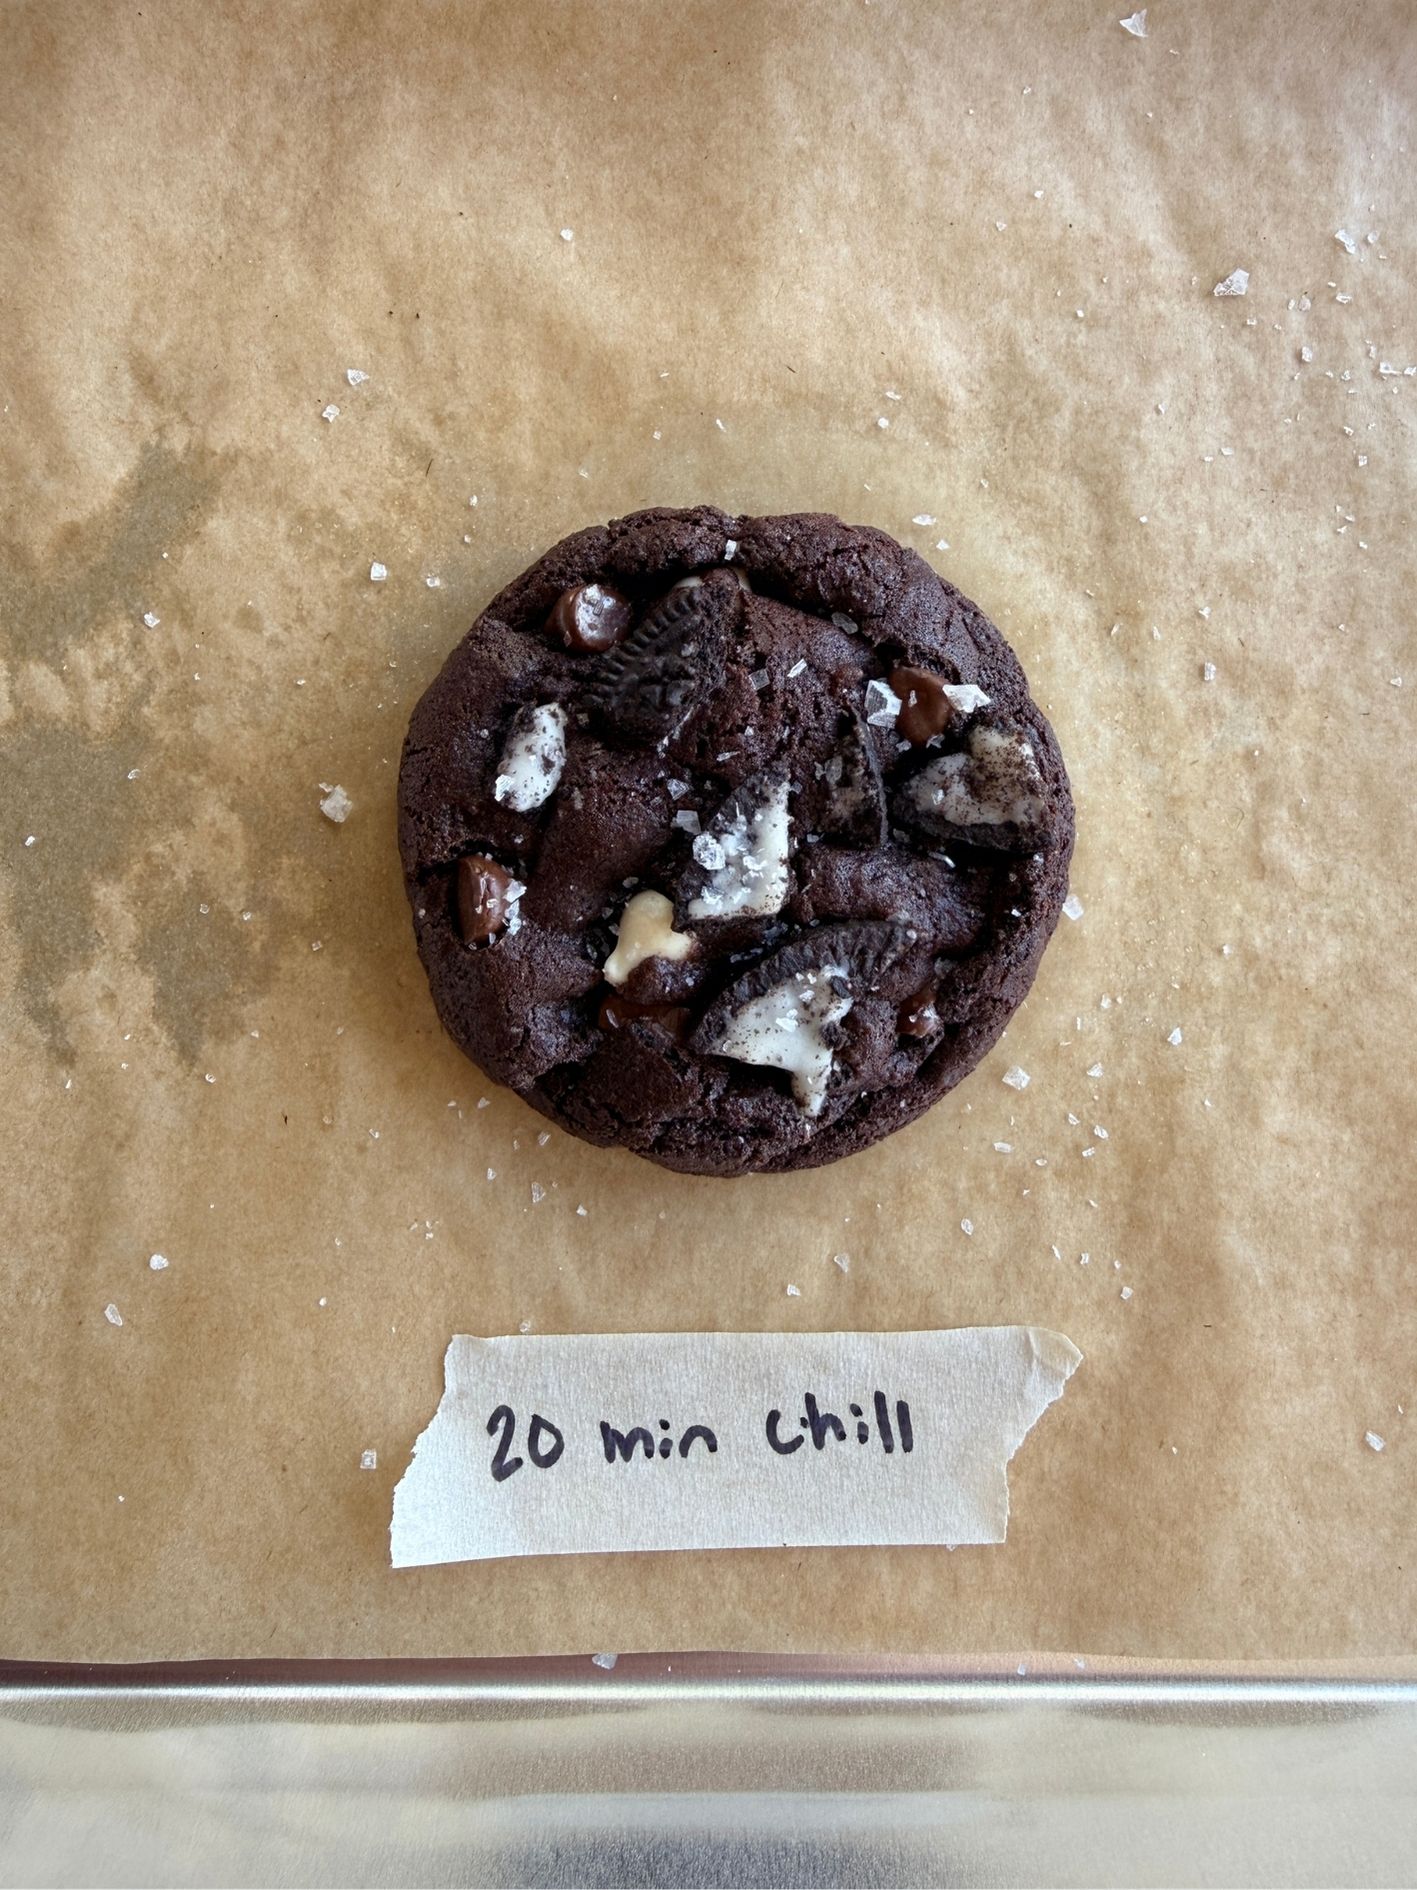
3. 20-min Winner!
Just 20 minutes of chilling proved to be the winner, shortening the total recipe time significantly.
Frequently Asked Questions
Yes, because this recipe breaks convention and uses baking soda activated by the brown sugar, you can technically use natural cocoa and still get good results. However, the Dutch-process will produce a deeper color and more Oreo-like flavor.
Sub equal Dutch-process. The cookies will still be excellent, though you’ll lose the distinctly “Oreo” flavor depth and ultra-dark color, but the chocolate flavor is strong. Black cocoa is available online. Use it in my Homemade Oreo cookie recipe next!
That’s normal. Melted butter and extra egg yolk create a high-fat dough that looks slick before chilling. Don’t add extra flour. It will firm up completely with at least a 20-minute chill.
You’ll get better results. The dough needs some time to firm up. Just 20 minutes makes the difference!
Yes, but the cookies will be less soft and fudgy in the center. For 1.5-tbsp scoops, start checking at 5–6 minutes. Same rule: pull when edges are set and center looks underdone.
You can use just semisweet, but the white chips add a creamy sweetness that contrasts the dark dough. All white chocolate makes the cookies a little too sweet.
This is likely due to under-baking, especially if the dough was chilled! If adding a minute or two doesn’t help, try flattening the dough balls with your palm before baking.
Email This Recipe
Enter your email, and we’ll send it to your inbox.
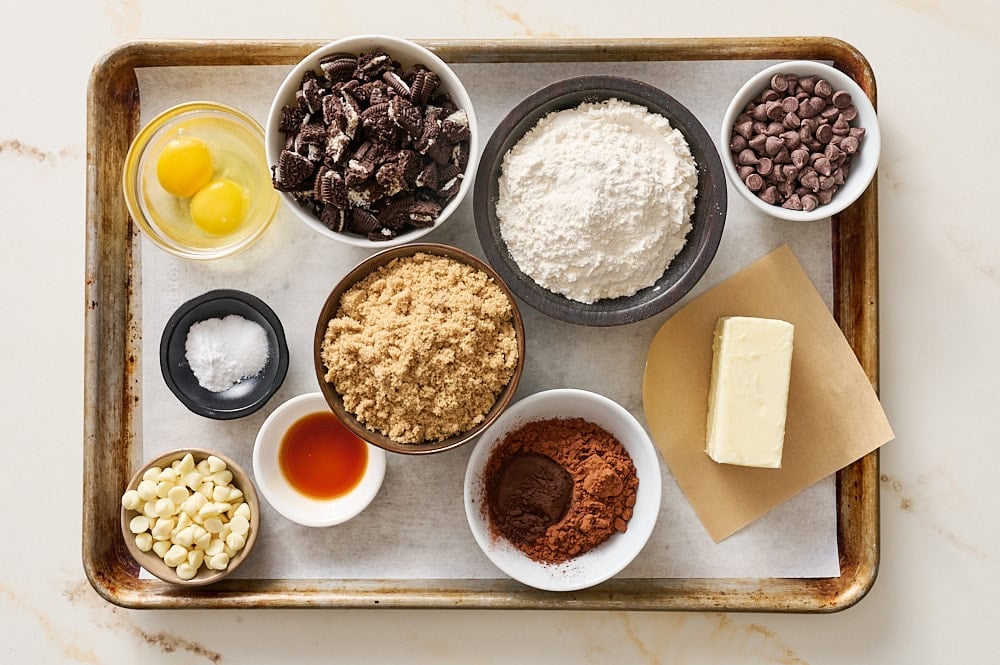
Ingredients
- 1 stick (113 grams) unsalted butter
- 1 cup (200 grams) light brown sugar
- 1 large egg, at room temperature
- 1 large egg yolk, at room temperature
- 1 teaspoon vanilla extract
- 1 cup plus 2 tablespoons (143 grams) all-purpose flour
- 1/2 cup (43 grams) Dutch-process cocoa powder
- 1 tablespoon (5 grams) black cocoa powder*
- 1 teaspoon baking soda
- 1/2 teaspoon fine sea salt
- 1/3 cup (51 grams) white chocolate chips
- 1/2 cup (85 grams) semisweet chocolate chips, plus more for topping
- 11 (127 grams) chocolate sandwich cookies, coarsely chopped
- Flaky sea salt, for finishing, optional

Instructions
- In a large microwave-safe bowl, microwave the butter in 20-second bursts until melted. Whisk in the brown sugar. Let cool until just warm.
- Whisk in the egg, egg yolk, and vanilla extract until completely smooth and combined. With a rubber spatula, stir in the flour, cocoa powders, baking soda, and salt. Fold in white chocolate chips, semisweet chocolate chips, and three-quarters of the chopped cookies with a rubber spatula. Dough will appear slightly greasy and sticky but will firm up as it sits.
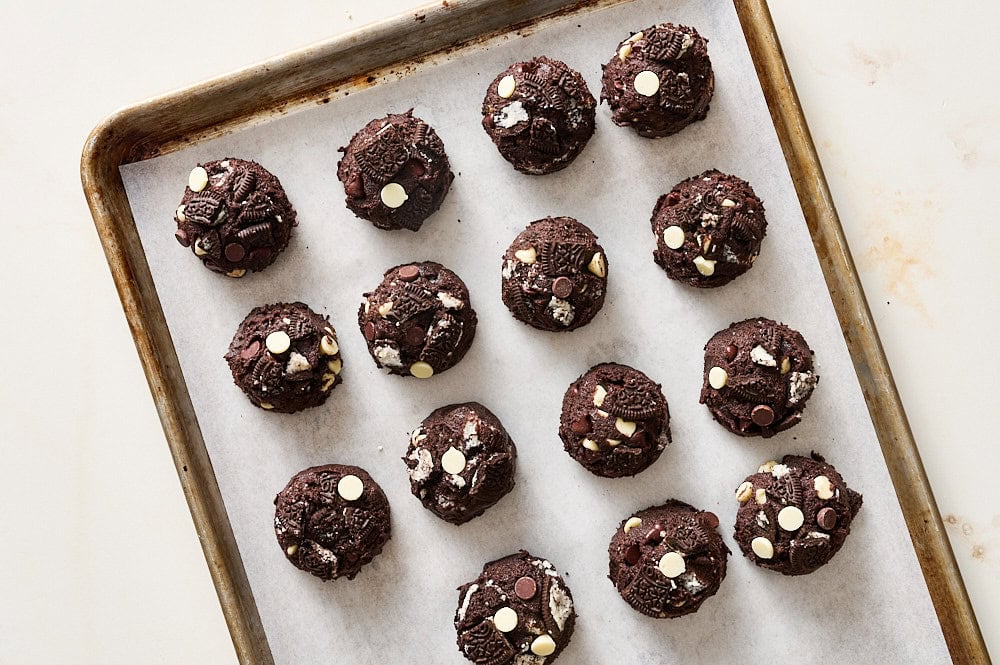
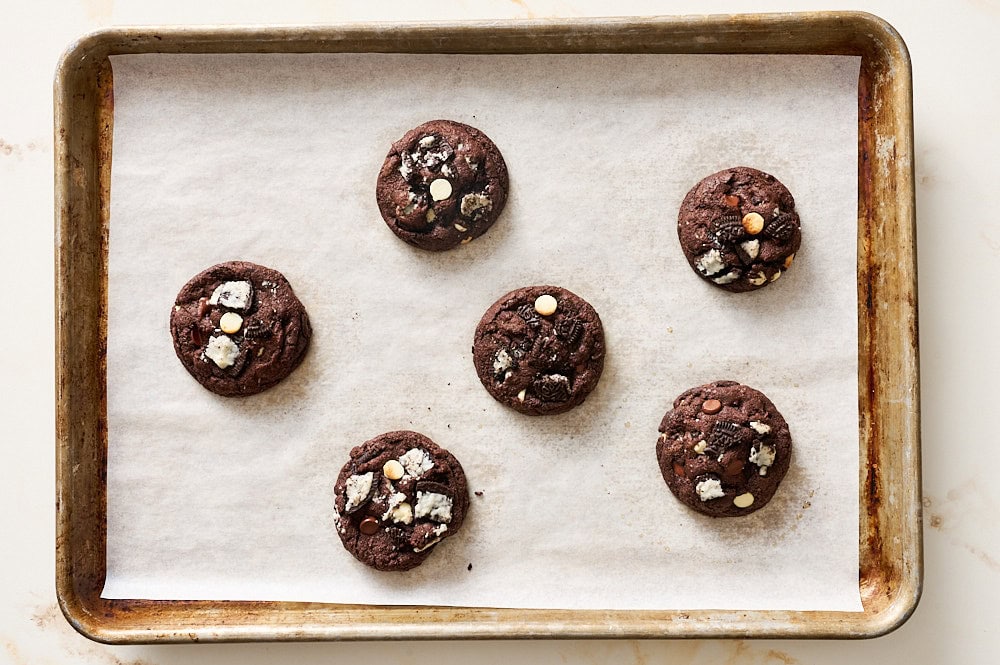
- Using a large spring-loaded scoop, drop 3-tablespoon balls of dough onto a parchment lined baking sheet. Dot with the remaining chopped cookies and additional chocolate chips.
- Wrap the dough well in plastic and refrigerate at least 20 minutes, or until firm, or up to 72 hours.
- Preheat the oven to 400°F.
- After chilling, arrange the dough balls 2 to 3 inches apart on parchment-lined baking sheets.
- Bake for about 7 to 9 minutes or until just set. Remove from the oven and run a large round cookie cutter around each cookie to reshape into a perfect circle, if desired. Immediately sprinkle each cookie with sea salt. Cool for 5 minutes before removing to wire racks to cool completely.
- Cookies can be stored in an airtight container at room temperature for up to 3 days.
Notes
More Recipes You’ll Love:
- Homemade Oreo Cookies
- Bakery-Style Chocolate Chip Cookies
- Chewy Brownies
- Oreo Cheesecake
- Double Chocolate Chip Cookies
Photos by Joanie Simon.


A classic cookie flavor all decked out! And I could use leftover Oreos from your French Silk Pie recipe. Last night I made the dough, shaped into 24 balls of 33-34 grams each for smaller cookies, wrapped well, and chilled. This afternoon I baked off just two very cold cookies on a very cold pan for 7 minutes to perfection. Another new fave!
Your recipes never fail!!! As long as I follow every step and read the notes I always end up with a perfect treat! Made a double batch of these cookies and ended up with 32 cookies that were gone by mid day at work. Everyone loved them ❤️
Oh man, did we all love these! The grandlings decided they needed to throw in a handful of butterscotch chips “to be fair”. (“To whom?” I asked. “Duh, Grumpy,” they answered, in unison yet!”) And I added 2 tsp. instant espresso powder, because … chocolate and coffee, you know?. We had to put the dough in the fridge for 10 or something minutes before we could scoop, and then we put the scooped dough back in the fridge for another 20 minutes. And now it’s been 20 minutes since we took them out of the oven and there are none left. Grandling #1 says I ate the most. I say she’s lying again.
Btw, when we brought a small plate of these gems to our sweet neighbor, Grandling #2 announced that the prettiest ones were the ones she made. “How do you know?” I asked. “‘Cuz they’re the prettiest.” (Duh.)
Gone in 20 minutes is quite the compliment! I’m so happy to hear they were such a hit 🙂
Just out of curiosity, is anyone else unable to find real white chocolate chips in their grocery stores? Everything has changed to “vanilla baking chips” and there’s a noticeable flavor difference.
Hi! We’ve definitely noticed it’s more common to find “vanilla flavored chips” instead of white chocolate chips. This may be one of those times where choosing a higher-quality brand is worth it. We used Ghirardelli’s Vanilla Flavored Chips while testing this recipe, and they worked great. 🙂
I don’t understand. I thought dutch-process cocoa powder (and black cocoa powder is extra dutch-process) had to have baking powder for leavening. Natural cocoa powder needs baking soda for the leavening. Since these are highly rated, there must be an exception to that baking rule. They look delicious!
Never mind on my comment. I do see where the molasses in the brown sugar react to the baking soda and therefore the cocoa is ok to be neutral. Plus cookies don’t need that much rise/leavening. Thanks for the recipe!
my whole family loved these! they are just what they claim to be and turned out perfectly! 20 mins of chilling was enough and they look just like the photos! Be sure not to overbake.
Hi Tessa–
I love your recipes–You’re the only one on-line that I trust! I know your recipes are always tried and true and always come out! This recipe DID NOT disappoint either. The dough was delicious but here is my question. You said the recipe would look greasy but mine was actually a bit dry. I weigh all my ingredients so it’s not from extra flour or cocoa and I used the Dutch process and black cocoas, as well as the extra egg yolk. The dough is in the freezer, I’m baking them off tonight (so excited) just wondering why the dough was a bit dry? Thanks! Keep baking! I’d buy one of your books any day! Warmly, Amy
Hi! I’m so glad to hear that!! I’m curious what brand and type of flour you used? No wrong answer, but it might help me troubleshoot why your dough was more dry.
LOVED this recipe! It was so good and easy to make. It inspired me to add Oreos and white chocolate chips to my fudgey brownie recipe, which was also banger!! Go to your kitchen and make these cookies right now!
This recipe is perfection, and so easy to make! I made the cookies exactly as written in the recipe, and they turned out beautifully. Great chocolate flavor, good crunch at the edges and from the Oreo cookies, but also the perfect amount of soft in the middle. I’ve now made a batch of these cookies a second time in as many weeks because my family loved them so much.