

Tessa’s Recipe Rundown
Taste: So much more vanilla flavor than your standard store-bought marshmallow. Texture: The best part of homemade marshmallows. Light, fluffy, squishy, and perfectly sticky… store-bought just doesn’t compare! Ease: Definitely requires a bit of active work, but certainly not as intimidating as it may seem. Pros: Super fun baking project! They also stay good for up to 3 weeks. These make the perfect homemade gift, and can elevate any marshmallow dessert to a whole new level. Cons: None! Would I make this again? Absolutely, will be making these for s’mores during the summer and for gifts during the holiday season.This post may contain affiliate links. Read our disclosure policy.
There’s nothing worse than a sugar burn because it sticks to your skin, so it’s always important to be careful when working with sugar syrup and to avoid any distractions (leave your phone in the other room).
It doesn’t help that I have an elevated fear of getting burnt. This fear comes from a childhood Christmas cookie baking incident…
I was at my best friend’s house baking gingerbread cookies and went to pull the cookies out of the oven. What I didn’t realize was that the ratty old oven mitt I found had a hole in the thumb. Ouch.
I refused to take anything out of the oven for YEARS after that burn. Actually, when I first told my mom I was considering attending culinary school later in life she laughed and recounted that incident.
So working with hot syrup over the stove still makes me a teensy bit nervous. I will say it’s much easier when your working in your own somewhat calm and quiet kitchen. If working with sugar intimidates you at all, making marshmallows it a great more intermediate recipe to master.
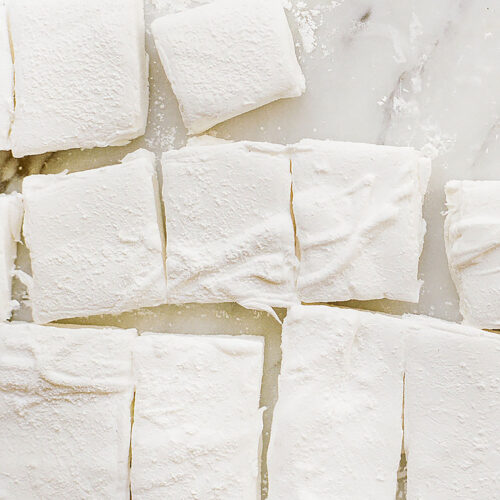
If you follow the recipe and steps below, you’ll have gorgeous puffy, springy, and cloud-like marshmallows that will impress the socks off everyone.
How to Make Marshmallows – Tips!
Homemade marshmallows are basically just a mixture of gelatin and cooked syrup. While the steps aren’t necessarily difficult, it’s important to use the right equipment and follow the recipe exactly. Also, the marshmallows themselves need at least 4 hours to set, so make sure to plan for that!
The Gelatin and Corn Syrup
Yes, you need both of these ingredients for this recipe. I’ve never made non-gelatin (or vegan-friendly) marshmallows before so I can’t give you any advice there. The corn syrup is kind of a “fool proof” ingredient, ensuring your marshmallows come out smooth and free of any crystallized clumps of sugar. If you can’t use either of these ingredients I would suggest Googling for a different recipe.
Yes, you need a candy thermometer!
This is not a recipe you can “eyeball.” This needs to be precise. Use a clean candy thermometer to cook the syrup to exactly 240°F. In fact, I usually like to remove the pan from the heat just before it’s about to hit the number because I know it’ll continue cooking quickly. That’s also why it’s important to have your mixer ready to go as soon as the syrup is done cooking.
Candy Cleaning Tip!
Anytime you’re making syrup (or caramel) in a saucepan, whatever is left behind in the pan will likely be hard, sticky, and difficult to clean. I like the fill the pot back up with water and bring it to a boil. This will dissolve the sugar and make it much easier to clean.
Use a stand mixer!
Unfortunately a hand mixer just doesn’t cut it when it comes to making marshmallows. There are two reasons why.
Firstly, you’ll be pouring molten hot syrup into your bowl as the mixer is mixing on low speed. Using a hand mixer greatly increases the chances of you burning yourself or getting sticky syrup on your counter. Secondly, the mixer will need to run on high for 10 minutes. Not only would that be a long time to be mixing with your hand mixer, but the motor of a hand mixer likely isn’t powerful enough.
The Vanilla
The recipe as written makes classic vanilla marshmallows. I love to use vanilla paste here because it’s easy and you get tons of vanilla flavor and those beautiful specks of vanilla bean. You can of course use the seeds of a fresh vanilla bean as well. I’ve included the amount of vanilla extract to use if you have neither, but that should definitely be the last choice unless you’re adding in other flavorings!
Other Flavorings
Peppermint, Almond, Lemon, or other extracts:
use 1 1/2 teaspoons of flavored extract in place of the vanilla extract. Add food coloring to showcase the flavor, if desired.
Coconut:
Toss the marshmallows in toasted coconut instead of the powdered sugar mixture.
Chocolate dipped:
Melt together 6 ounces semisweet or bittersweet chocolate + 1 1/2 tablespoons vegetable shortening or coconut oil. Brush excess powdered sugar off the marshmallows before dipping the smooth side into the chocolate. Let set, chocolate side up. Keep at room temperature for up to 2 days.
Birthday Cake:
Add in 1 1/2 teaspoons butter flavored extract along with the vanilla. After coating pan with powdered sugar mixture, scatter 3/4 cup rainbow sprinkles all over pan.
Espresso:
Dissolve 2 tablespoons instant espresso powder into the water in the recipe before adding to the gelatin. Omit all or part of the vanilla, if desired.
Chocolate Chip:
Add in 1 cup mini chocolate chips to the marshmallow mixture along with the vanilla.
The Pan
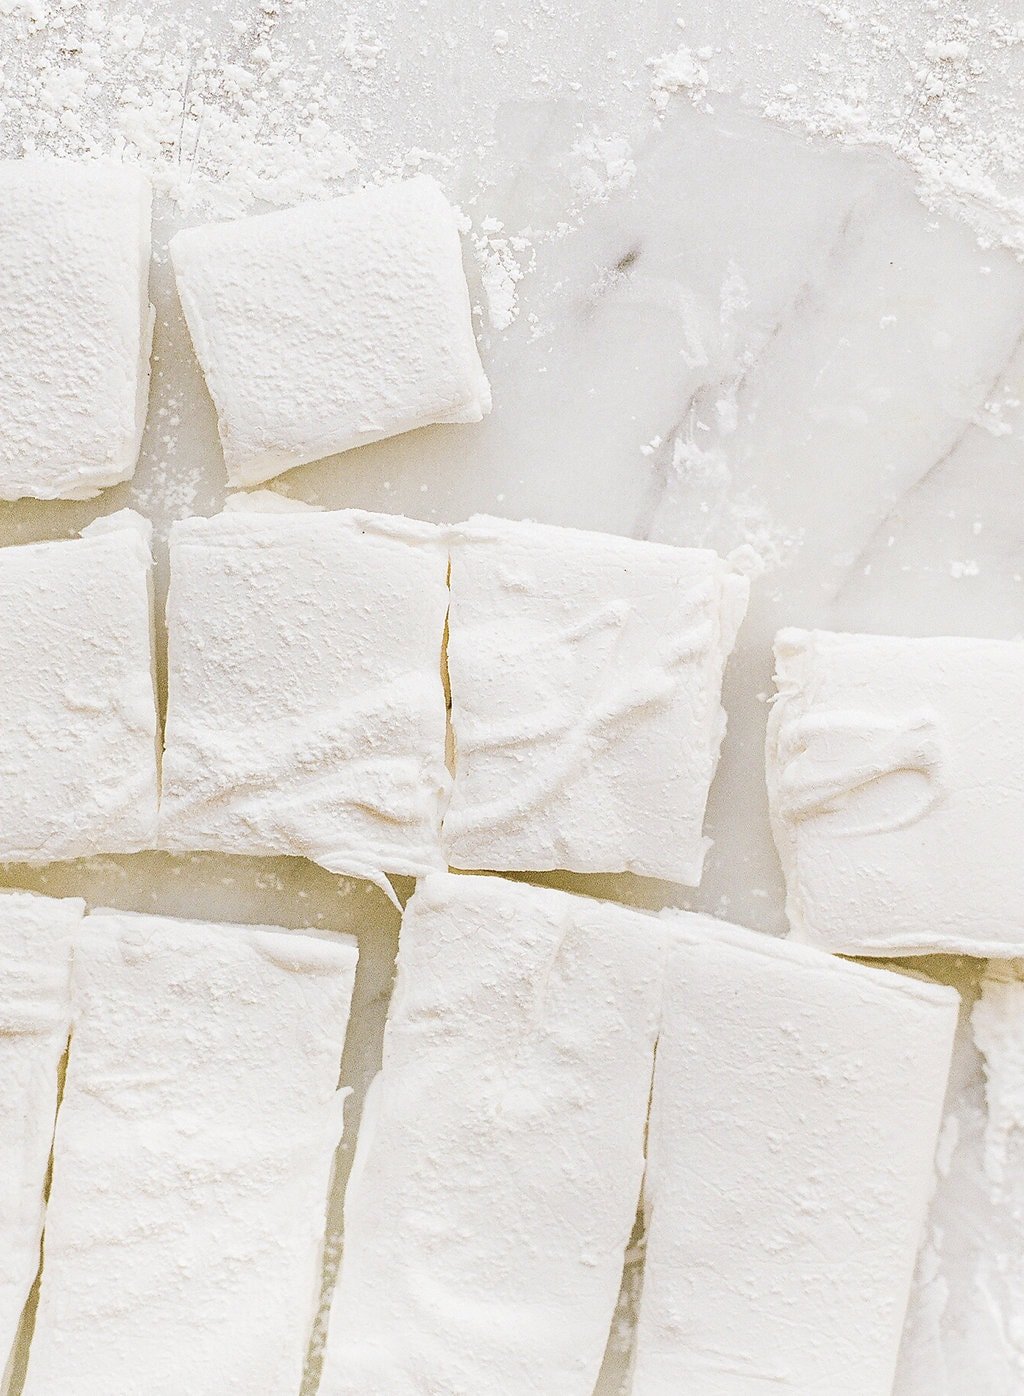
I used a 9 by 13-inch pan to make my marshmallows, which yielded the thinner shape you see in these photos. I find this size is perfect for s’mores, which is how I planned on using these. However, if you want thick more square-size marshmallows then use an 8 by 8-inch pan.
Cutting the Marshmallows
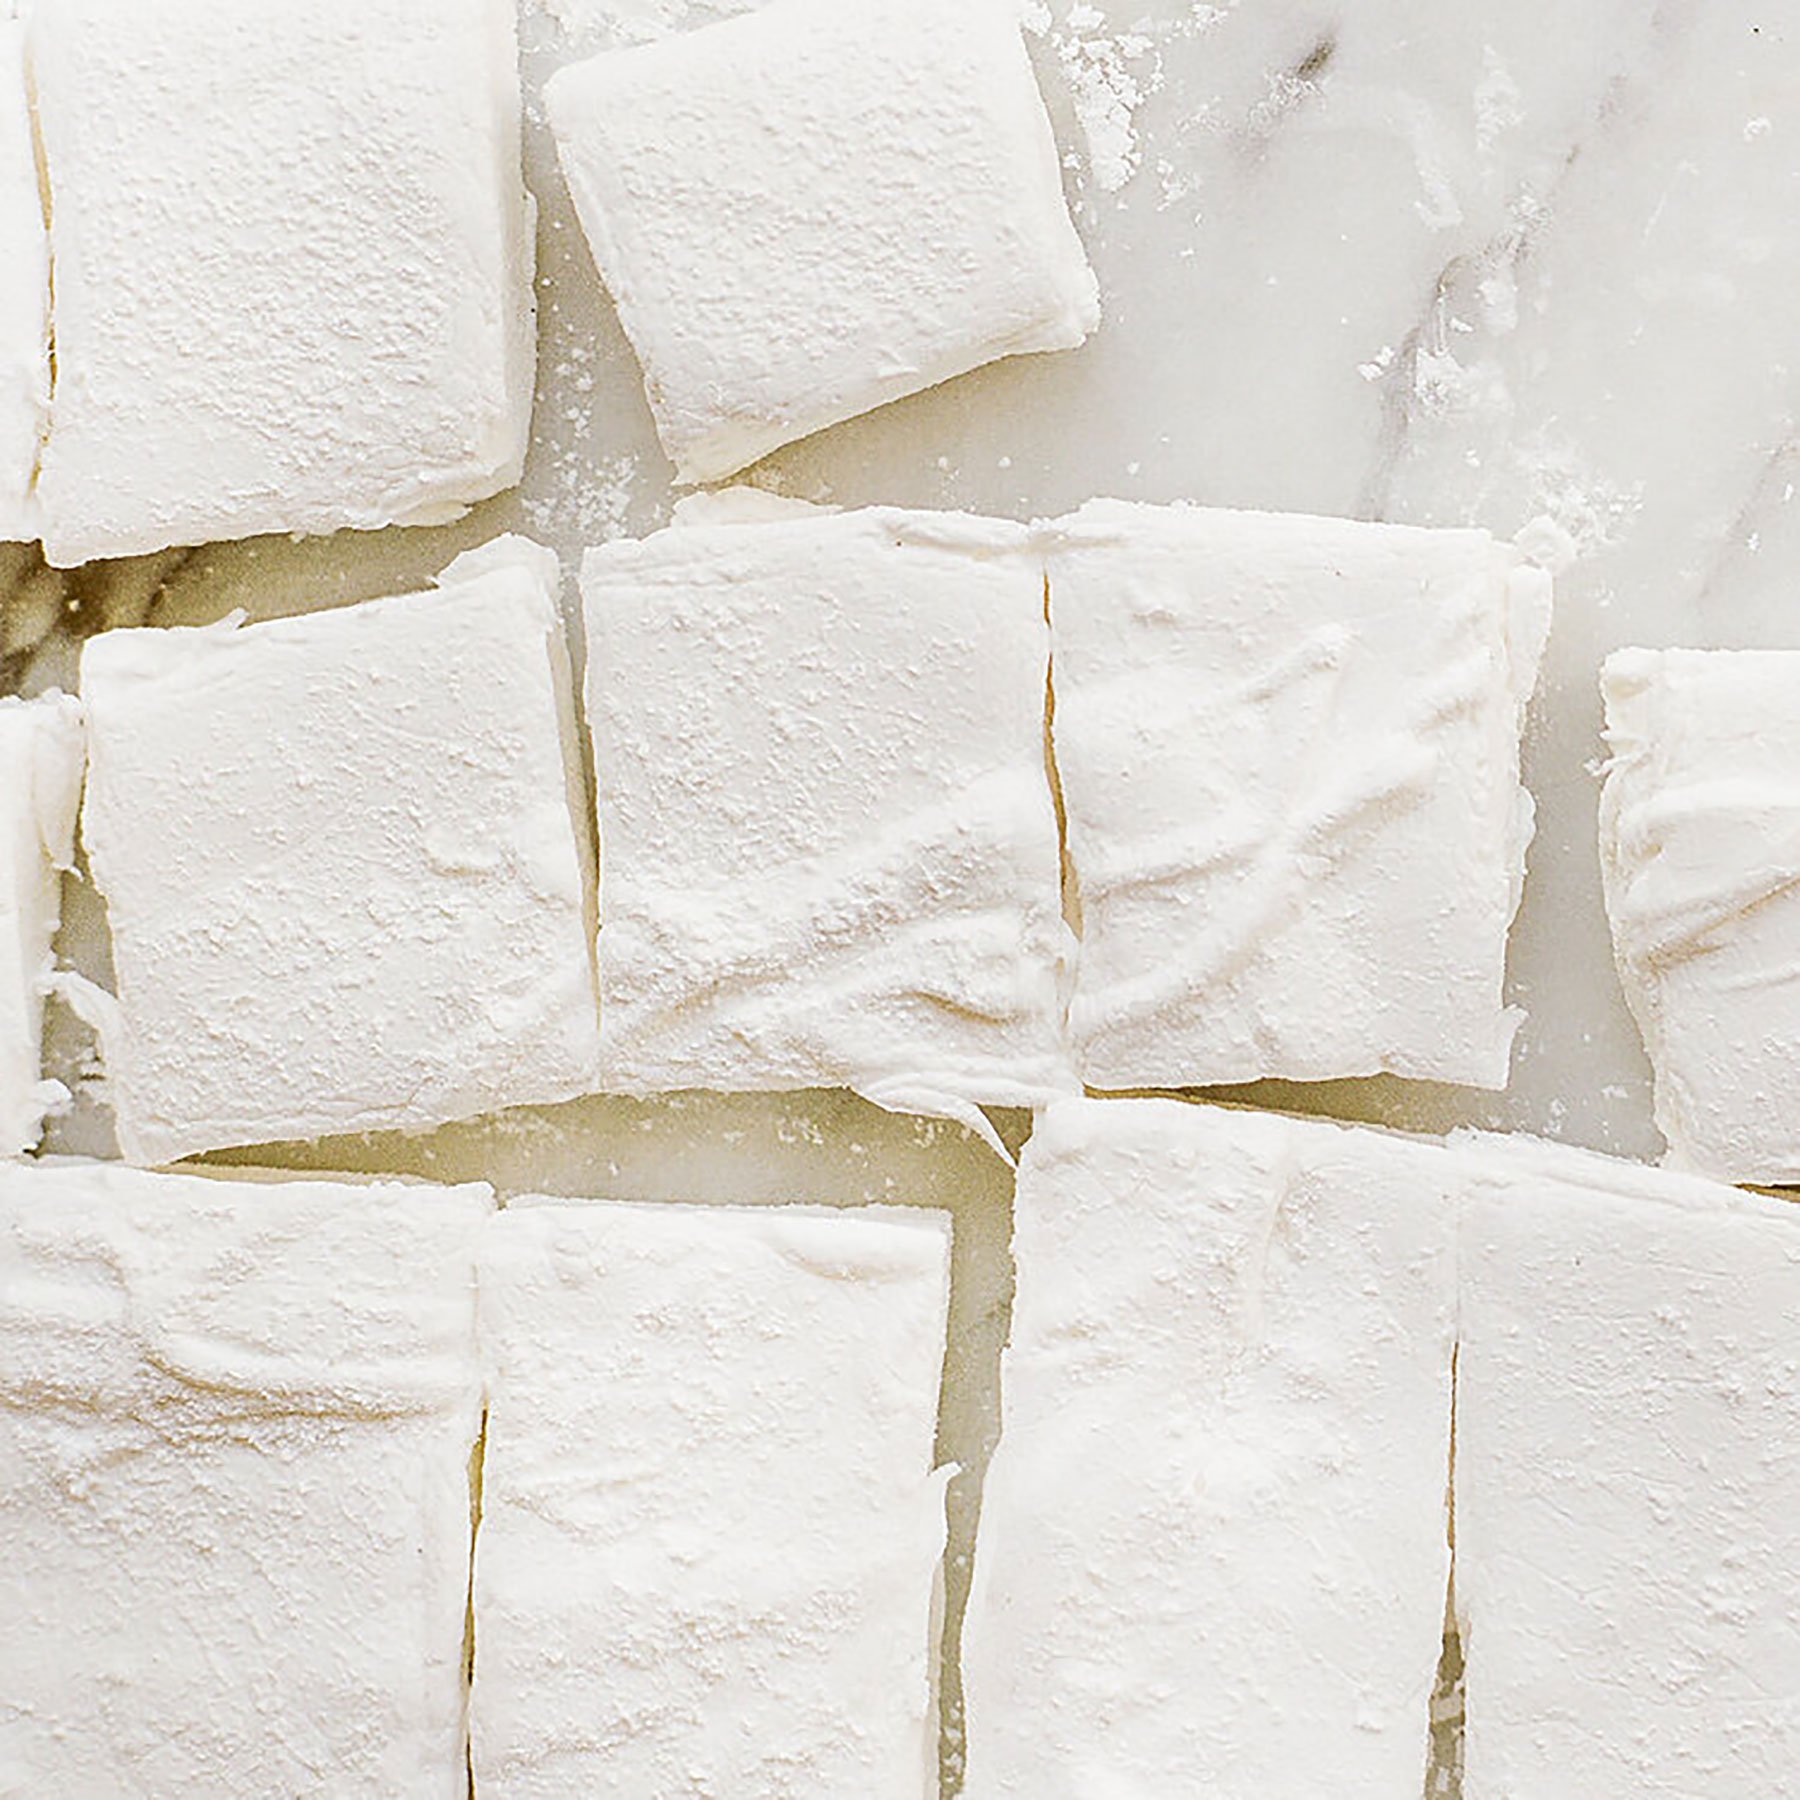
Once the marshmallows are set, it’s time to cut them! However, this can be a challenge since they’ll be quite sticky. That’s why we save a little bit of the powdered sugar and cornstarch mixture from making the marshmallows to coat your knife or pizza wheel to prevent too much sticking. I actually find a pizza wheel is the easiest for cutting beautiful slices.
For fun or festive shapes, use cookie cutters to cut the marshmallows. For mini marshmallows, use a pair of sharp scissors coated in the sugar mixture.
Storage
Like most candy, these marshmallows will keep very well. Stored in an airtight container at room temperature, they should keep for up to 3 weeks.
If you give this recipe a go, be sure to snap a picture and upload it to Instagram using #handletheheat, or share it in my private Facebook community (click here to request access). I just love seeing your photos and often re-share them with my audience!
Photos by Constance Higley.
Marshmallows
Ingredients
- 3 packages (1/4-ounce each) unflavored gelatin
- 1 cup ice water, divided
- 1 1/2 cups (300 grams) granulated sugar
- 1 cup light corn syrup
- 1/8 teaspoon salt
- 1 tablespoon vanilla paste (or seeds of 1 vanilla bean, or 1 tablespoon vanilla extract)
- 1/4 cup powdered sugar
- 1/4 cup cornstarch
Instructions
- Combine the gelatin and 1/2 cup cold water in the bowl of an electric mixer fitted with the whisk attachment. Mix briefly to combine; set aside.
- In a small, deep saucepan, combine the sugar, corn syrup, salt, and remaining 1/2 cup cold water. Place over medium heat and cook until the sugar dissolves, about 3 to 4 minutes. Attach a candy thermometer to the side of the pan and continue to cook, without stirring, until the syrup reaches 240°F, about 7 to 8 minutes. Immediately remove from the heat.
- With the mixer set on low speed, slowly pour the sugar syrup into the softened gelatin. Increase the speed to high, and whip until the mixture is very thick and fluffy, and has cooled to lukewarm, about 10 minutes. The mixture should be cool enough that you can spread it into the pan without burning your fingers, about 95°F. Add vanilla towards the end of the mixing time.
- As the mixer is running, prepare your pan. In a small bowl combine the powdered sugar and cornstarch. Lightly spray a 9 by 13-inch pan with nonstick cooking spray. Add the cornstarch mixture and shake pan to coat. Tap the remaining cornstarch mixture back into the bowl for later use.
- Once cool enough to handle, spread the marshmallow mixture into the prepared pan. Dust the top with the remaining cornstarch mixture to cover. Allow the marshmallows to stand, uncovered, to at least 4 hours or overnight.
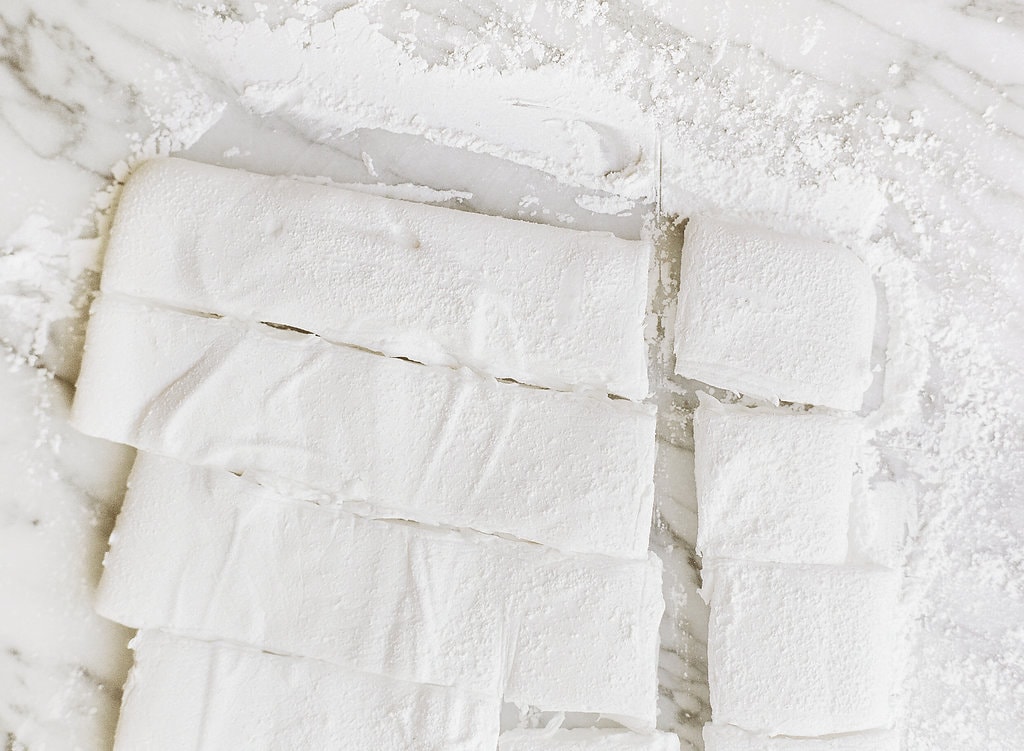
- Dust a pizza wheel with the remaining cornstarch mixture. Cut the marshmallows into squares. Store in an airtight container for up to 3 weeks.


can you sub out thr corn syrup?
Hi, Ellen! Corn syrup is essential for our recipe – it ensures that the marshmallows don’t contain any crystallized clumps of sugar. If you don’t have corn syrup, I’d recommend searching for another recipe. Good luck!
This recipe was amazing! It worked perfectly and they came out a perfect, springy texture. I would recommend using agave nectar instead of corn syrup – it tastes exactly the same, and is slightly healthier.
I don’t own a stand mixer, but I’ve made dozens of marshmallows at Christmas every year using only a hand mixer. It does take longer to get the job done, but it works. . . . . I’ve tried many options and I agree that using a pizza wheel works best to cut. I have a big plastic one that works much better than metal. . . . And my favorite marshmallow flavor is cinnamon. I use just a few drops of cinnamon oil to flavor a batch. . . . All of this makes me hungry for a fresh marshmallow, but since we don’t have air conditioning in our house, they only really work well when the humidity goes away in fall.
Great basic recipe- though I haven’t used yours here (would definitely like to try with the vanilla bean paste instead of extract!) I have made lots of marshmallows. I would just like to add a comment about altitude and syrup temperatures, because altitude definitely affects the resulting temperature you want to cook to. I live at ~7000 ft and so my temperature to cook to is about 5-7 degrees different than your recipe. Cooking all the way to 240 here would result in “hard”mallows instead! An added note to check your boiling temperature before assuming that 240 is the right temp for you would be good. To do this I let a pan of water boil for about 5 minutes and check the temperature and then adjust the temperature I want to cook the syrup to. Since weather can affect it, I do this every time I make an candy syrup. Thanks for so many great recipes and tips for baking!
Another easy way to clean sugary pots is to dump in some baking soda, a drizzle of dish soap, and fill with hot tap water. Works like a charm! And the baking soda/dish soap combo makes for a super clean pot. 🙂
Dear Tessa,
Love your recipes but have a suggestion: why don’t you arrange your recipes in a format that when you print, it all comes out in 1 page..when we print ?………..check out other websites to see what I’m referring to. It would make it so much simpler.
Thanks for your consideration
I would love red velvet marshmallows. Is that possible?
Can you give the measurements in metric..Here in Ireland we do not use cup measurements
Hi Tessa looking forward to making these but just wanted to ask instead of corn syrup can we use liquid glucose and also how much gelatine would that be if using gelatine powder?